Geekvape Aegis Boast Kit with RBA Base Review.
The Geek Vape Aegis Boast comes from a long line of Geekvape Aegis products, all of which share the same indestructable DNA, and follow the same design ques. and have joined the growing trend of 'Pod Mods which have joined the market over the last couple of years, bridging the gap between Pods and more advanced Mods, Giving the simplicity of a Pod system with the Performance of a Mod kit, so lets find out if the Aegis Boast is 'The Best of Both Worlds'Geek Vape Aegis Boost Pod Mod Kit the lightest yet the toughest Pod Mod, supports the usage of both Pod and RDTA up to 40W max output with an internal 1500mAh battery.
The Mod is IP67 rated made to be corrosion-resistant and tear-resistant. Also, included in the package are 2 separate coils and tips (kit set only) specifically designed for MTL & DL vaping experience.
Aegus Boast Highlights and Features
- Easy access airflow valve design
- Supports the usage of both pod and RDTA
- Over-discharge/ short circuit protection
- Output over-current/ overcharge protection
- Switch timeout/ over-temperature protection
- Quick-lock & release design for switching pod systems
Specifications
- Size: 106.8x 27.7x 39.2mm
- Powered by AS chipset
- Output wattage: 5- 40W
- Kit set coil: 0.6ohm (20- 25W)
- Input voltage: 3.0- 4.25V
- Output voltage: 1.0- 6.0V
- Display: 0.42" OLED screen
- 1500mAh built-in battery
- Pod/ Tank capacity: 3.7ml
- Material: Zinc alloy + Top grain leather + silicone
Whats in the box?
1x Aegis Boost Pod Mod Kit (Pre-installed: GV Boost Coil 0.4Ω, 22-33W, capacity: 3.7 ml)1x User Manual1x GV Boost Coil 0.6Ω, 15-25W1x Micro-USB cable1x Coil tool1x Drip tip1x Promotion & Warranty Card
Geekvape Aegis Boost Replacement RBA Pod
Geekvape Aegis Boost Replacement RBA Pod omes with 2.0ml e-juice capacity with a leak-proof top filling system. It features two posts easy build deck and adjustable airflow. Together with the easy access top airflow valve and top-refill design, the Aegis Boost RBA tank will bring you a wonderful vaping with intense flavor and huge cloud.RBA Pod Specification
Capacity: 2.0mlRefill: Top-filling
Airflow: Adjustable airflow
Build a deck: Two-post build deck
Whats included in the kit?
1* Geekvape Aegis Boost Replacement RBA Pod(1pcs/pack)Design and Build Quality
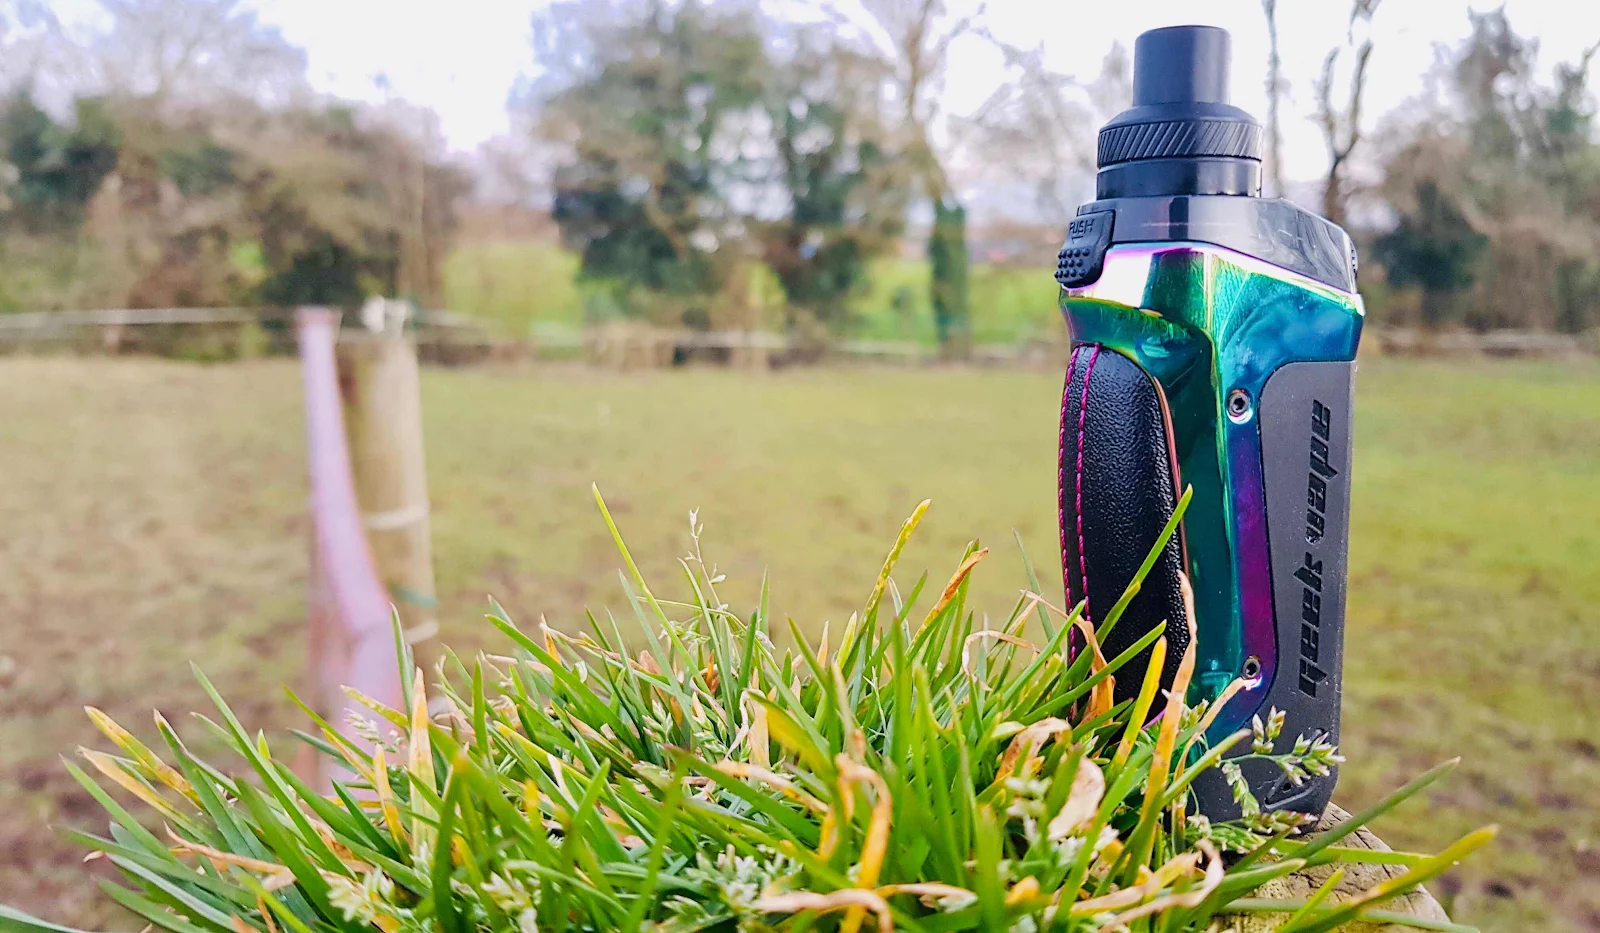
As with all on the Geekvape Aegis range the Boost, is built to last, manufactured out of Zinc Alloy, with the super hard waring silicon rubberised coating covering the side and the base, which will not only gives it a soft feel in the hand, super grippy, but also virtually bounces if you drop it.
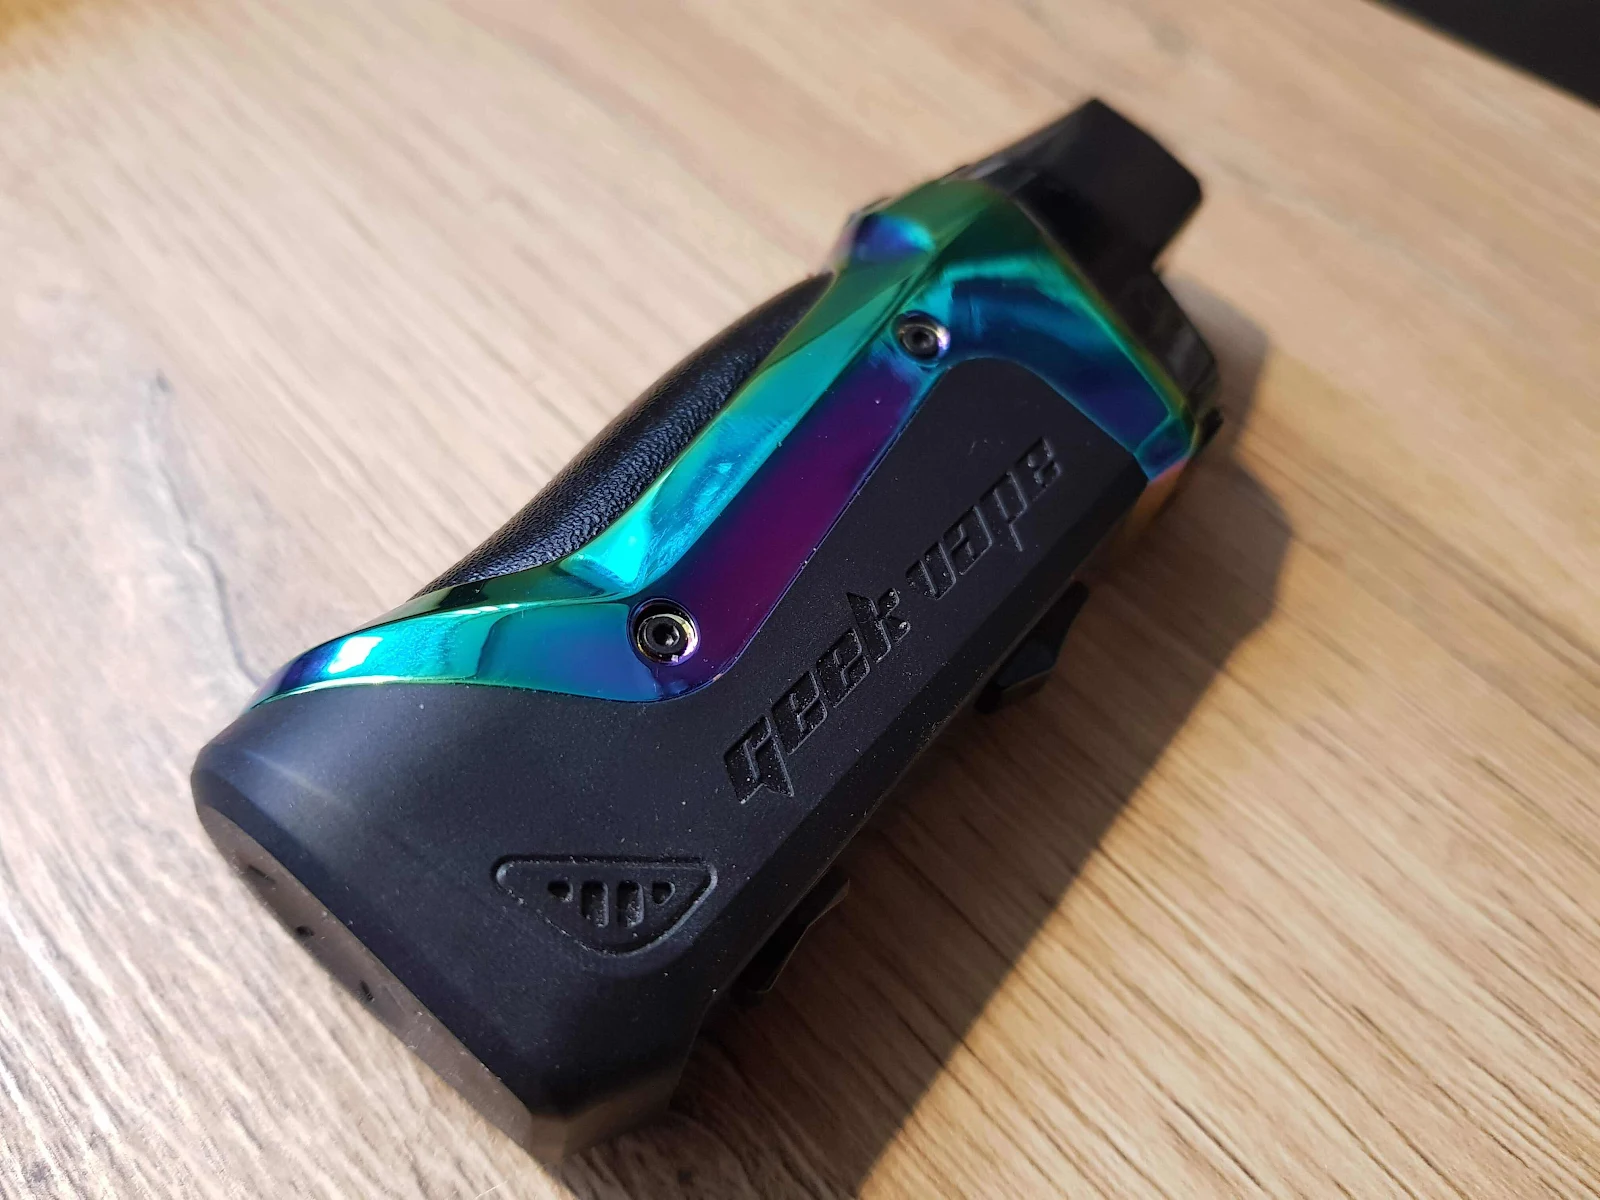
The zinc alloy frame wraps around the mod body, separating the Rubber and leather wrap that runs down the back of the device, giving it a super premium feel, and again adding to the form factor, and feel in the hand.
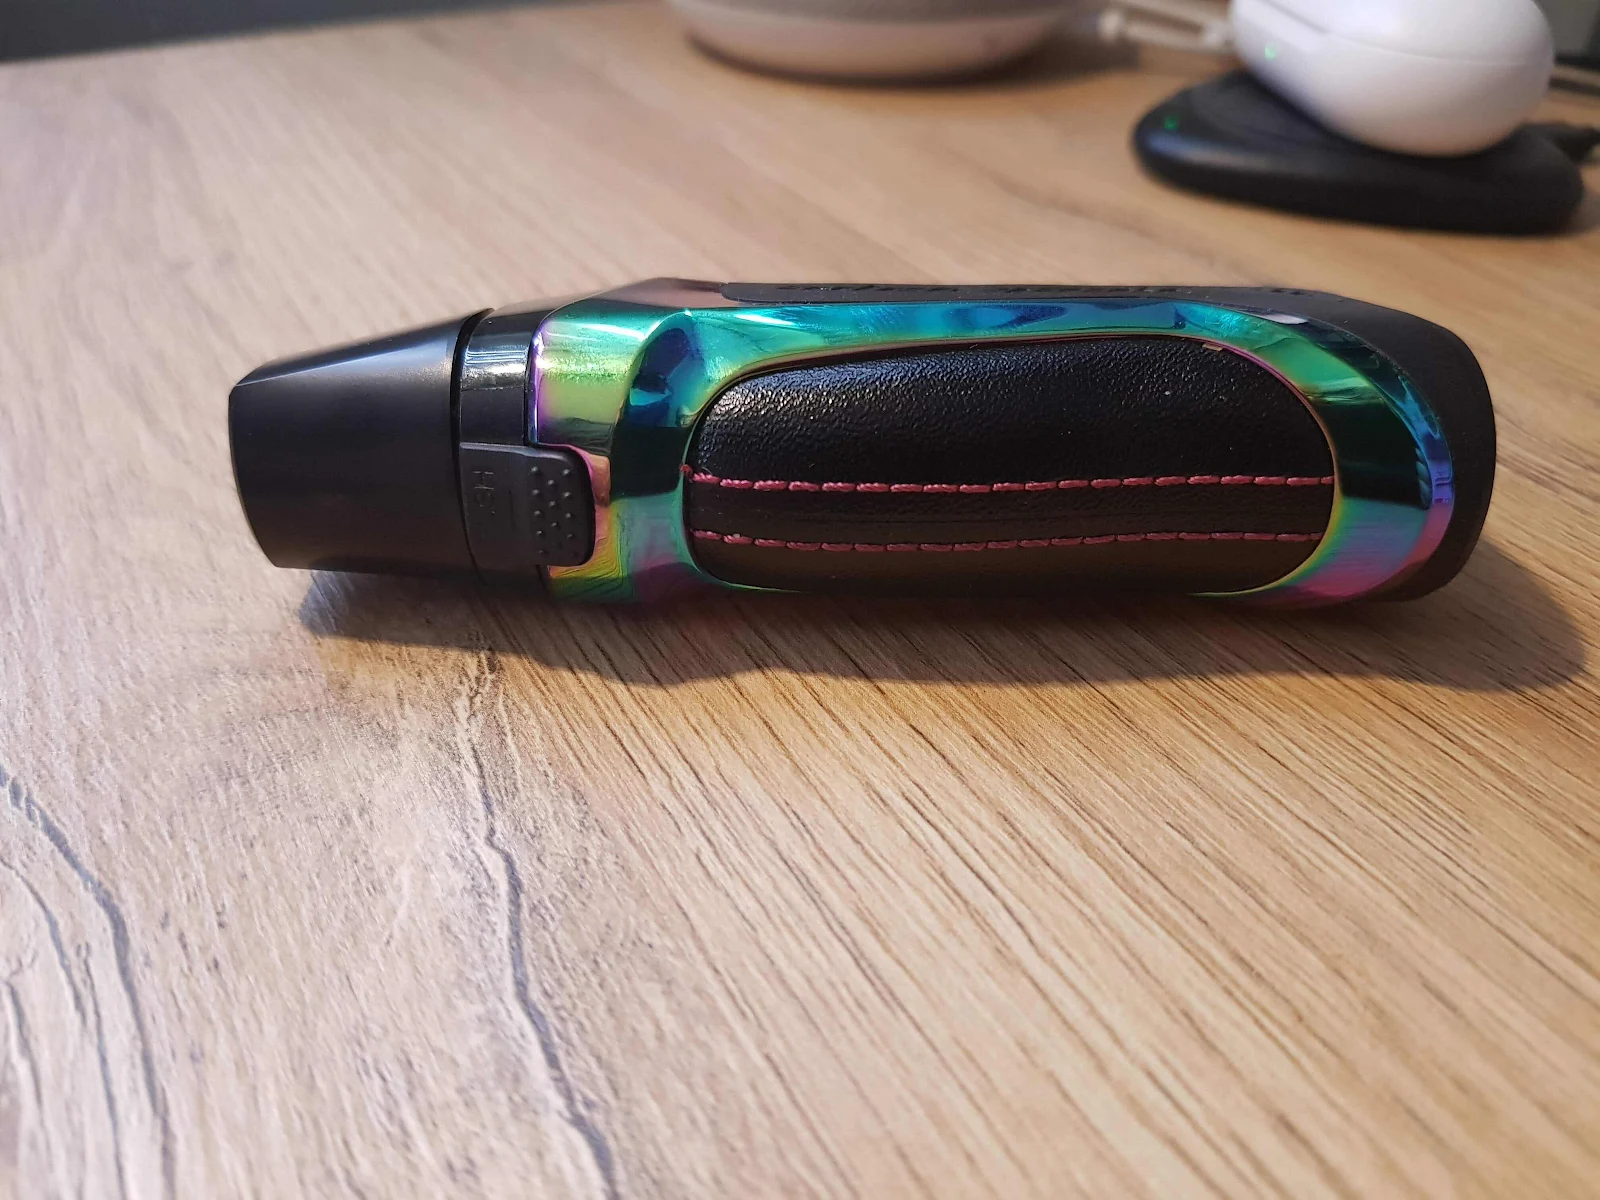
The base again of the device is wrapped in silicone rubber, with a slight recess in the base, which I find I rest my finger in when Vaping on the boost.

The top section of the boost is made up of the pod section it’s self, which is held securely in place by the back clip. And can by swapped out for a fresh pod, or the RBA pod as and when required.
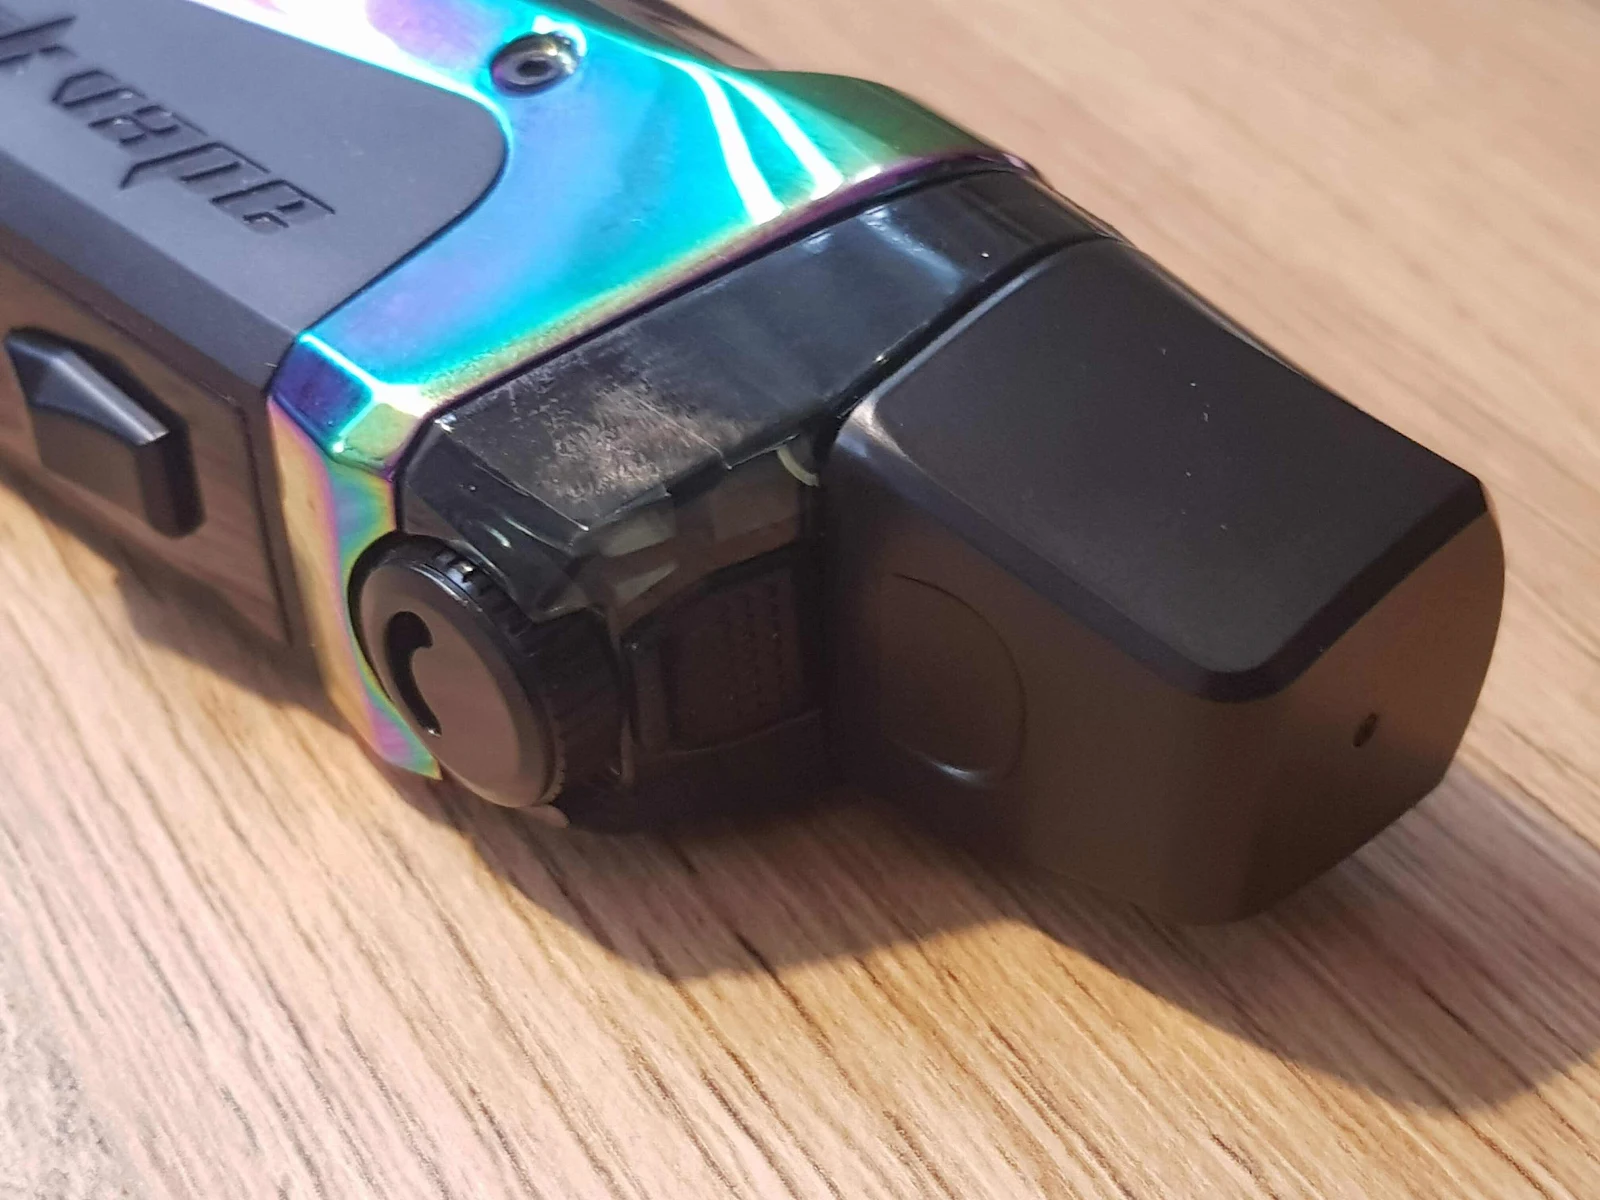
I really like the way they have machined the body, with perfect fitting recesses for the airflow wheel at the front and the securing clip at the back.
To remove the pod section, you can simply press firmly on the clip, avoiding pressing the fire button by mistake.

The Boost has a great feel in the hand, with the combination of the rubber and leather, it has a really tactile feel to it, and you find yourself holding it in the hand and fidgeting with it.
Drip tips,
The standard Boost kit comes with a choice of drips tips, One is more of a mouth-piece style, whilst the other is similar to a straight 510 tip. Both are pretty comfortable, however, I preferred the oval shaped tip.

The Display and Function Controls
The 0.45in OLED display is extremely simple on the Aegis Boost, with the novice user in mind.
You can easily adjust the wattage, from 5.00w, up to 40.0w in 0.5w increments, Which does round-robin using the Up-Down buttons below the fire button.
display shows the basic info that you will need for Vaping, and is bright enough to be viewed outside. With a slight amount of shading from your hand.

- Puff Counter
- Coil resistance
- Wattage
And that’s it, there is no menu options to worry about or figure out, just a simple display, which is what you need really on a little device like this, no need to over complicate it.
Battery Life & Charging
Charging the Boost couldn’t be easier, simply locate the power port which is located on the side of the device, and covered by a small rubber bung, which is well located and simple to remove.
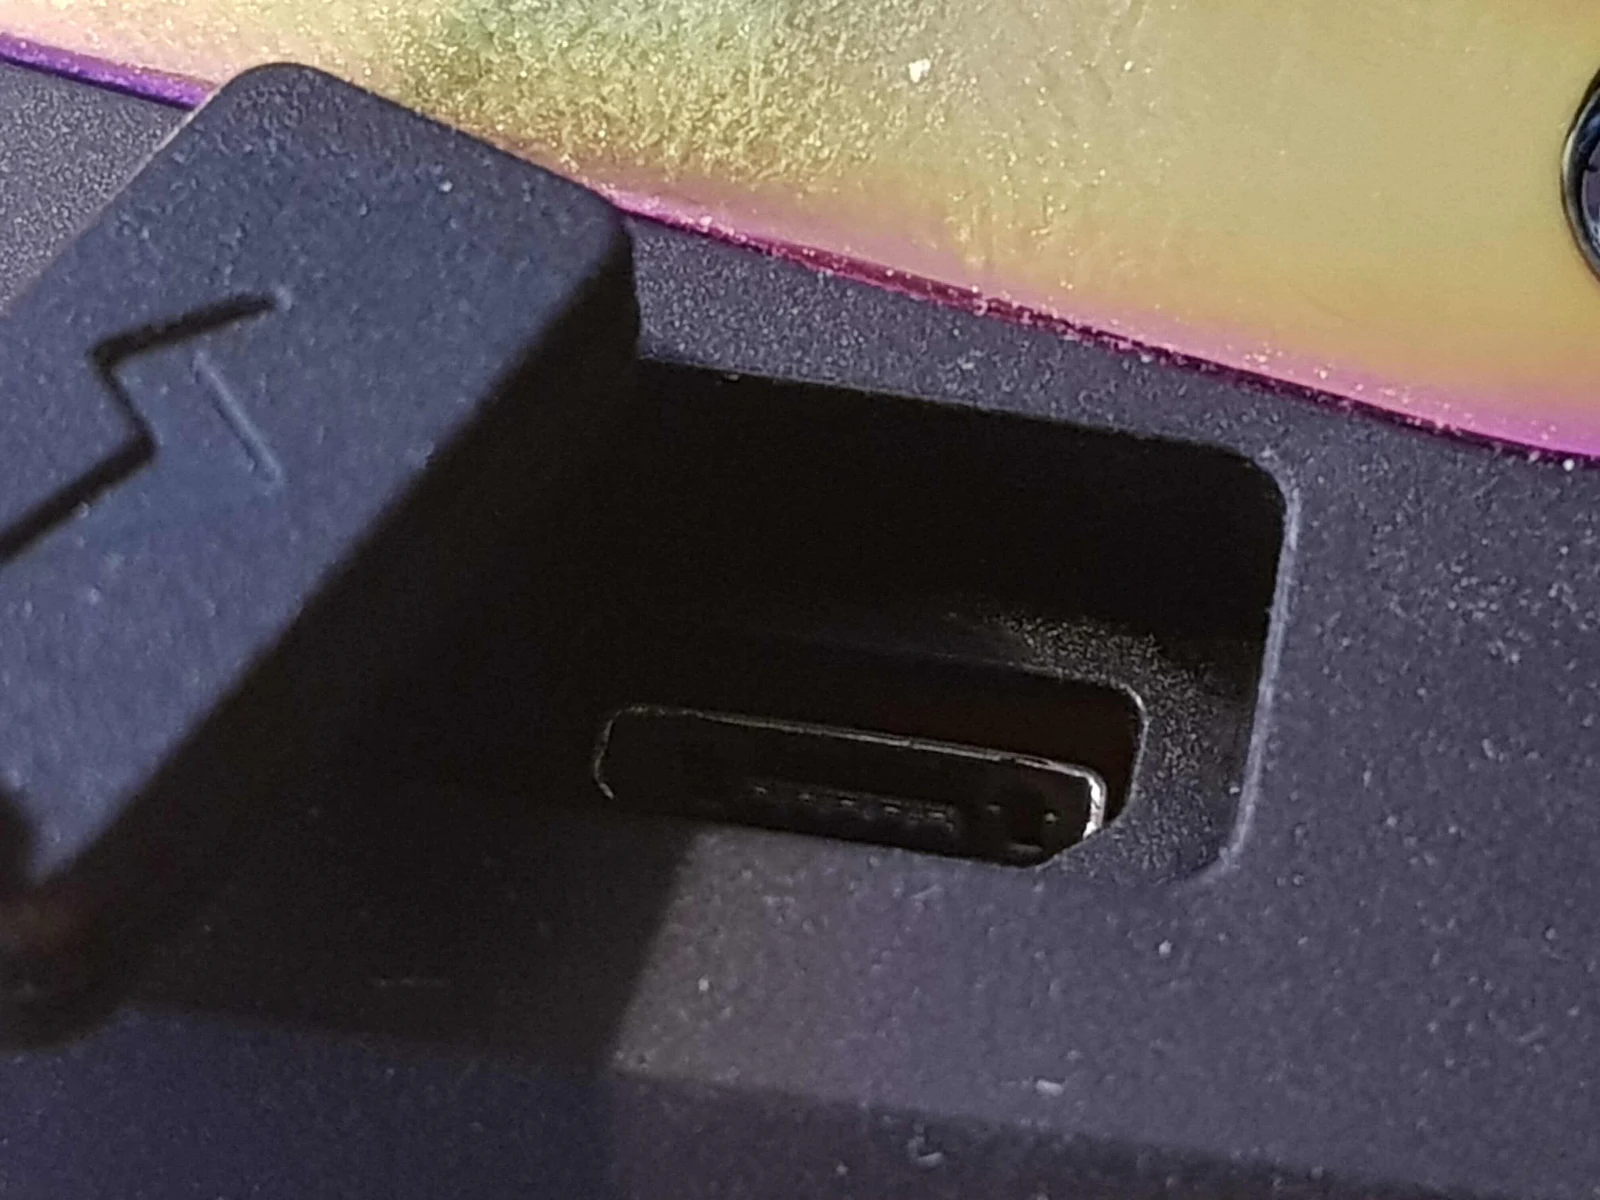
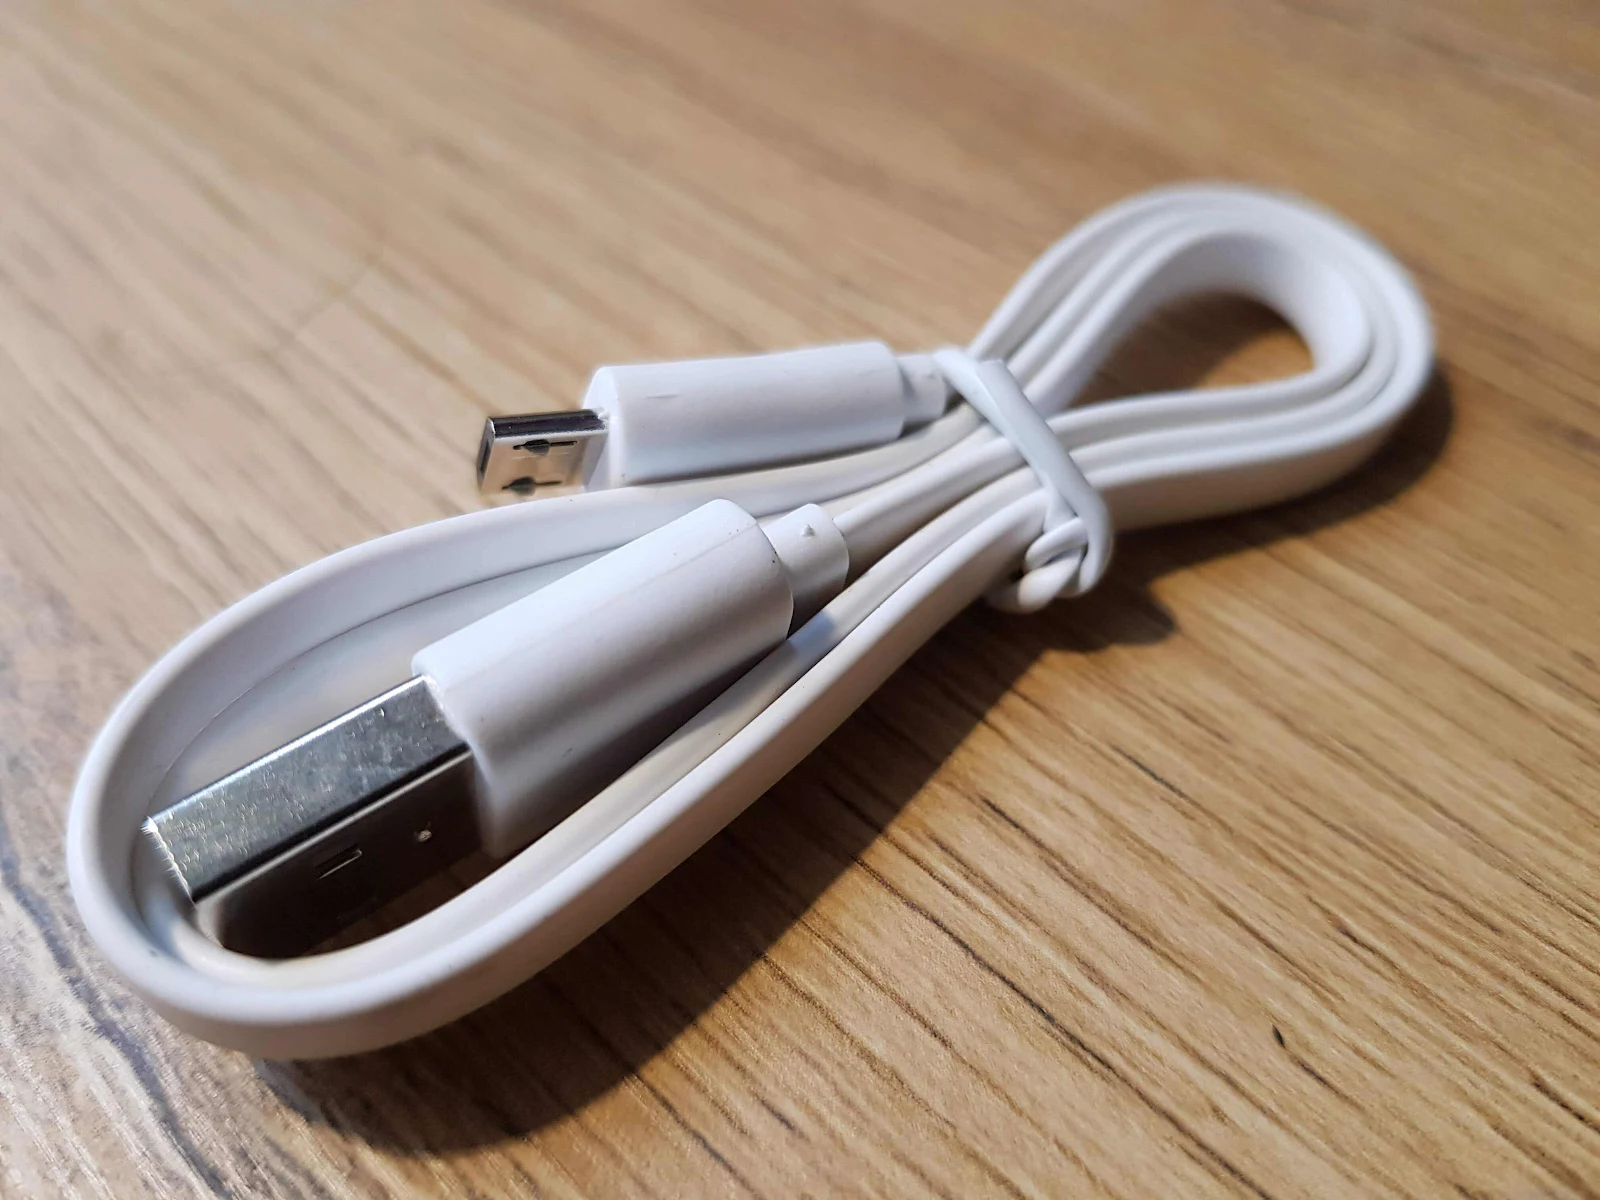
And then plug in the supplied USB cable, you will find that you have to use the one they supply, as it has a slightly longer end, which is required to reach past the rubber coating.
I found that a full charge lasted me most of the day, and required a quick charge when I got home after work, mainly due to the fact that the small coils that you install, don’t really take much power to heat. And even when it does need charging it took only a couple of hours to fully charge. And remember, don’t charge over night, or leave unattended.
The Pod System.
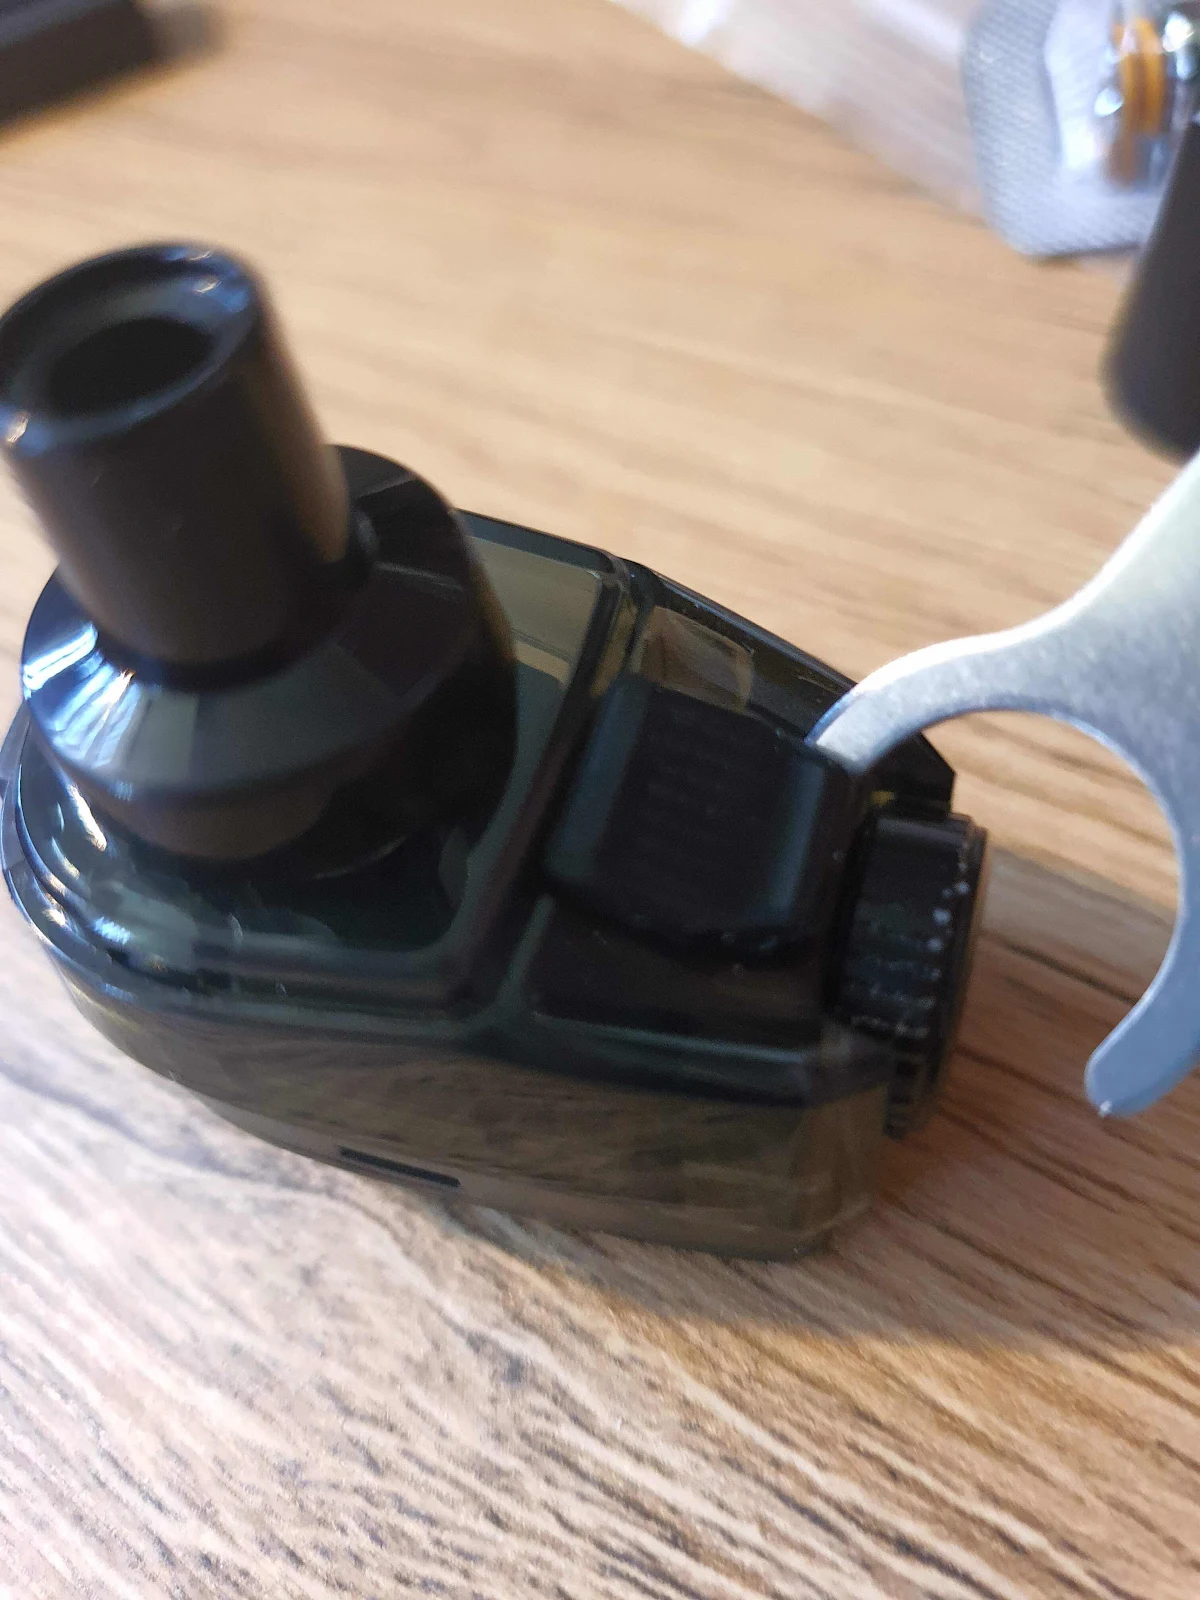
The Geekvape Aegis Boost comes as standard with a 2ml tank section, which can easily removed to fill, clean and change out the coil.

The preinstalled drip tip, comes with a handy little dust cap, over the top of it, which is a great addition, and perfect for installing when you are carrying the Boost in your pocket, and stops any pocket lint, going down into or on the coil.
When you first get the Boost out of the box, and start getting it ready for use, it has sticker over the base of the preinstalled coil, reminding you to prime the coils with juice, before you press fire button, otherwise you will burn out the coil, and the coil will be wasted.
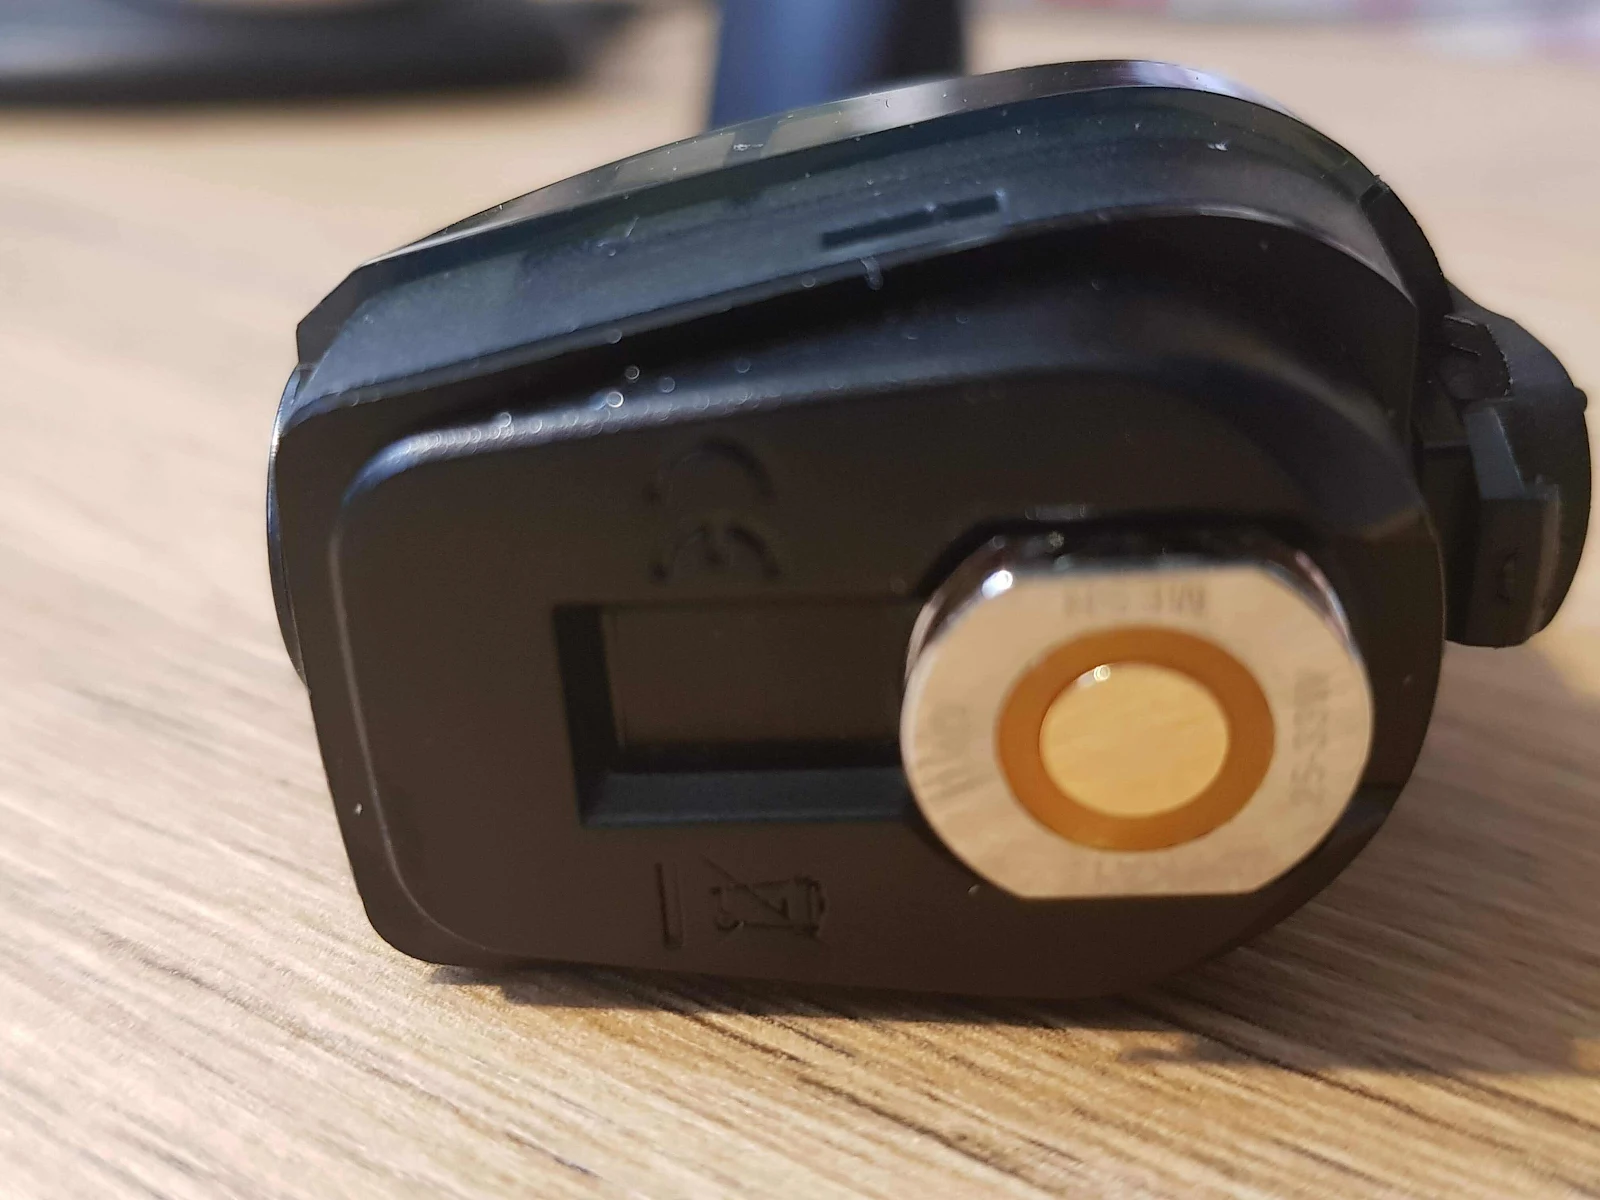
The sticker can be simplied peeled off, and the base of the coil is then exposed. Although the coils come preinstalled, they can easily be swapped out, when they need changing, with no need to replace the whole pod. Which is one of the massive benefits of the Boost.
You can, once the tank is empty, pull the coil out with your nails, or if like me, you don’t have any nails, you can use the supplied coil pulling tool.

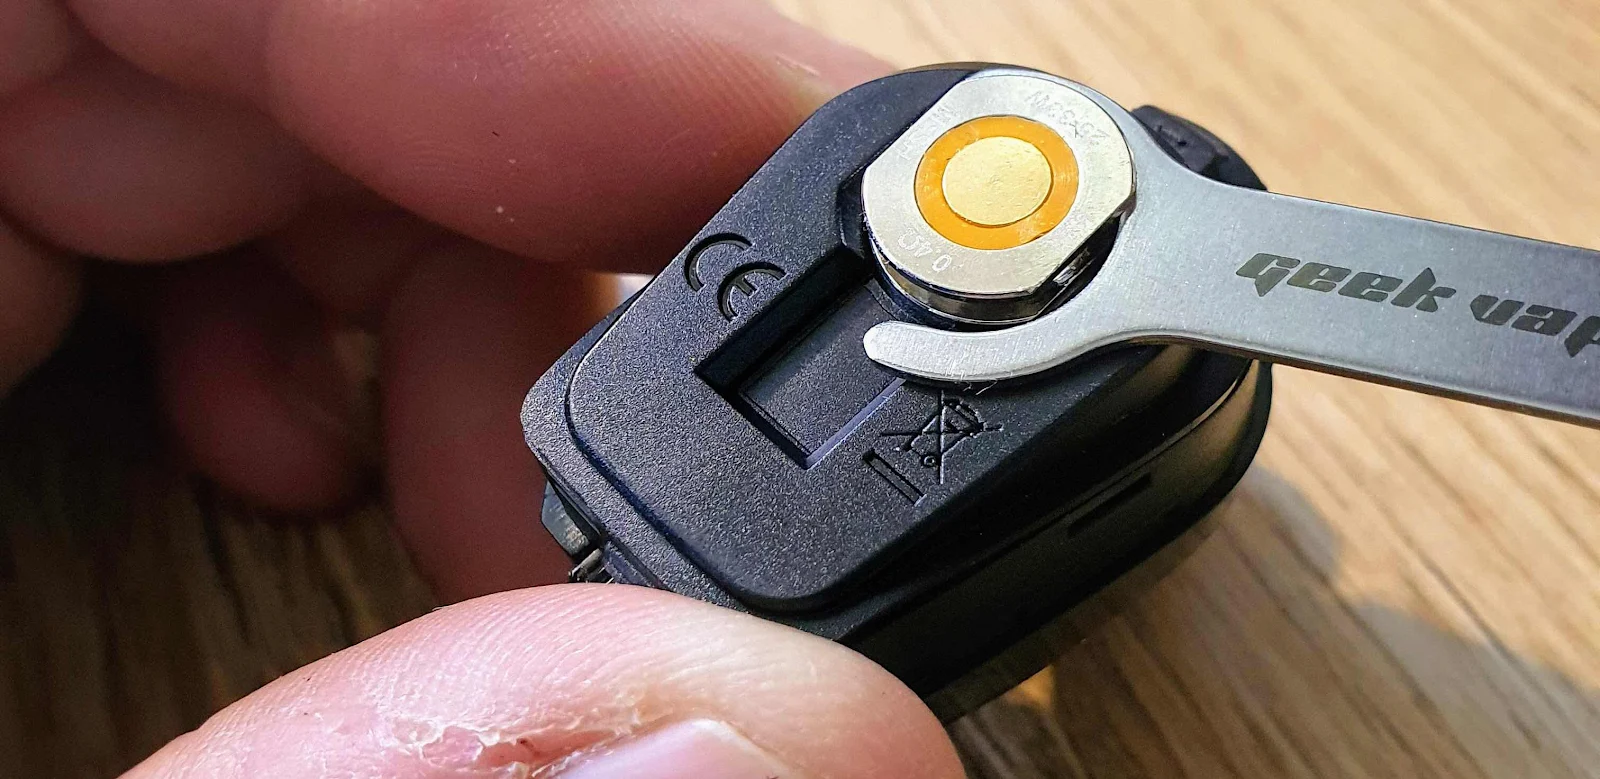

The tiny little GeekVape coil tool is also worth sticking on your keys, as I found the end of the tool is also very useful for opening the fill port, which can be a bit tricky with out nails. So hand to have with you, or you won’t be filling it up, which you have to do quite a lot, as only a small pod sized tank.
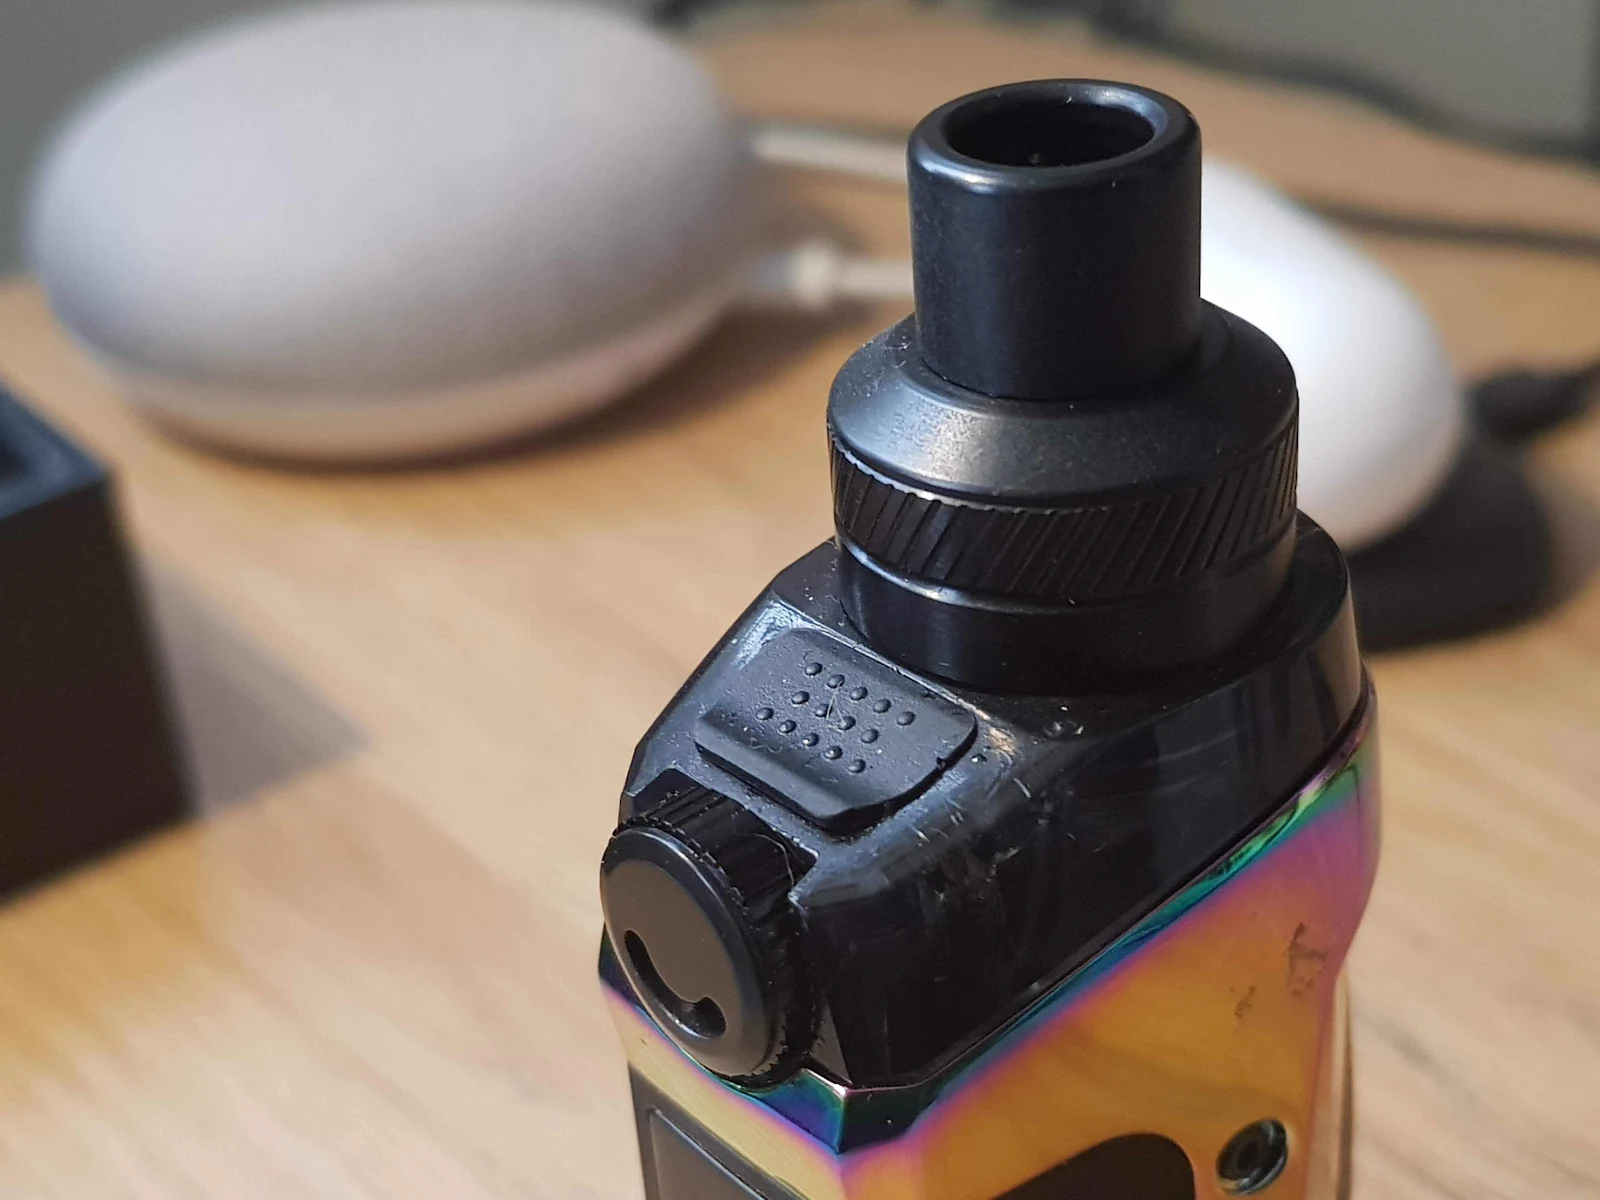
Airflow Wheel.
Unlike some other lesser pod/mods, the Aedis Boost features a fully adjustable airflow system, allowing you to have complete control of your airflow, from super tight, to wide open, (well wide open for this type of device). This adjustment takes place by rolling the Lille airflow wheel on the front, and as you turn the wheel, you sort open or close the little smiling face.

Very clever design, and allows for a great level of control. Creating smooth airflow, with no real whistle.
Filling the Pod.
Filling the pod, is my only really bug bare, firstly it is virtually impossible to see how much juice you still have in your tank, due to the very dark tinting of the plastic that the tank is made out of.
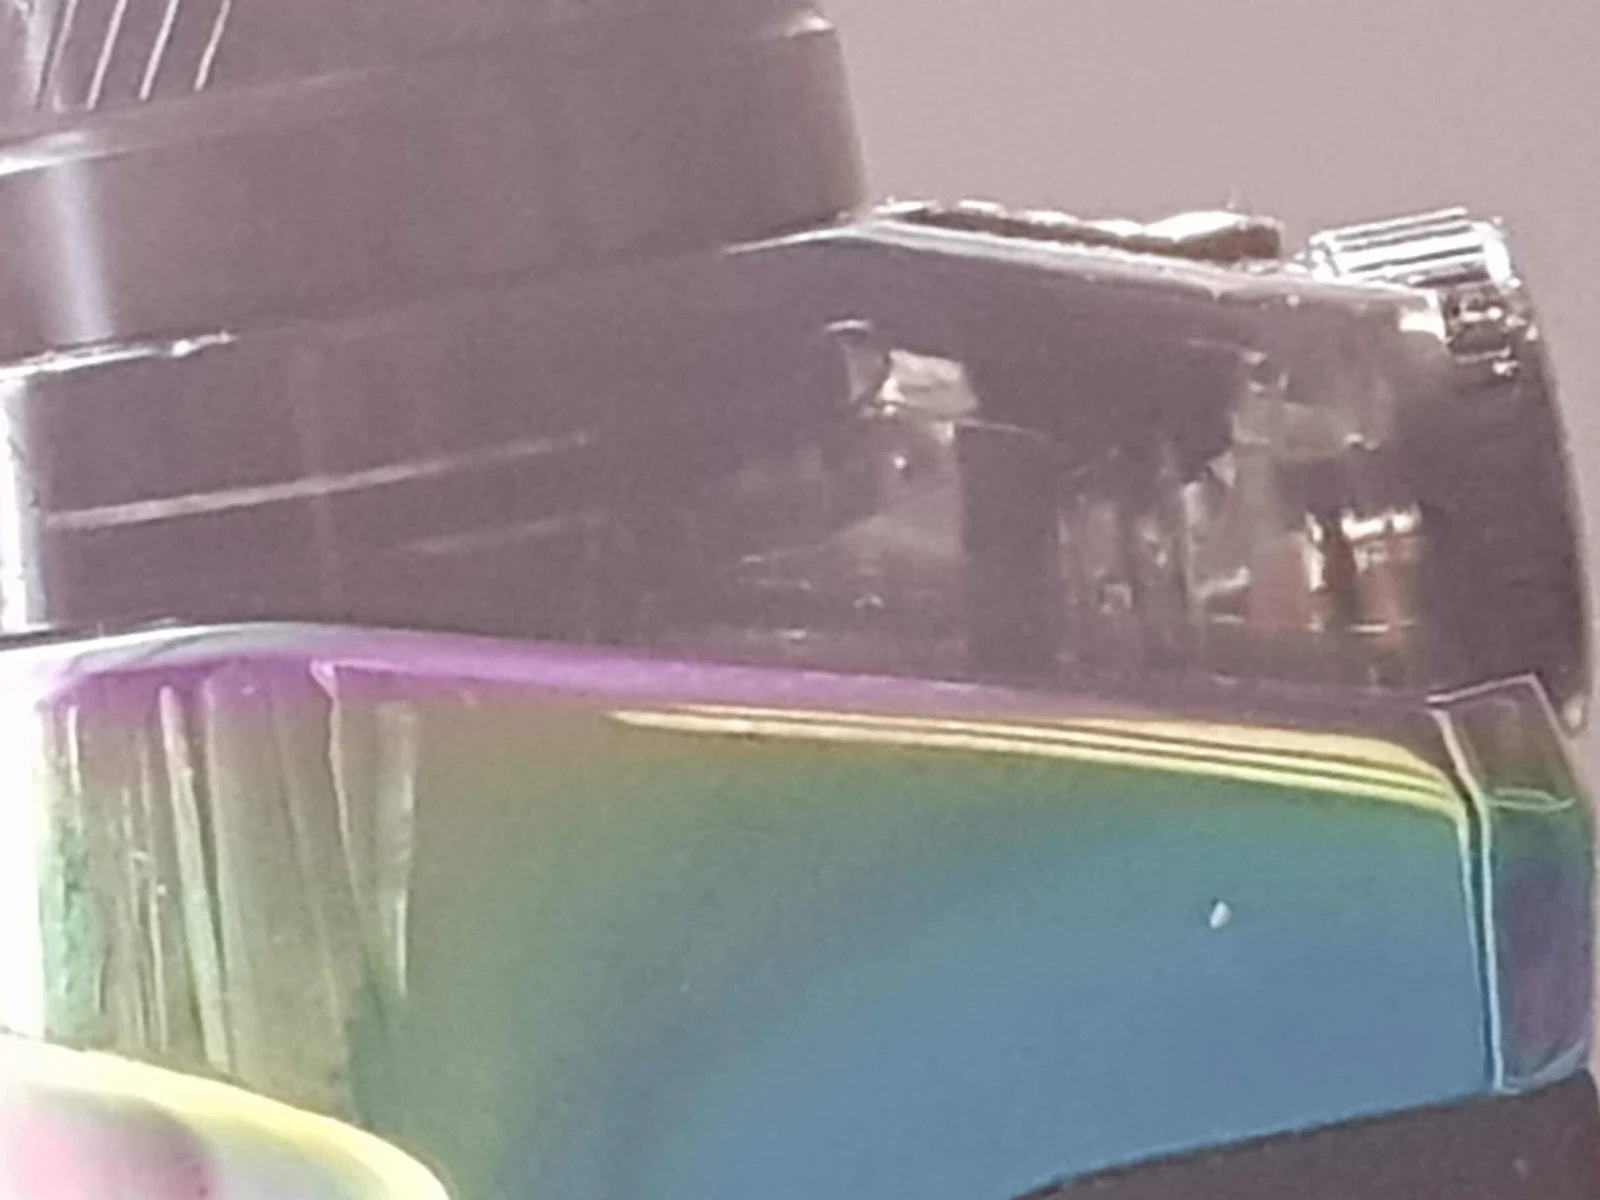
And even when held up to light, I find it a bit tricky, Clear tank please Geekvape. Secondly the bung that you have to remove can be a bit tricky to open especially when it has a bit of e-juice around it, hence I use the tool to open it, and lastly the fill port is a bit small, and it does tend to cause an issue with air getting trapped in the tank, which prevents the juice from going in, and when you squeeze the bottle you just end up with juice going everywhere.

Due to the chance of juice over flowing, I would always recommend taking the pod ff the top of the device before you fill it, to prevent any juice from getting down into the electrics, and causing any issues with the chip set.
The Aegis Boast RBA Pod.

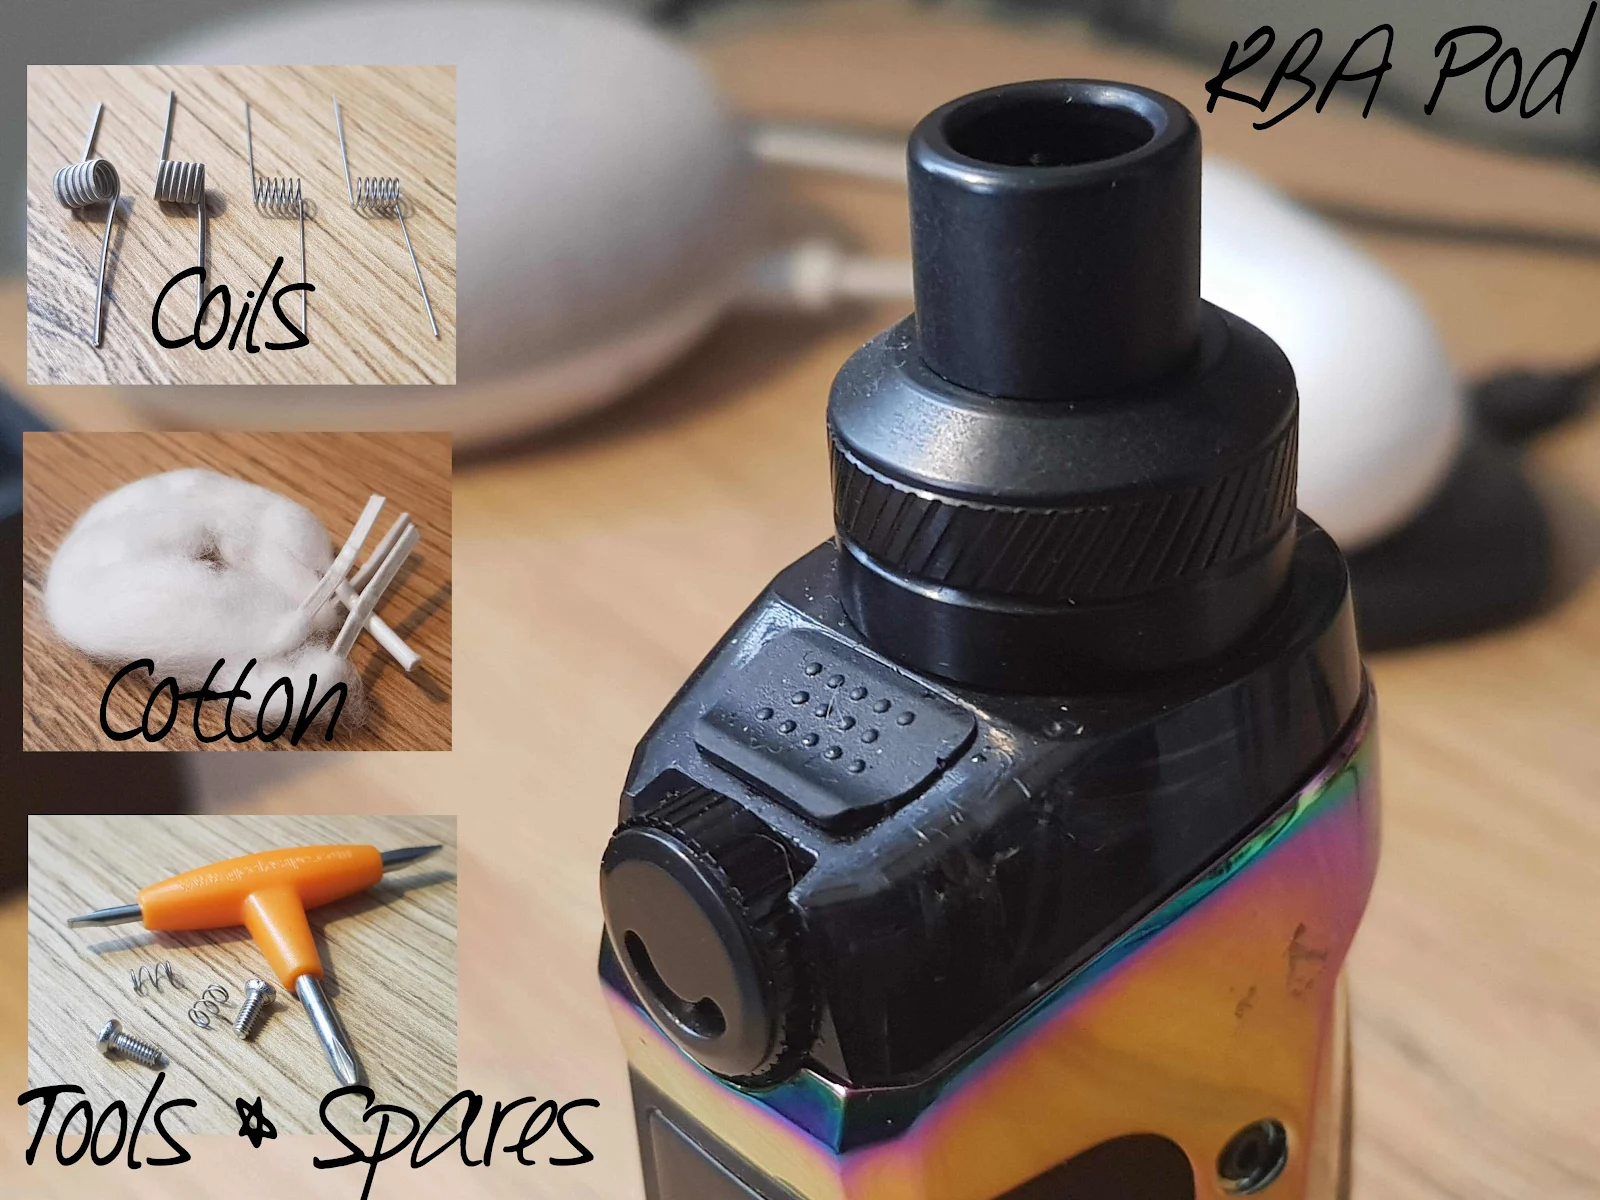
Geekvape have designed the RBA Pod, giving vapors the opportunity to move onto building their own coil etc, without having to purchase a whole new device, supplying it with all the items you are going to need to get started.

Including the RBA pod Postless deck along with a small selection of coils, cotton threads, and tool to install the coils, the coils have been selected to perfectly match the RBA base, in not only size but it performance.
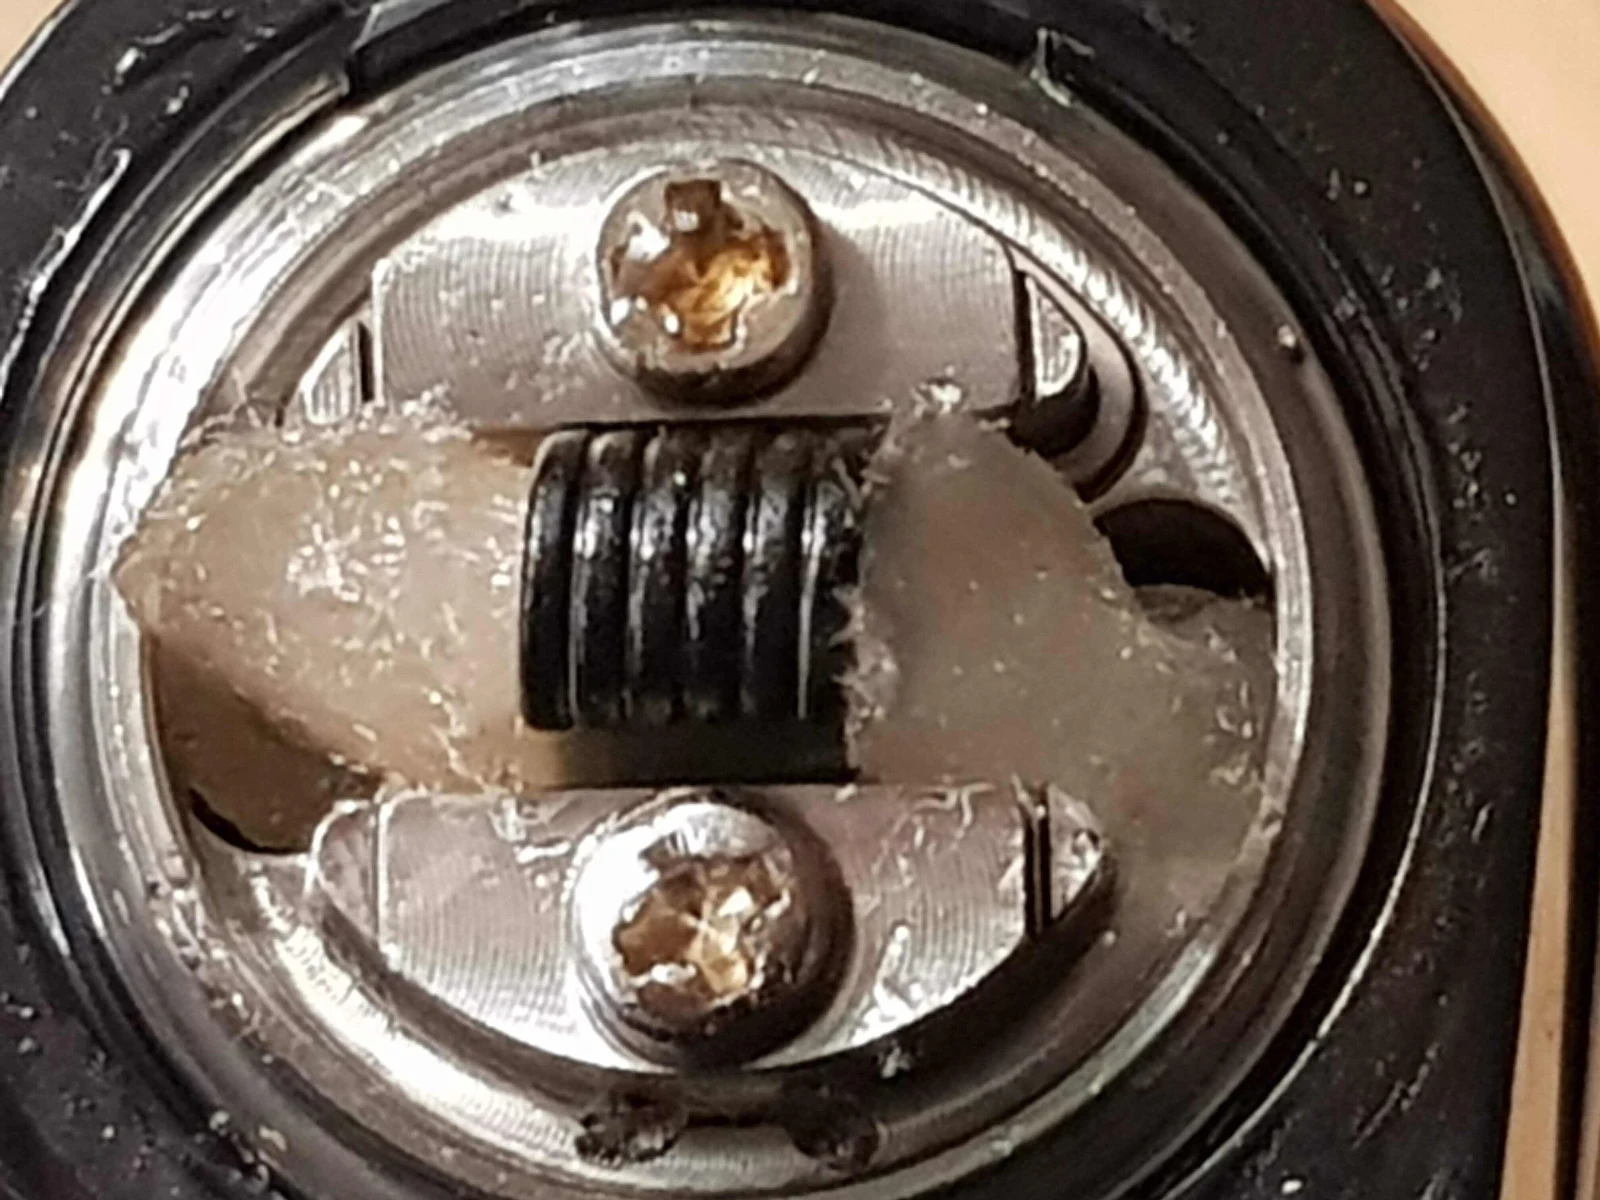
Build and Design
The Deck has been well thought out, with the ease of build at the forefront of the design. The only thing you need to be aware of is how small the actual build deck is, it’s tiny, not as small as the RBA deck on the Augvape Narada, which was tiny, but small enough to fit neatly under the chamber. But you may need some type of magnifying device, well I do with my tired eyes. Luckierly it is super simple to build on. And the coils fit perfectly.
The rest of the pod is exactly the same as the standard pod, with the same issues relating to filling and air locks. All though it is simpler to resolve, by just tucking the cotton. Tails in, to allow space for the air the escape.
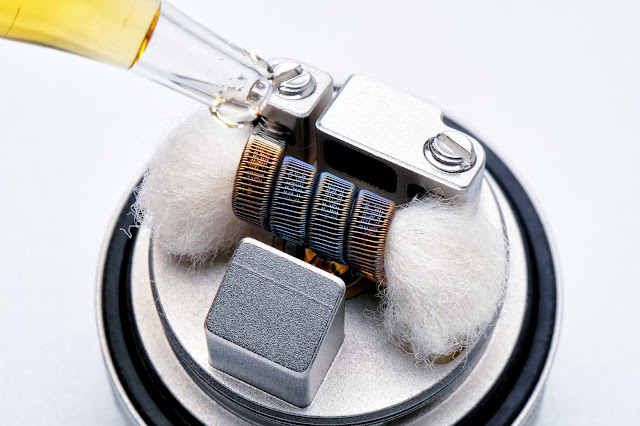
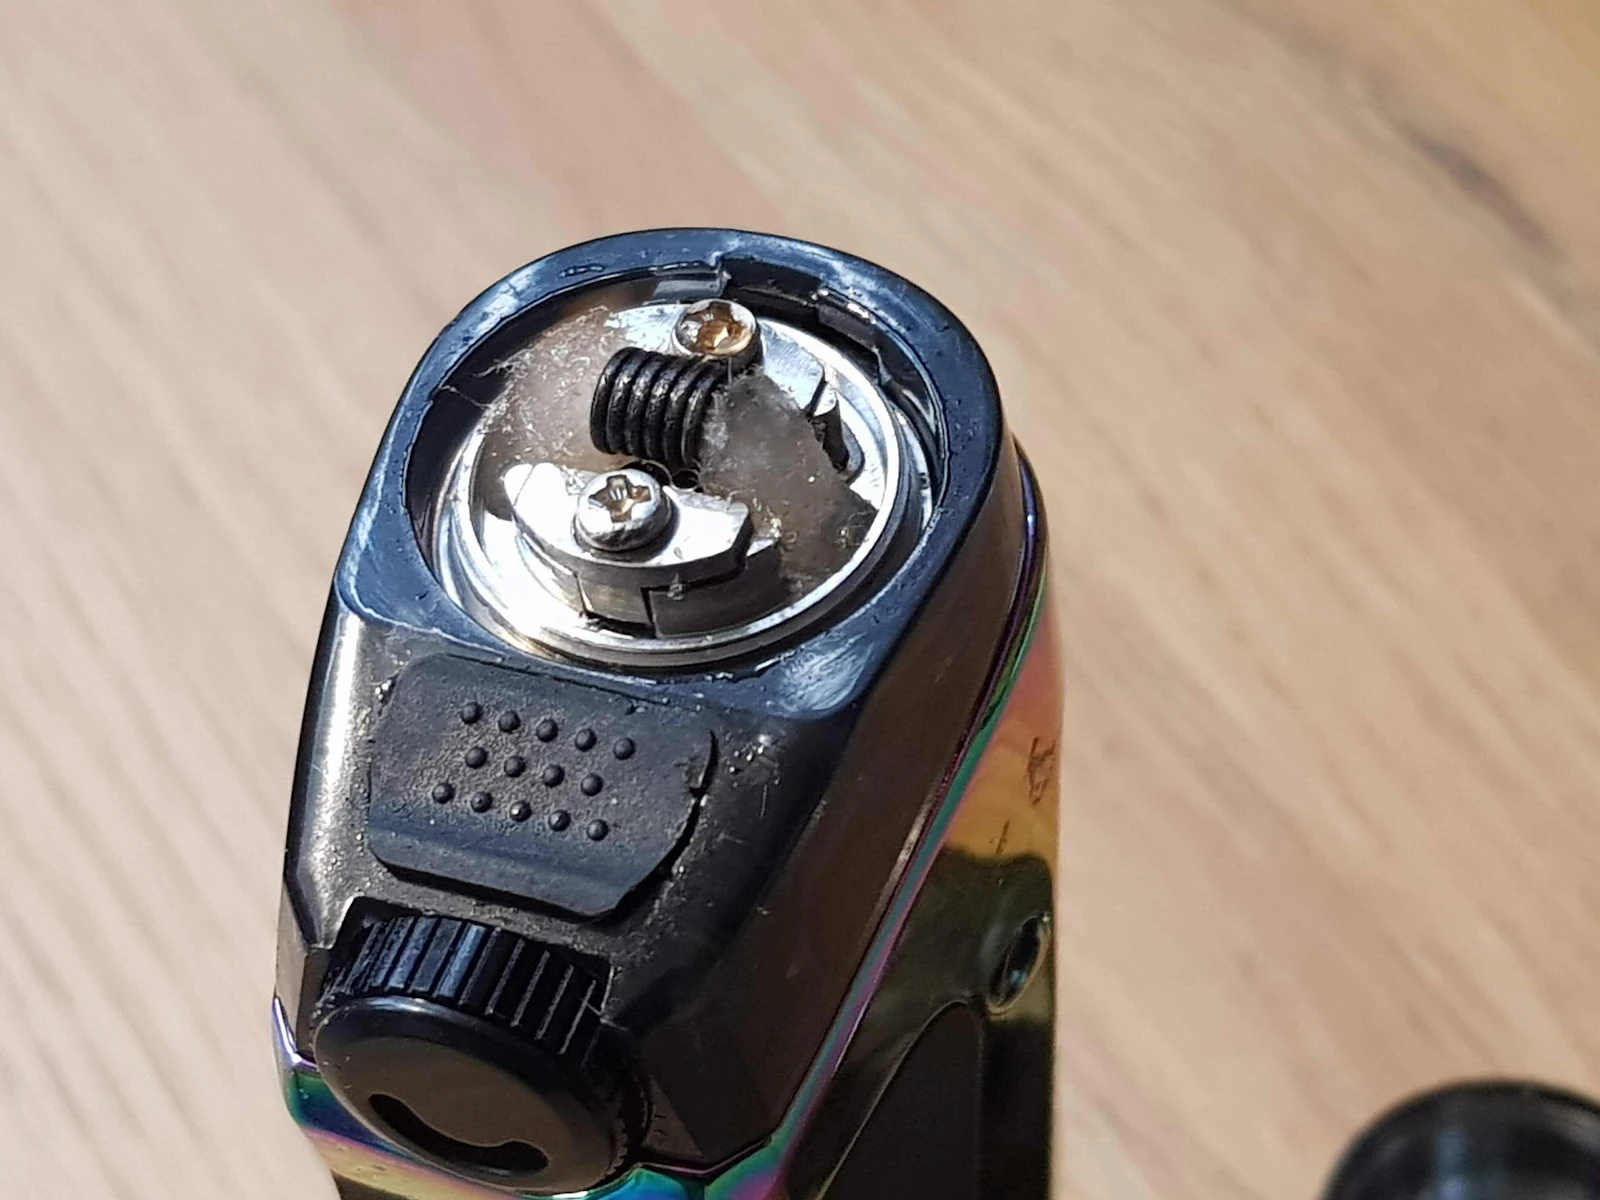
The Aegis Boast RBA Build.
The build really couldn’t be easier, and is perfect for beginners to build on, the chamber unscrews to give direct access to the post less build deck, simply unscrew the two deck screw, which loosen off the two clamps either side of the deck, just making sure not to loosen them off to much, as the are a Paine to put back in.

Carefully aligning the coil tails under each of the clamps, you may want to use a small screw driver, or coiling rod, to keep the coil in place whilst you tighten down the clamps.
Once the clamps are secure and you are happy with the position of the coil, you can trim off the excess coil legs, getting them as close to the deck as possible, so not to short out when you put the chamber and cap in place.
Then you can pulse the coils, heating them up quickly, and letting the cool again, and making minor adjustments to the coils with your ceramic tweezers. To get rid of any hot spots.
Wicking
Once you are happy with your coil, you can then wick it up using the included cotton threads, which you can pull through, being carefull not to move the coil, especially if you have installed the spaced coils, which can easily distort.
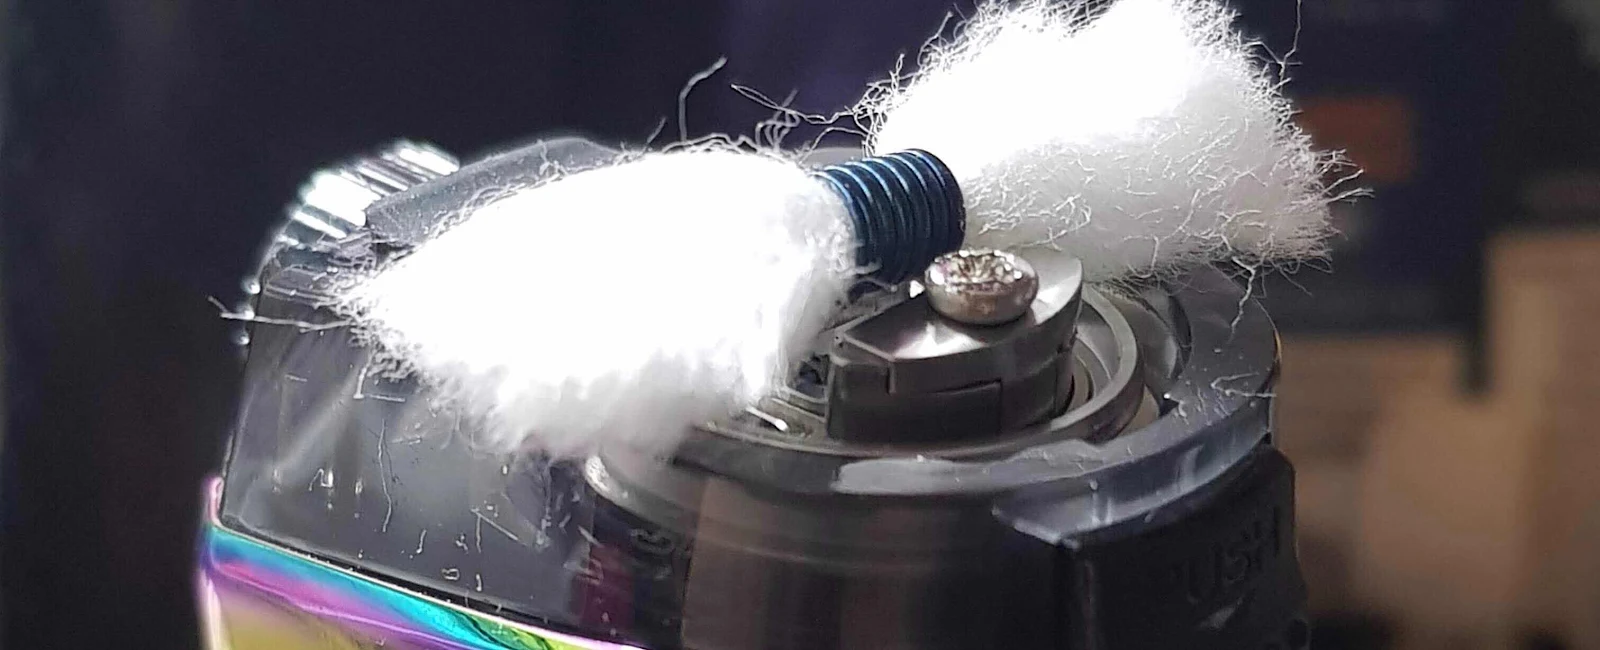
Once the cotton is in place and trimmed to length, you can the ‘comb’ out the cotton, using tweezers to ensure the juice flows easily, and wicks well.
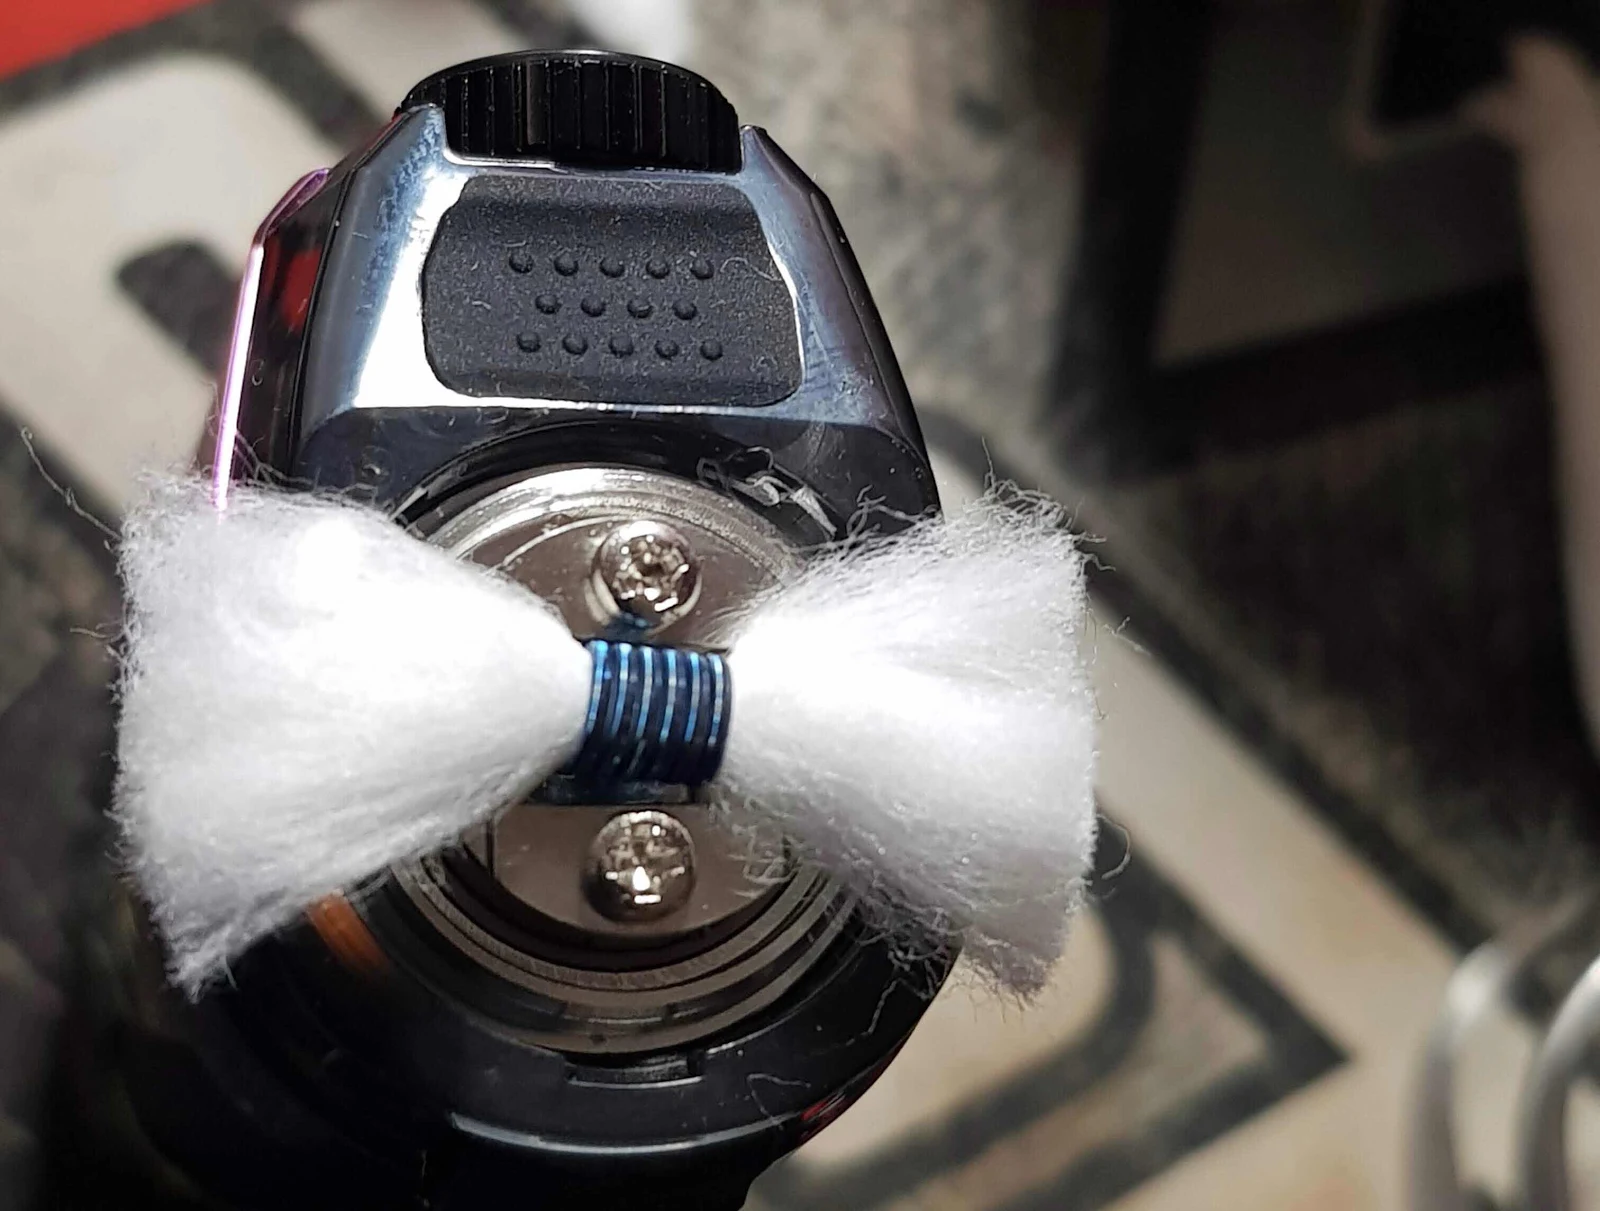
And then retrimming the ends to make them nice and straight, then you can then carefully tuck, each of the tails into the juice holes, and the prime the cotton by adding your favourite juice.
Ensuring that you leave room next to each cotton, to allow the air to escape, this is super important, or the juice will not wick, and you will get dry hits, as the juice stops and the cotton burns dry.
Then you can fill up the tank, and screw back on the top cap, ensuring not to cross thread.
The Verdict Pro's and Con's
Pro’s
- Very well made.
- Great feel in the hand.
- Virtually unbreakable.
- Choice of coils to run in the pod.
- You can upgrade to the RBA Base, for more choice.
- Bright screen
- Long battery life.
- Great Flavour and plenty of vapour
Con’s
- The Tank is too dark, and you can’t see the ejuice level.
- Fill port bung to hard to get out.
- Fill hole to small, and gets air trapped.
Final Thoughts.
I am really impressed with the Geek vape Aegis Boost, especially with the RBA pod on top, great flavour, and an impressive amount of vapor from such a small device, hopefully Geekvape will bring out a V2 with a clearer tank, and larger fill port, and then it would be the perfect out and about vape. Either way still a great little vape pod / mod, and great value for money.
The Geekvape Aegis Boost Kit and RBA base can be purchased direct from Geekvape, or through one of their retail partners such as New Vaping which is an online vape store servicing the UK Vape Market as well as mainland Europe.