
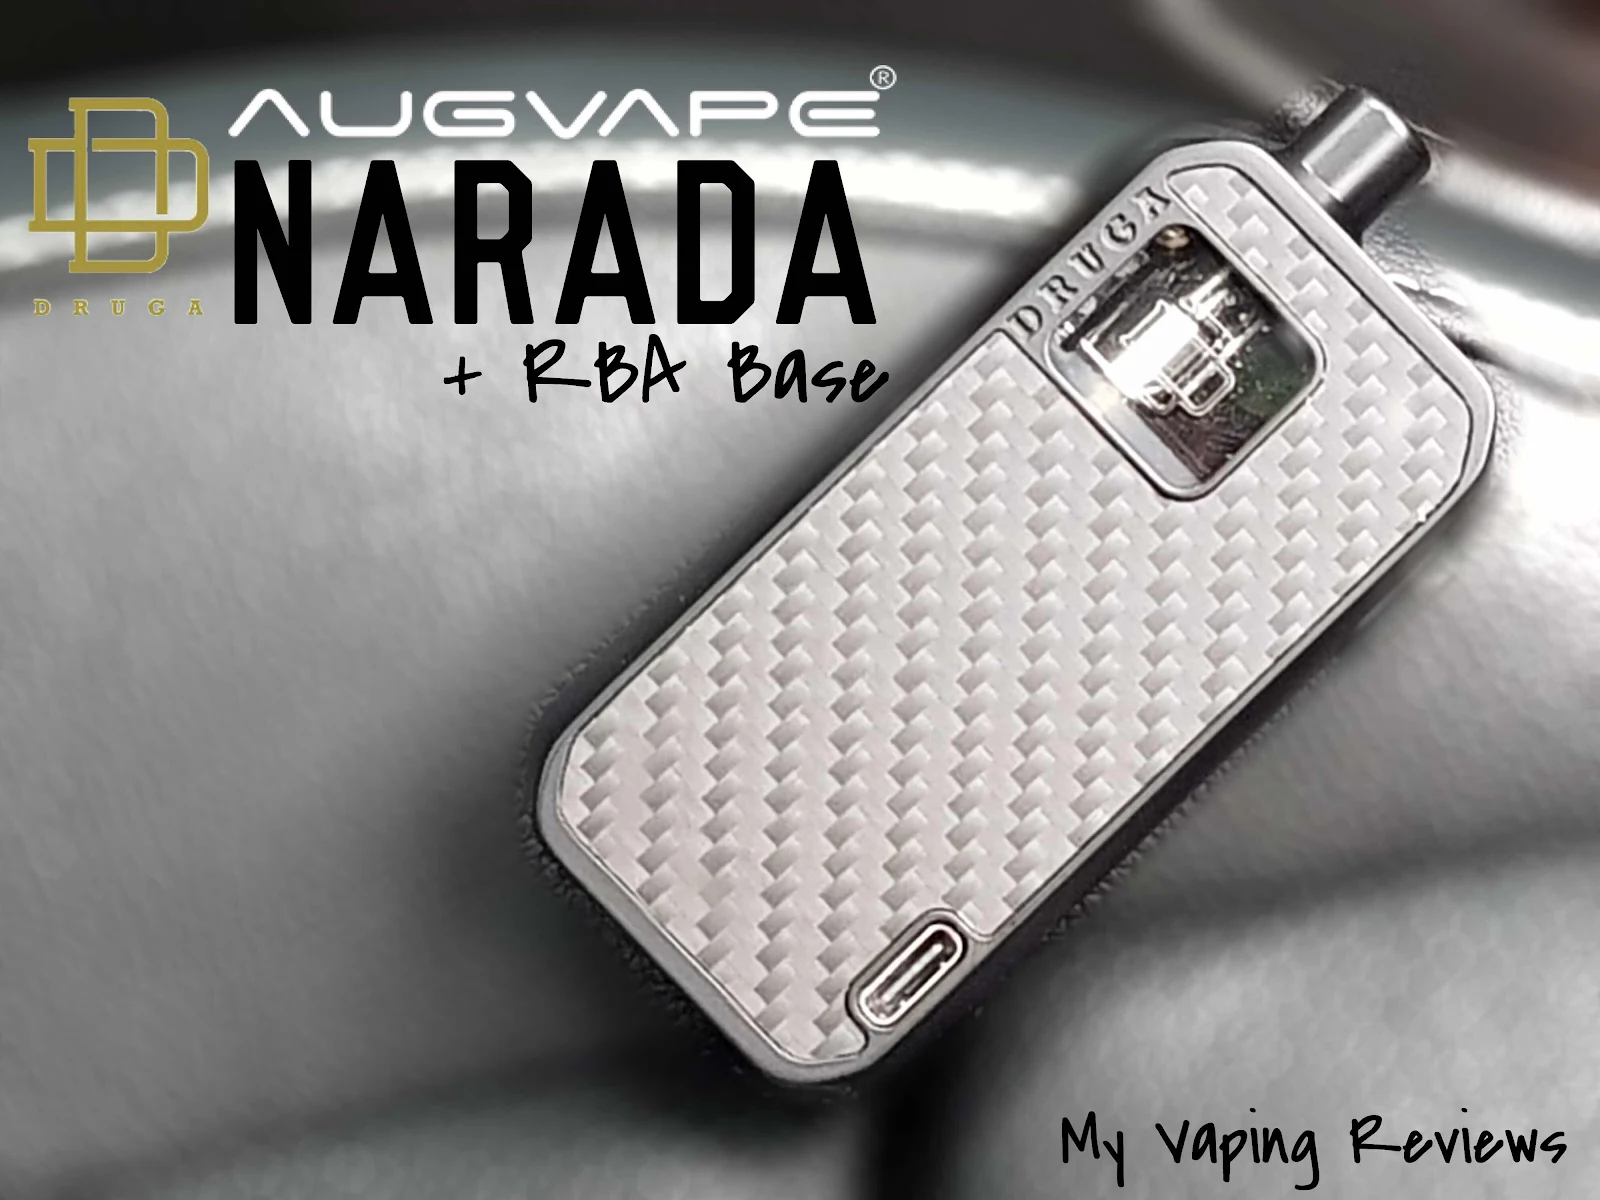
The team over at Augvape very kindly sent over the AugvapeNarada Pod Kit, plus the DIY RBA base, Free of charge for the purpose of this review.
The Narada joins the very competitive POD and AIO (All In One) device market that has radicly grown since the TPD, and the introduction of device capacity.
The pod systems have taken the place of the cig-a-likes and pen style vapes, for newer vapers to start on, give them a much more satisfying vaping experience. The Augvape Narada Pod Kit, and the newly release Narada Pod Pro, have been designed to appeal and satisfy even the more experienced vapor, with its fully adjustable air-flow control, and the addition of the tiny little RBA base, allowing vapors to build their own coils, and be less dependant on the ready supply of stock coils, which can be hard to find, as newer systems are launched, there by extending the life of the Narada Pod.
The Narada inherits the esthetics of the minimalist design of the Druga Foxy mod. No Screen, No Airflow control ring on the main body and no other buttons apart from the fire button, Creating the simplest Pod MOD ever.
Whats in the box?
The Augvape Druga Narada Pod kit comes complete with everything you are going to need to get going, apart from you choosen juice.
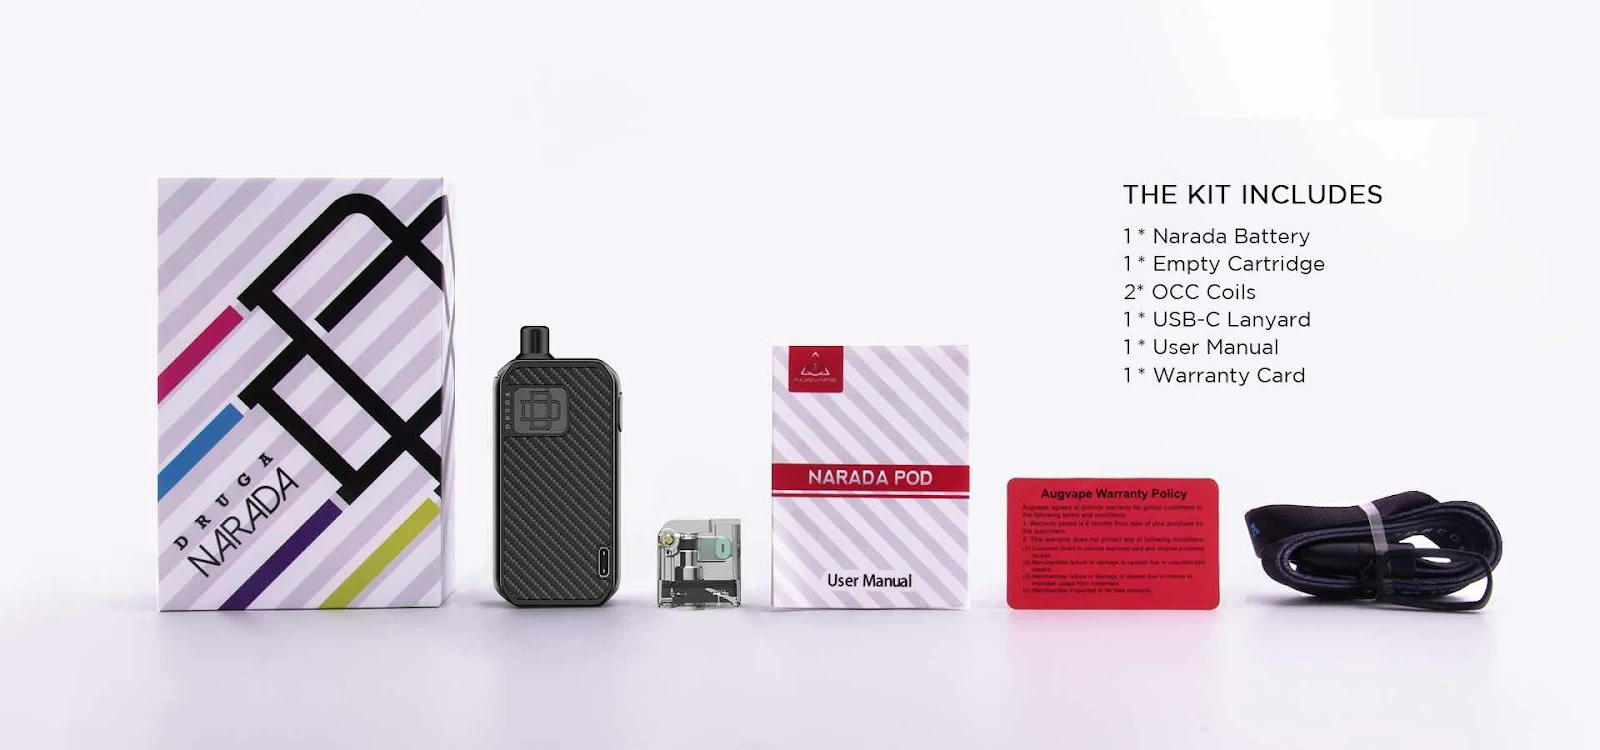
- 1 NARADA Battery
- 1 Empty Cartridge
- 2 OCC Coils (0.5ohm SS316 / 0.6ohm Kanthal)
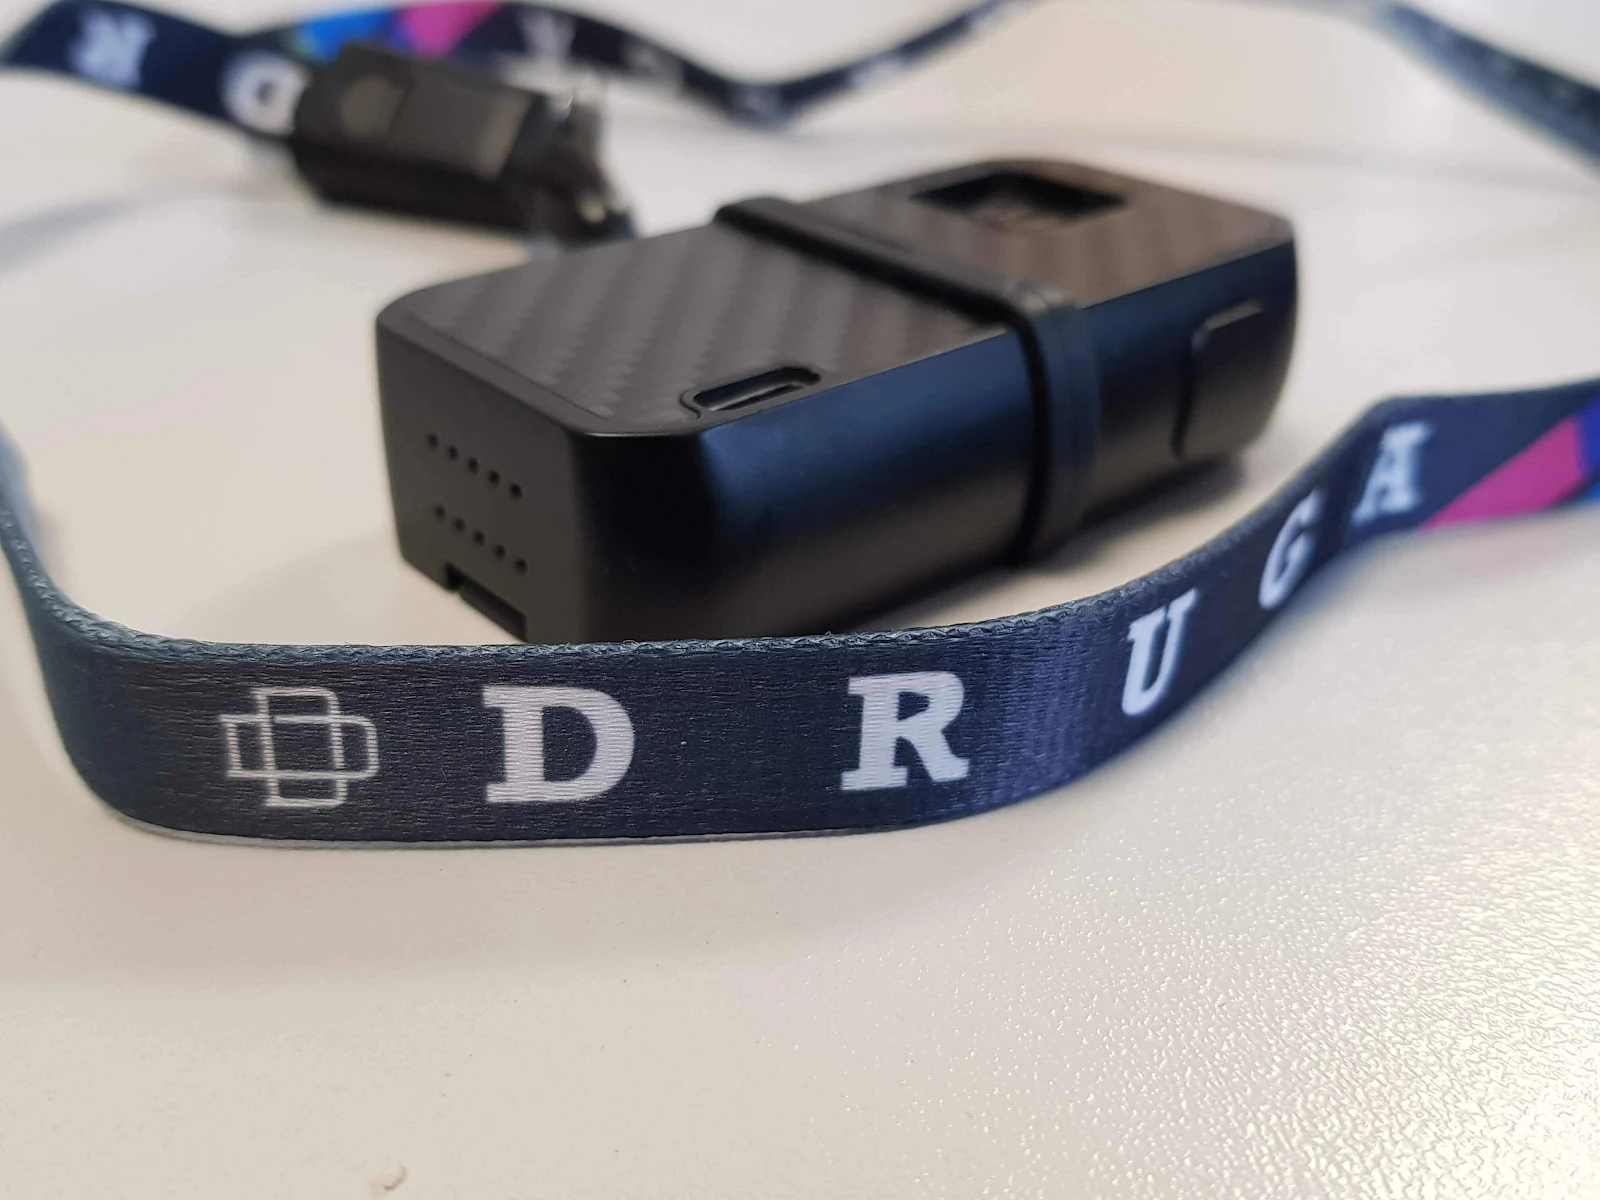
- 1 USB-C Lanyard
- 6 Airflow Inserts
- 1 User Manual
- 1 Warranty Card
Augvape Narada Pod Kit Spec
- Dimensions – 85mm by 37mm by 19mm
- Weight - 129g
- Integrated 1100mAh Rechargeable Battery
- Zinc Alloy Chassis Construction & PCTG
- LED Battery Life Indicator Light
- Refillable Pod – Replaceable Cartridge
- 2.8mL Juice Capacity
- Adjustable Airflow
- Coil Resistance - 0.5ohm SS316 / 0.6ohm Kanthal
The Druga Narada Pod comes in a choice of three colours, Black PC, Black Carbon Fiber, Red with Black Leather.

Key Features of the Druga Narada.
The pod its self is simple by design and is made up of esentially 4 components, the body of the device that houses the 1100mAh battery, the juice carteridge, the mafnetic back door and the removable drip tip.
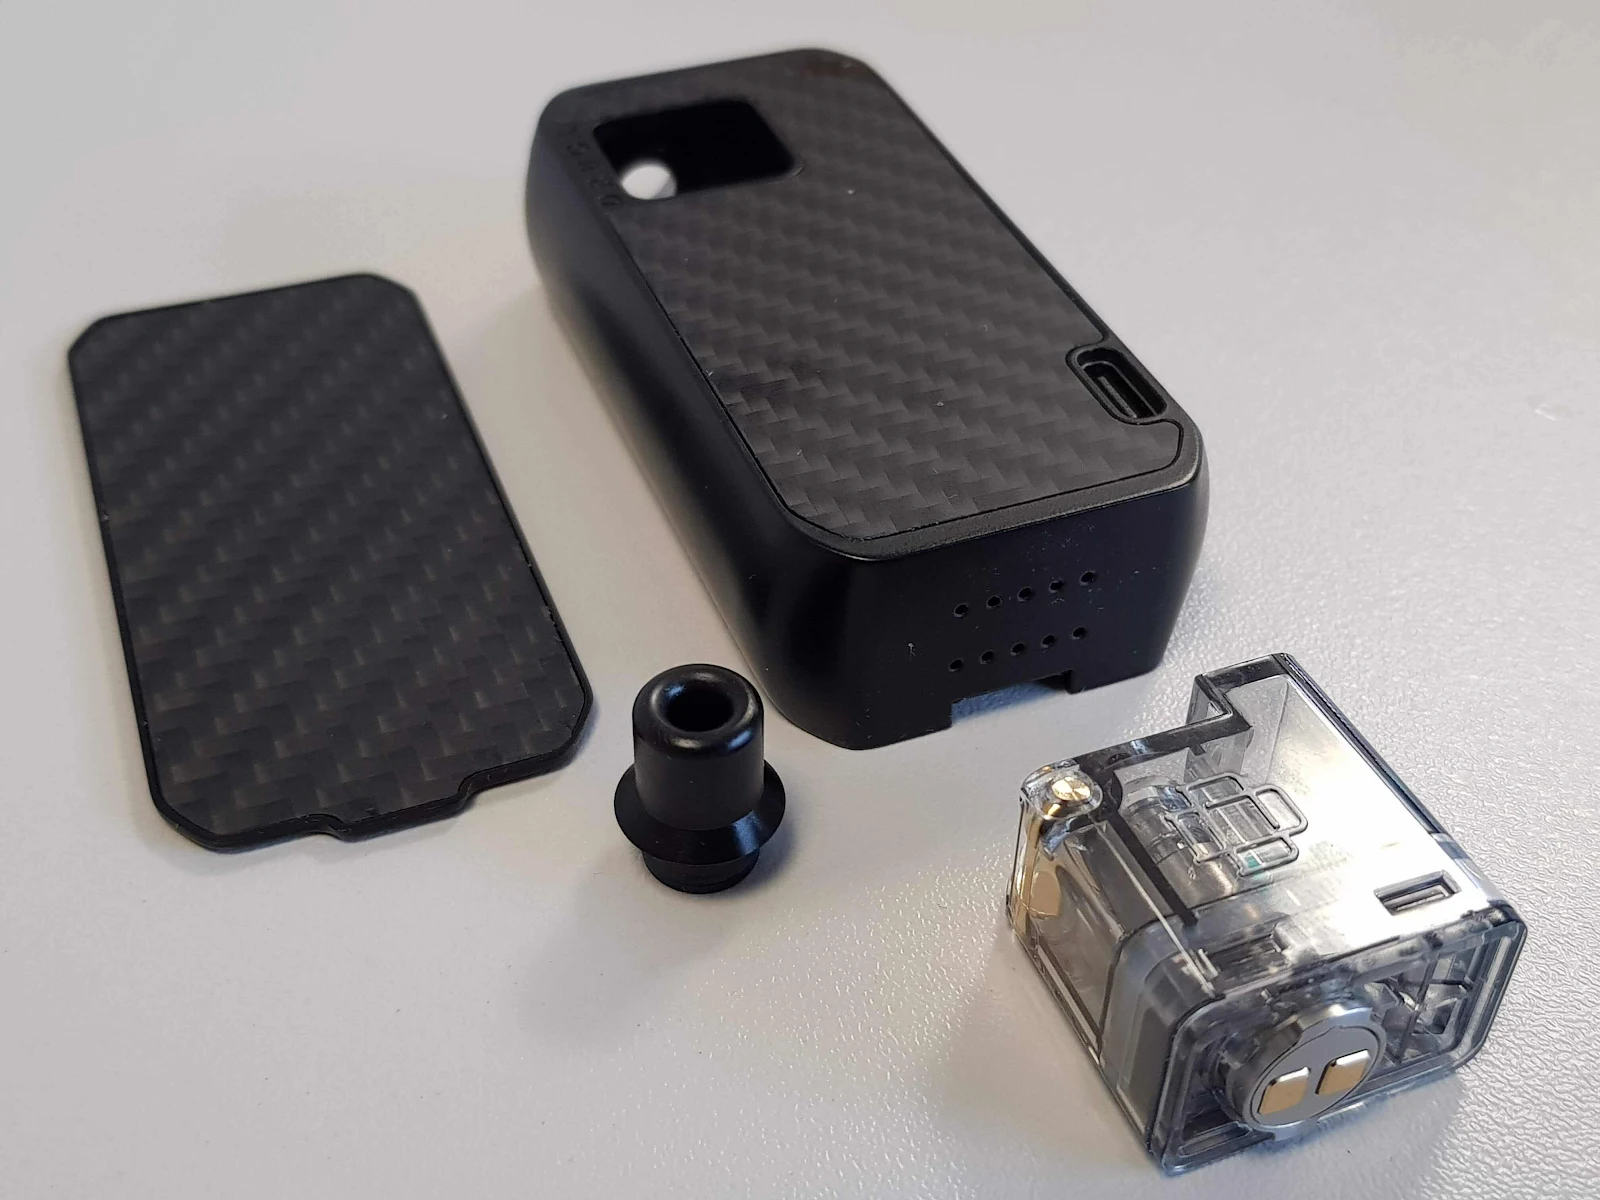
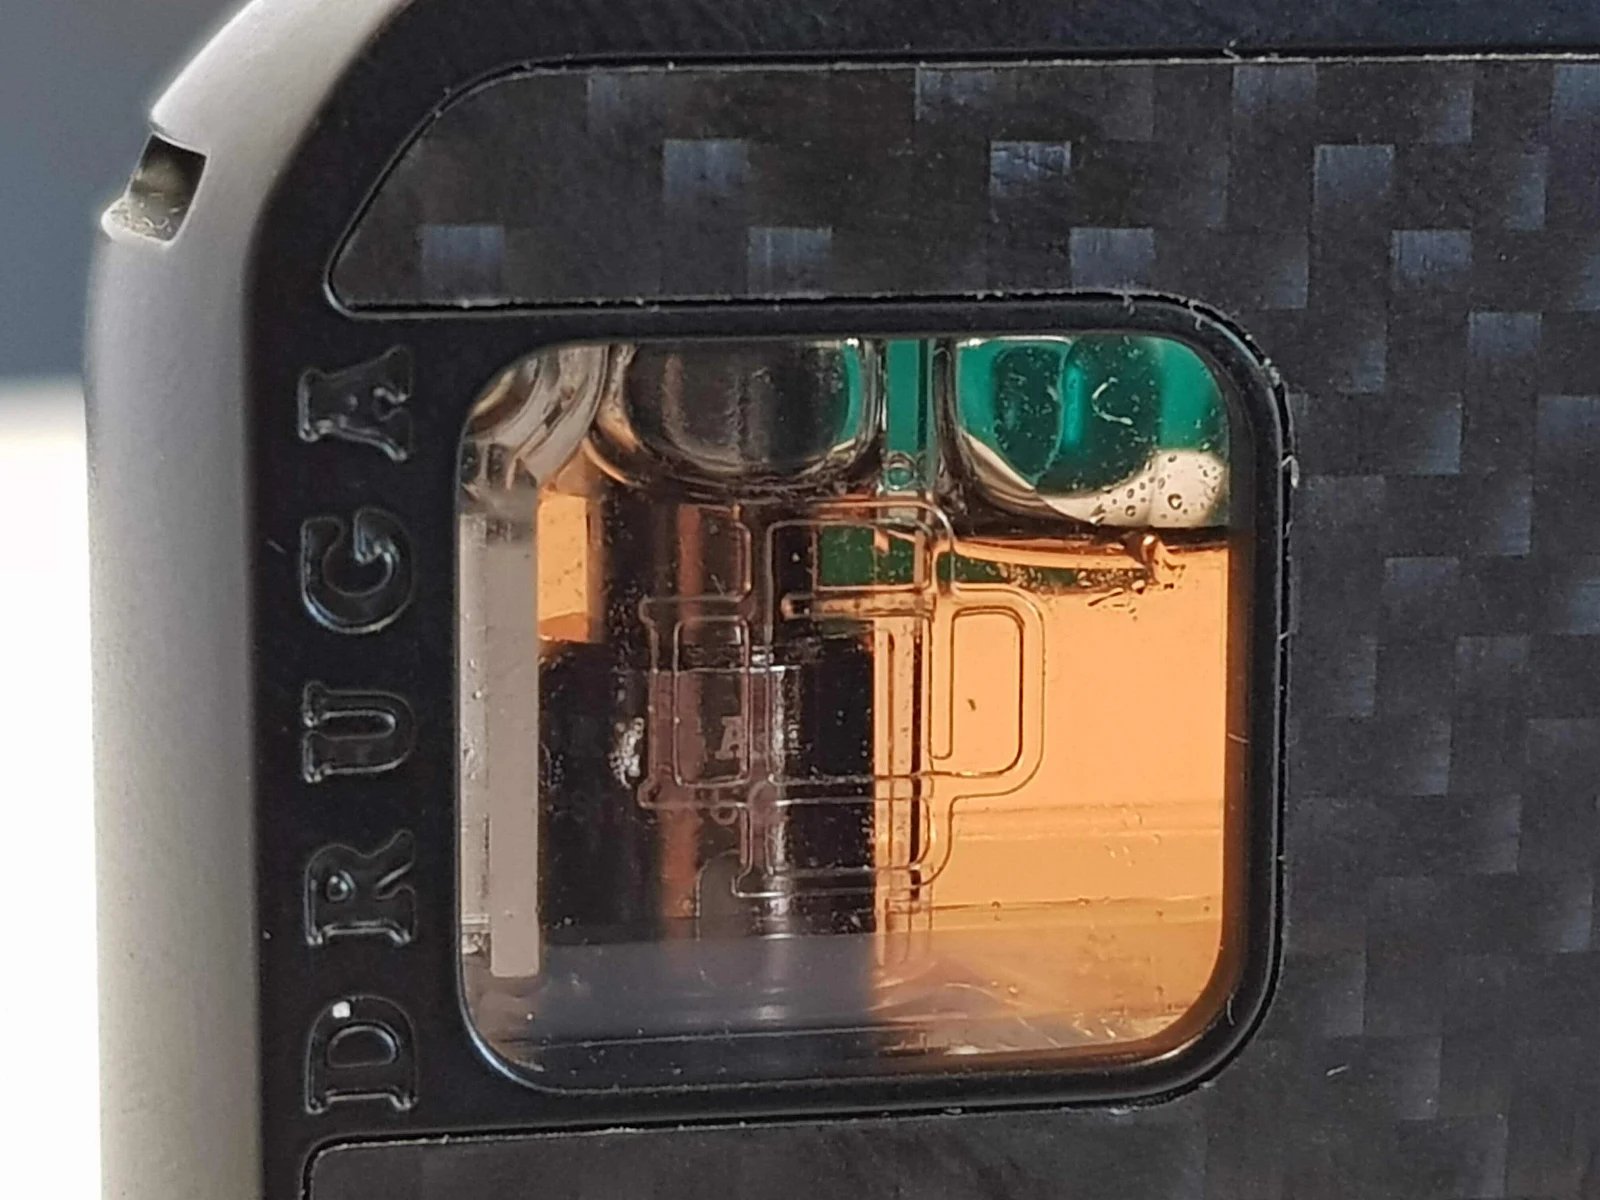
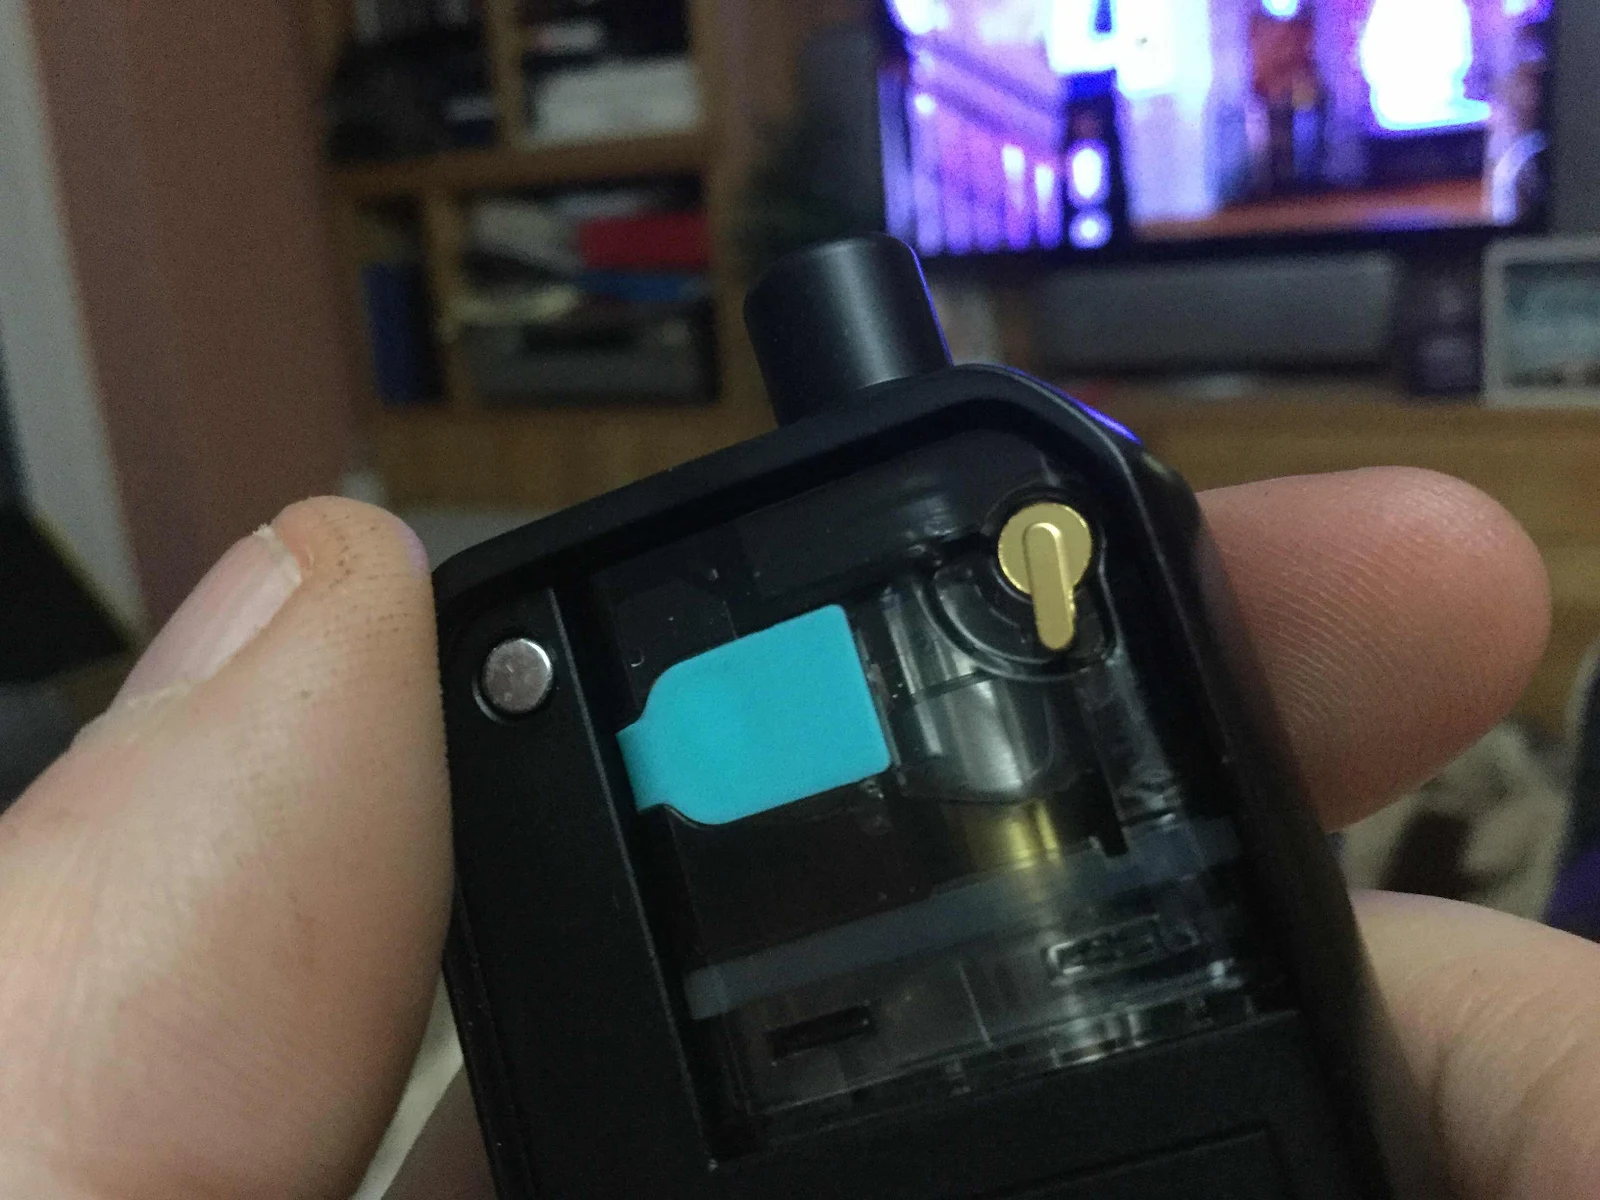
The Narada Cartridge can be access by simply removing the back panel, which is held firmly in place by 3 strong magnets, removed using the cut out slot at the bottom of the back plate.
The cartridge can then be simply pushed out through the window on the face of the device, Once removed you can then change out the coil as required, which has been press fitted through the underside of the cartridge

The really nice thing with the Druga Narada is the fact that you dont have to remove the cartridge, to fill it up, or adjust the air-flow, this can all be done by just removing the back panel.
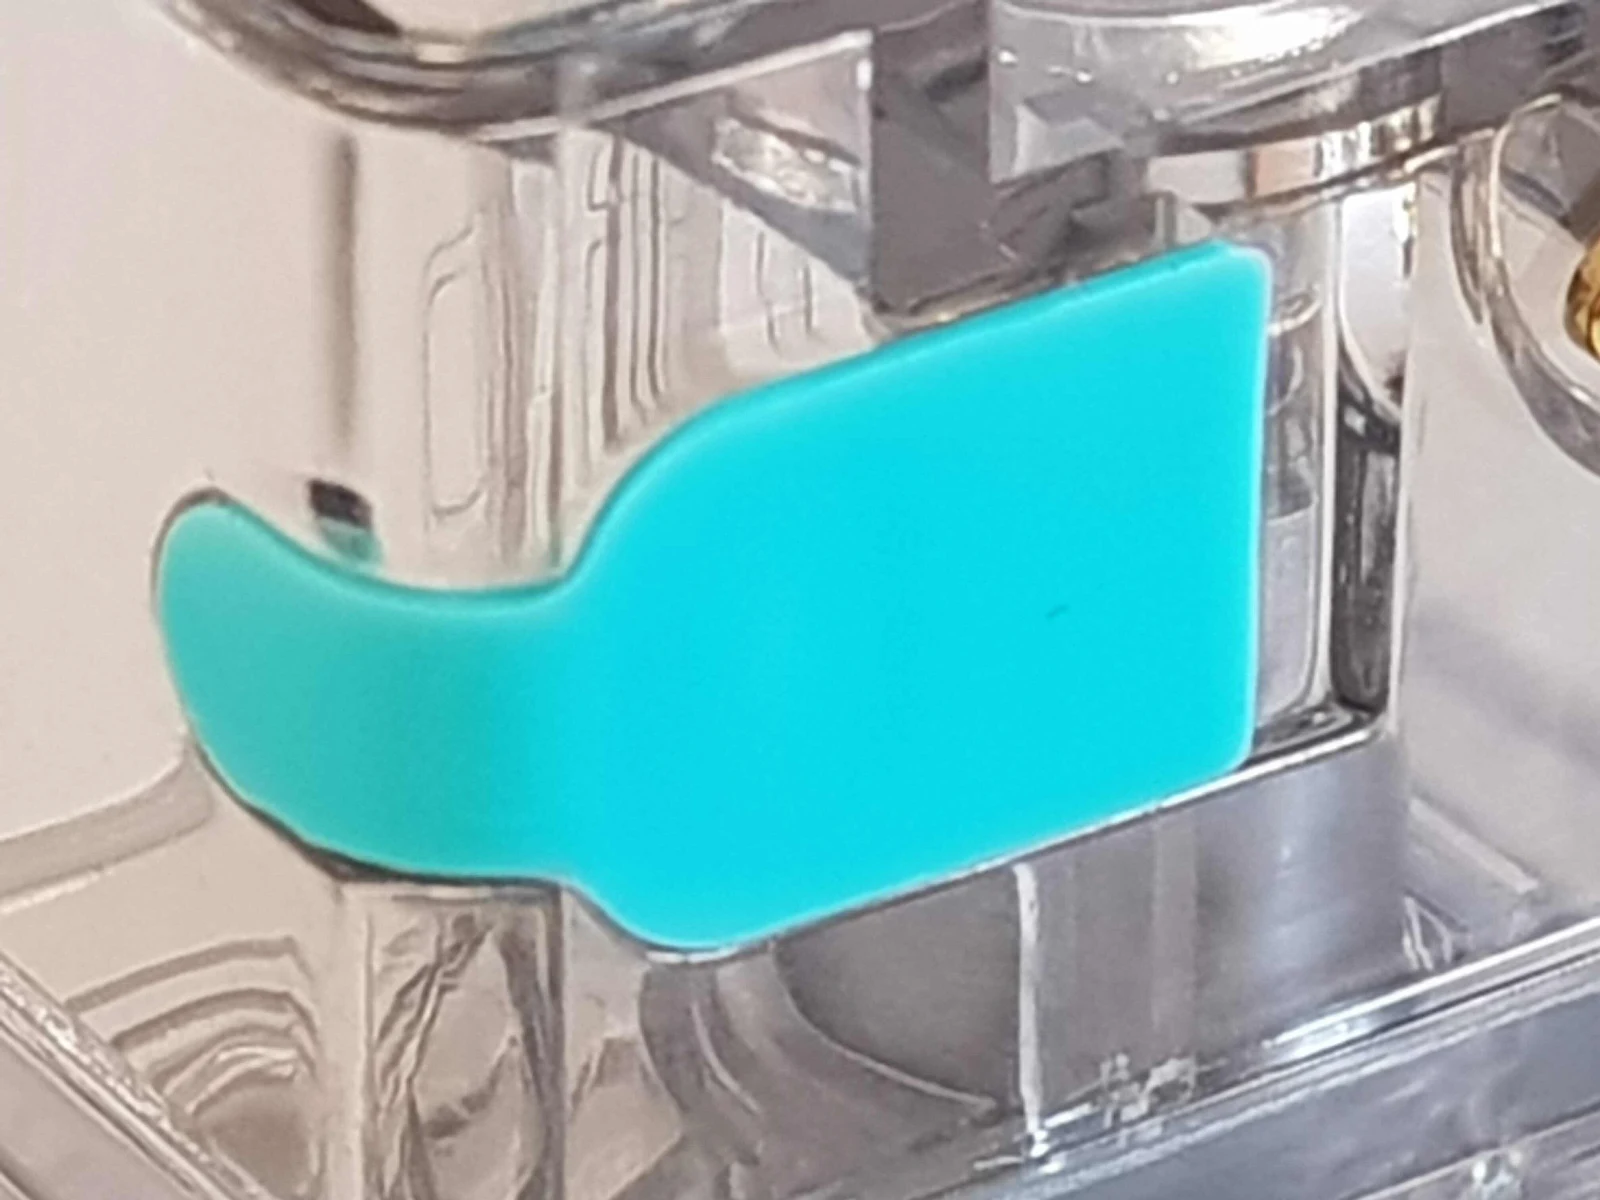
The blue rubber plug, can be simply lifted by your nail to expose the fill hole, you do need to take care when filling it, not to over fill, as it only takes 2.8ml of juice, it soon fills up, and sometimes you do need to tilt it slightly to allow the air to escape, before you can fill it right up to the top, or in this case the side.

The cartridge its self is held securely in place, even with out the back off, due to the small pair of spring loaded gold plated contacts inside the apeture of the recess, which are perfectly alinded to make contact with the coil, when installed.

The chimney section of the cartridge is sealed off with a small rubber o-ring on the underside of the month peace.

On the wall of the cartridge recess they have installed the indicator light, which has two purposes, firstly to light up the cartridge and juice, to allow you to see your juice level.
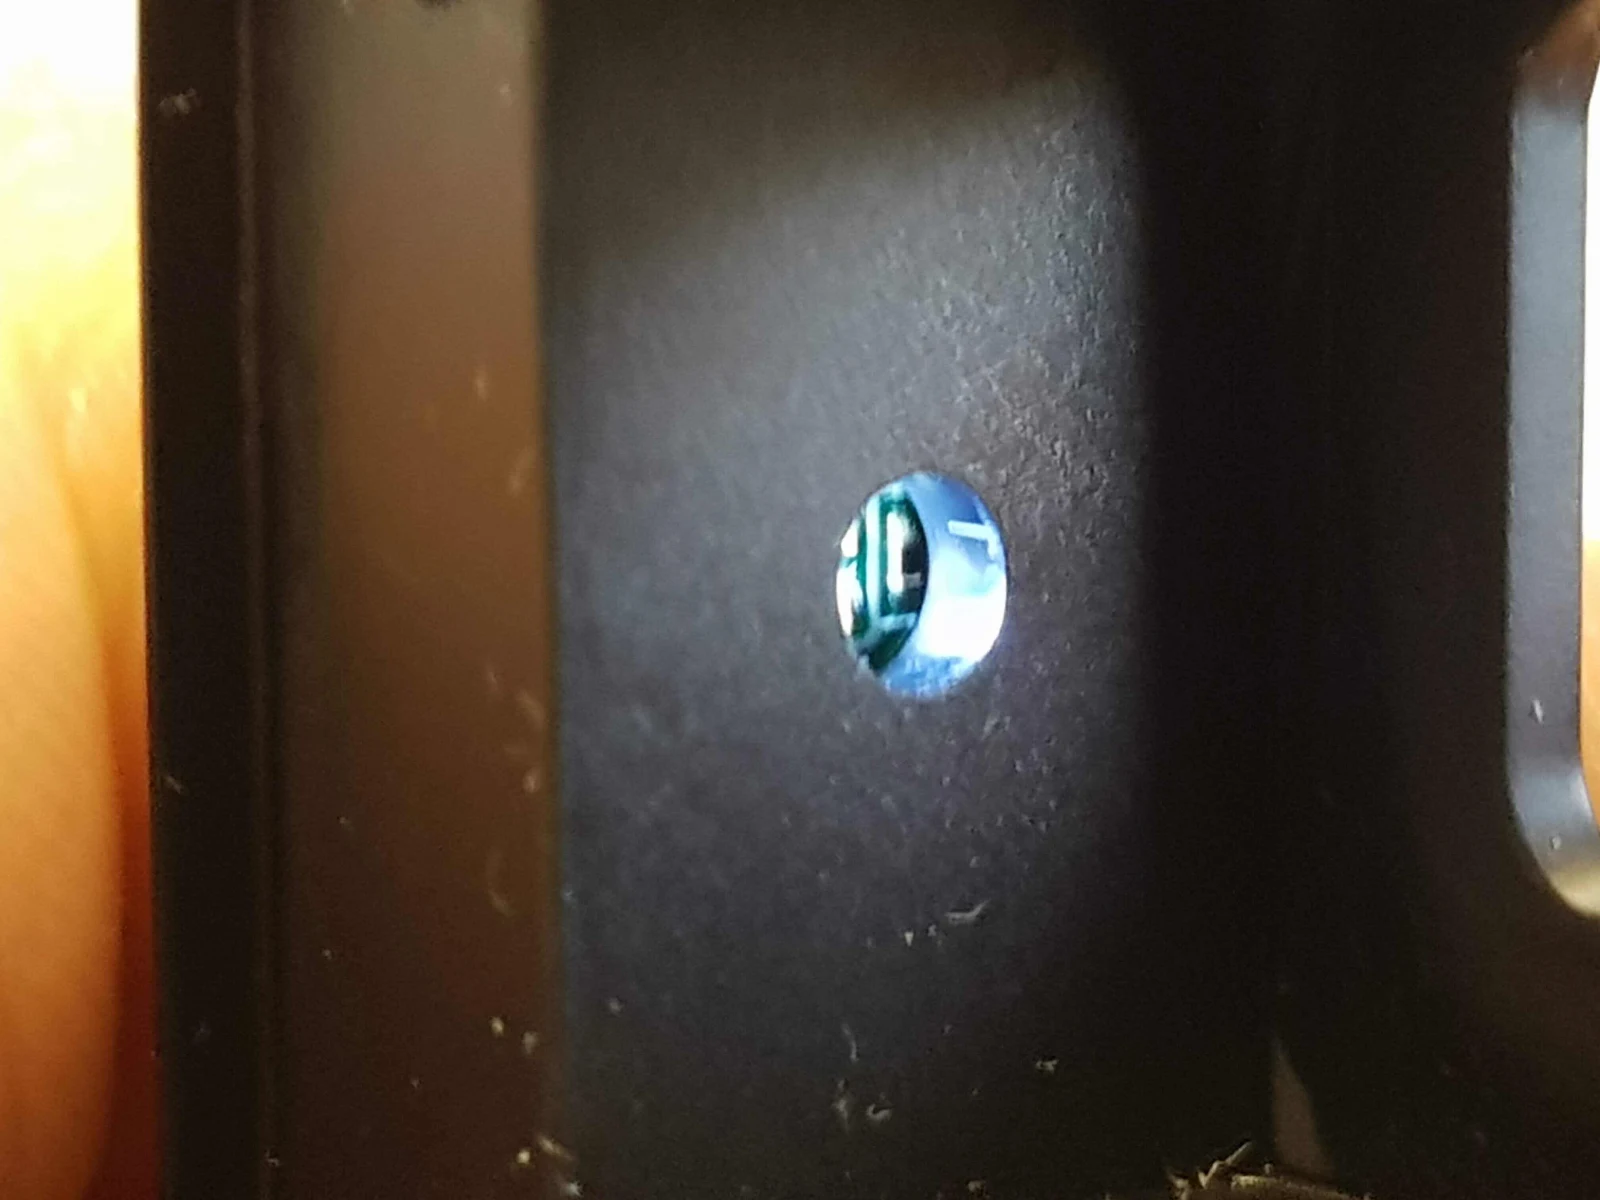
Unfortunatly, this LED is no where near bright enough to allow yuou to check you juice level, and i end up having to remove the back cover, to allow enough light in to see how much juice i have left.
Personally i would have perferred to see a cut out on the back panel to allow you to have clear vision all the way through.
The second purpose of the LED is to show you have much battery life you still have.
- White light when vaping = full battery
- Red light means battery below 3.5v
- Flashing red light means voltage now below 3.3v – time to charge you device.
Also whilst you are charging the device, the LED will turn Green light to indicate it is charging, and the goes off when charged.
The Narada has super clean lines, and scores highly on the style front, with only the over scaled fire button, which has a super premium feel to it and nice and clicky. 5 clicks on, 5 clicks off.

I am still undesided as to if i think they have gone to minimalistic, and think i would have liked to have seen a screen, or battery indicator, on the back side under the back panel, which would have kept its clean lines, but added an extra level of functionality. As it is one of my pet hates, not really knowing how much battery life if have in my device, before i leave the house, and i dont think you have really be that sure with just an LED the changes colour, but that is just my opinion.
The other think that I am not quite sure on, is the location of the charging Type ‘Craft socket, the fact that Augvape have gone to all the trouble of keeping the Narada body as clean and Simple, but the put the type C socket in a cut out on the front, when I feel it would have been better located behind the rear panel, out of sight, and would assist in keeping it dust and pocket lint free.
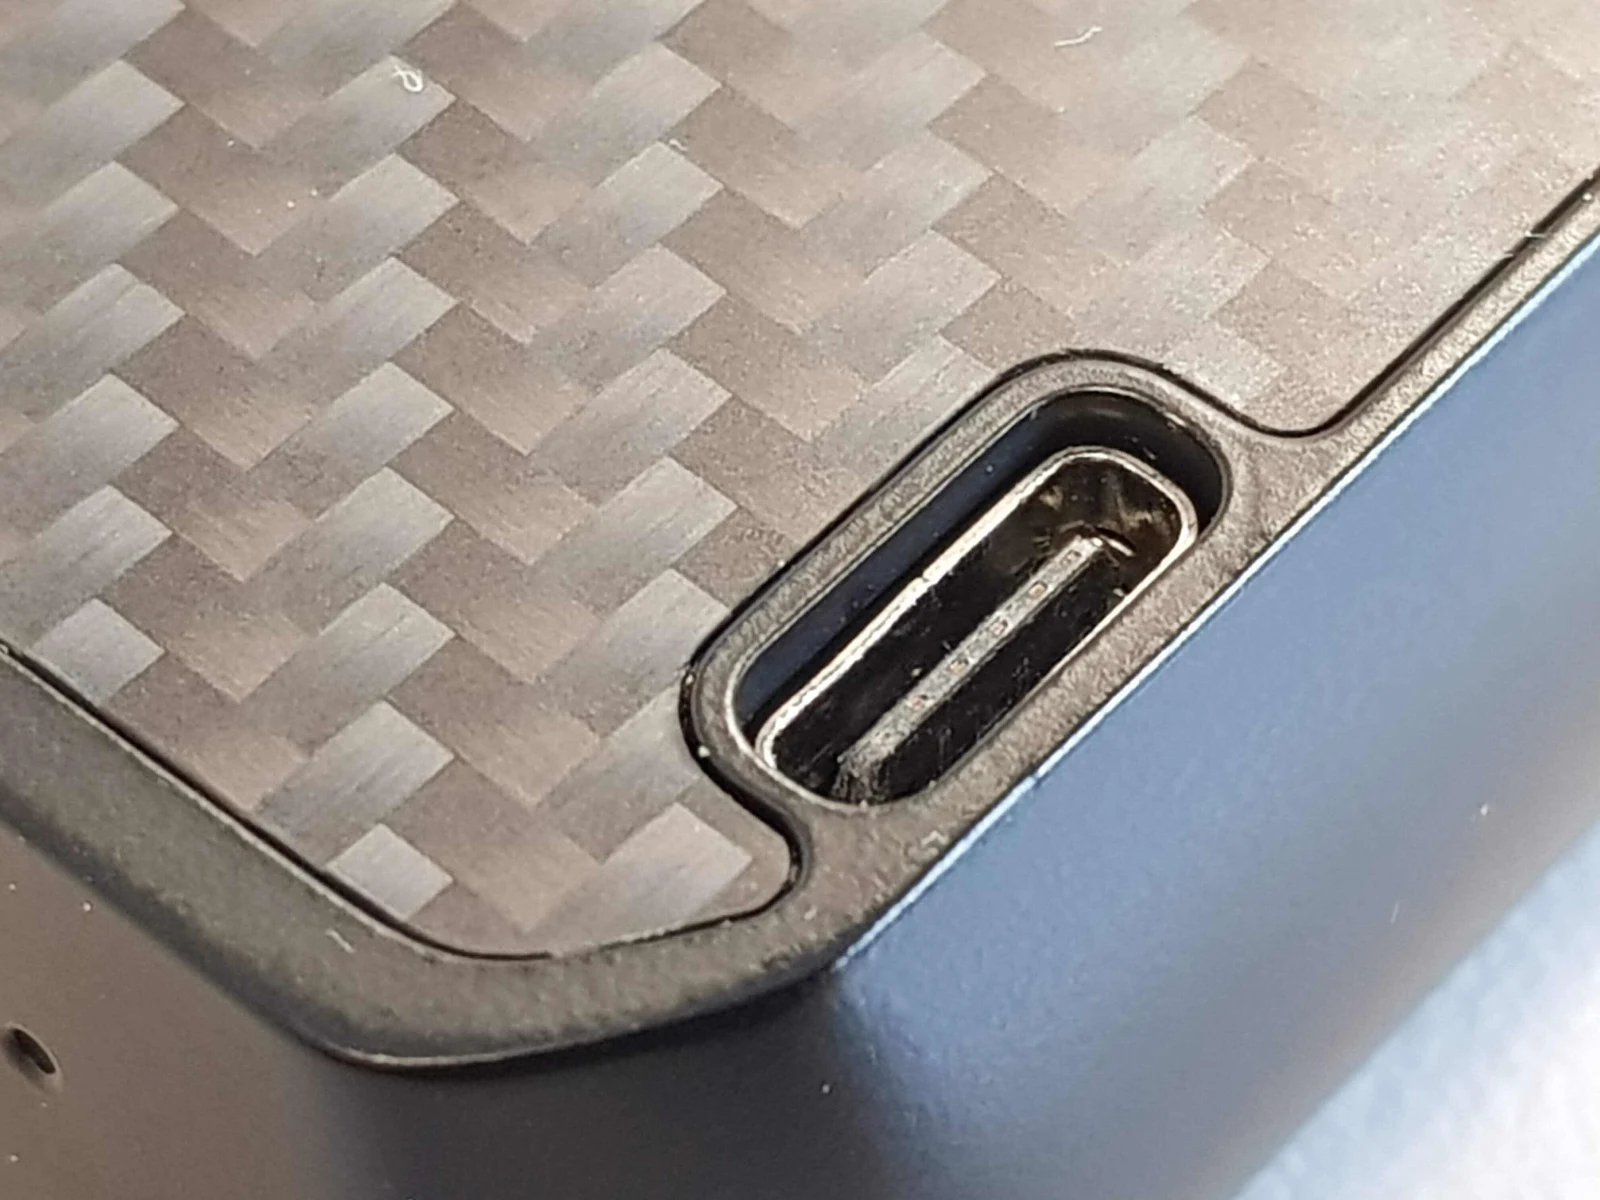
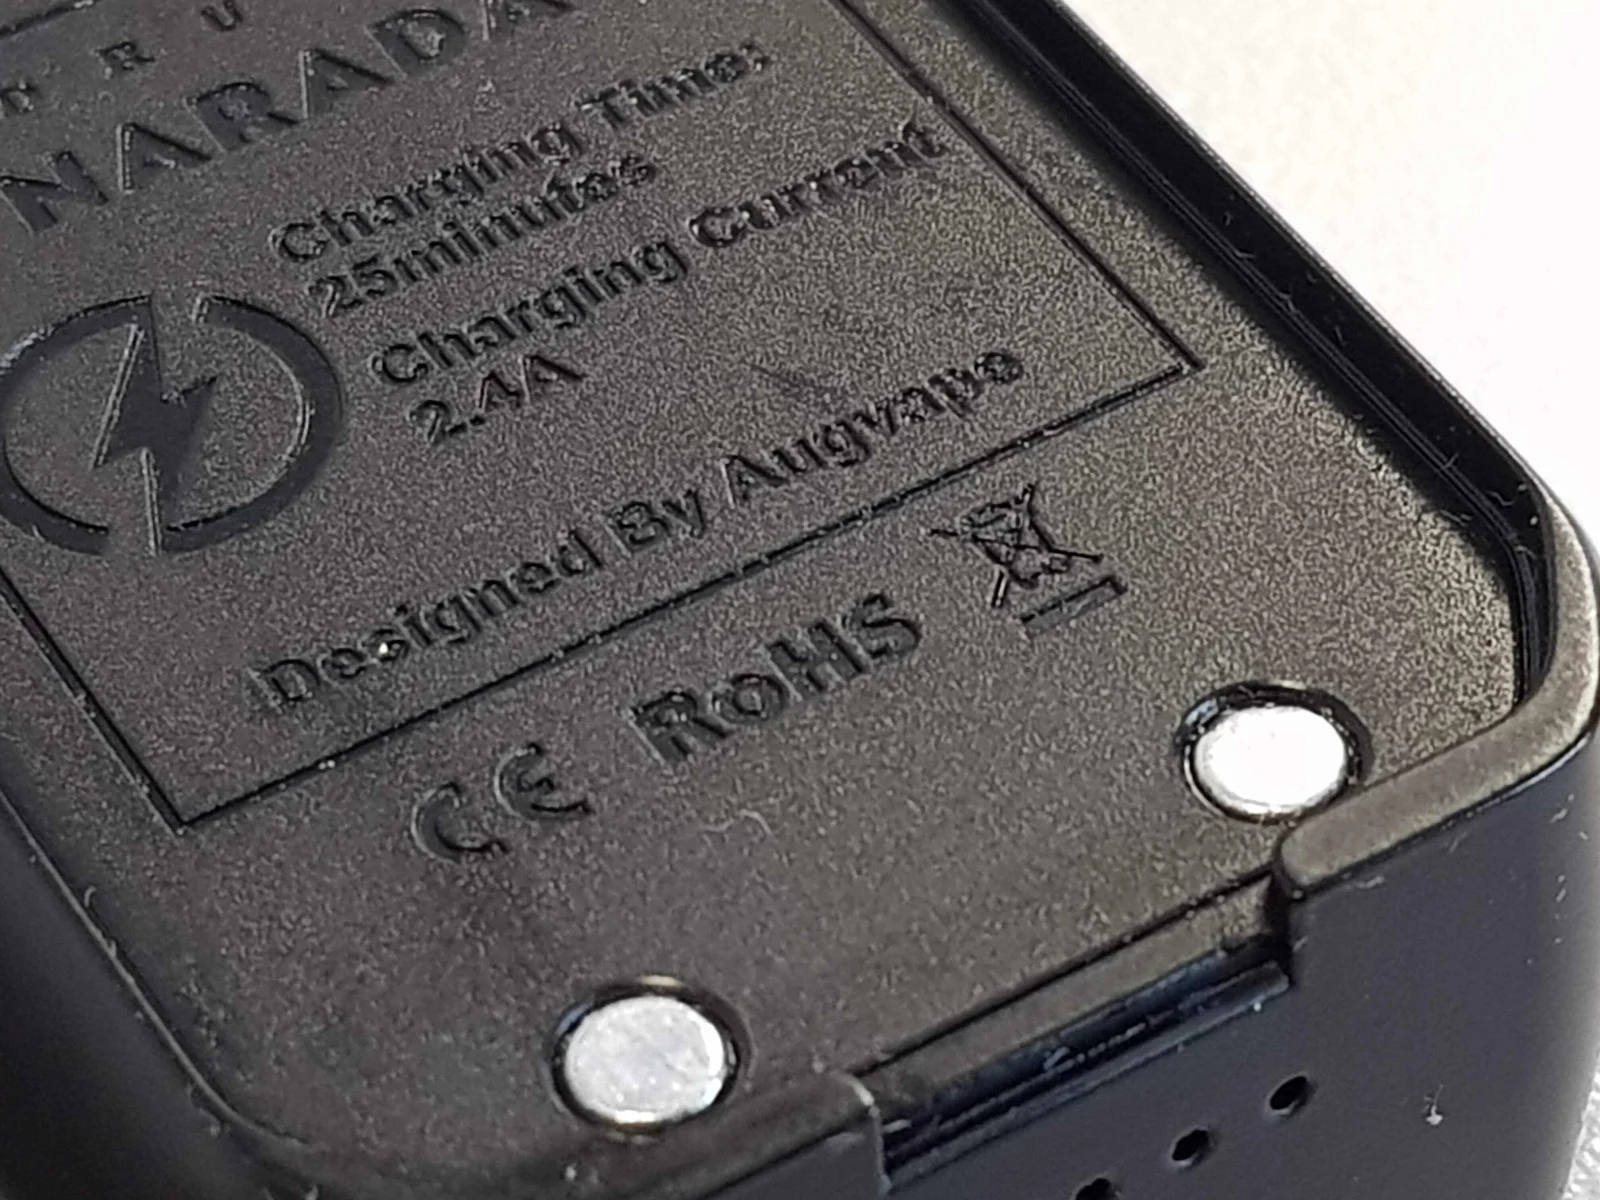
Whilst we are on the subject of charging, it is great to see they have gone for the more modern Type C port, allowing for faster charging, meaning that this little beauty will charge up fully in only 25mins.
Also I really like the design on the charging cable, they have very cleverly designed the smart looking Lanyard to double yo as the Type C Charing cable, meaning that whilst you have the landyard with you, you will always have you Charing cable to hand.

Quite brilliant , and something that I have not come across before, very very clever.
Build Quality and Design.
Apart from the minor changes I would make, you really can’t fault the build quality, a real design classic. It feels super sold in the hand, and very well weighted, giving it a real premium feel to it.

As the have taken the time to provide you with a lan yard, I would have preferred a way to attach it to the pod, rather than using the band to go around the body, which you then have to take off, every time you want to fill it up, they could have used the airflow slot at the top somehow, to hang it from.
The Druga Narada RBA Build.
I think it is great that they have given you the option of the RBA base, to put your own build in, I just think it would have been nice if it had been included in the kit.
The RBA section comes with the RBA base, and threaded chimney section that screws down onto the top, plus a 510 Adapter which allows you to screw int into a build deck, or mod, firstly to give you a stable base to build on, which you will need, trust me, and secondly allowing you to dry burn your coils once in place, and get out any hot spots.

The kit also includes spare screws, which are tiny, as you will end up loosing them. My kit didn’t seem to come with any coils which was a bit mean, as I had to search through my coil collection, for the tiniest coils I could find, So if you are going to order the RBA section, you might want to pick up some tiny coils, or double check if it comes with them, even one or two would be nice. Lol.
The other thing you are going to need in some type of magnifying head gear, I have had one for years as I need them even on a normal build, as my eyes can’t focus, long story and four eye operations.

They do include a micro screwdriver, which did come in very handy.

It was just a case of backing the screws off, don’t take them out, as you will struggle to get them back in. Once backed off, you can the lie the coil tails in the slots next to the screw, and then carefully tighten them down, whilst holding the coil in place, and not twisting the coils.

I must admit it wasn’t my finest work. I would have been quite happy if it had come pre-installed with the coil, and then just left you to thread the cotton.

Once the coil is in place, you can the dry burn it, to get all the hot spots out of the coil. Then grab a small bit of cotton, and carefully thread it through the coil, it really doesn’t have to be very tight, less is more. Once threaded and cut to length, you will then need to comb it out, to thin out the amount of cotton, and the test fit the chimney section. I had to trim a bit more of the ends so that it wasn’t poking out of the bottom of the chimney. Before your remove the coil from your mod or meter, just check the resistance again, to ensure that the chimney isn’t shorting out on the end of the coil legs. (I had to re-trim, as I couldn’t get the chimney over the top.
Augvape Druga Narada Pod Performance
I have been super impressed with this kit, great flavour, with just the right amount of airflow. And the battery seems to last me most of the day, as you don’t seem to hammer it as much as you would do the bigger mods. And running Nic Salts in it you seem to get plenty of kick.
I really like the fact that you can find tune the airflow, from tight to loose, by just rotating the small brass level.
The RBA build seems to deliver slightly less flavour that the stock Mesh Coil, but that might have something to do with my build, would like to see an RBA Base that you could build with mesh, as it definitely seems to deliver a better level of flavour, I think when I do the next build, will try and wrap my own, with a few more wraps, to get a bit more surface area.

Likes & Dislikes
It’s not so much a likes and dislikes, it’s more a likes and improvements.
Likes.
- Real Premium feel. Great weight to it.
- Great Flavour
- Adjustable Airflow.
- Looks amazing.
- RBA Rebuildable Option.
- Type C Fast Charging
- Lanyard and Charging cable in one.
- Removeable cartridge, easy cleaning.
Dislikes / Improvements
- Lack of Screen, or visual battery display.
- LED light not bright enough
- Can’t real see juice level, as no opening behind.
- Type C port open to elements, should have been on the back, under the panel.
- Would like a RBA section to come with coils.
- Would like a RBA Mesh Deck, for extra flavour.

