

Review of the VAPX METEOR MOD
The team over at VapX very kindly sent out the brand new Meteor mod for review, unfortunately it got slightly delayed through customs, hence the review and testing have been slightly delayed.
VAPX is a relatively new brand to the Vaping market, founded by a group of engineers and designers, bringing with them over 10 years of experience from within the Vaping industry. The team are looking to innovate the vapors experience, to bring with it, a more sustainable healthy lifestyle, integrating both into their products.
They want every new product they introduce to bring excitement to the Vape industry. And together with Vapers, they want to try and create more reliable products and build better trust with their customers.
The Meteor is the forth product in the VapX lineup, following on from the the Geyser, Geyser 1.5 kits. The Meteor being the first stand alone 510 mod.
Following their mission statement, VapeX didn’t want to produce any old Mod, they want to produce a standout mod with a number of USP’s.
The VapX Meteor boasts the ability to fully charge in around 10 minutes, as well as being IP68 rated, giving it a Waterproof, Shockproof and dust-proof rating above most other tough mods on the market today, which tend to be rated at IP67, The improvement to IP68 means that the device can withstand deeper immersion in water – in this case VapX specify 8 metres. (Not quite sure why you would take you Mod 8 meters down).
VapX Meteor Kit Includes
- VapX Meteor mod
- USB Type C Cable
- User manual

VapX Meteor Mod Specs
- Size: 42x80x29mm
- Output: 5-80W (0.5-8V)
- Output Current : 1 to 40 Amps
- Input Voltage : 3.2v to 4.2v
- User modes: VW, TC- Ni, TC- SS, TC-Ti, TCR, VPC ByPass.
- Battery: 2000mAh (internal)
- Resistance limits: 0.08-3ohm
- Material: zinc Alloy, Rubber & Plastic
- Type C USB port
- Quick charge base available – 10 minutes full charge
- IP68 waterproof, shock proof and dustproof
- 510 connector

VapX Super Charging Base Specs
- Material: Plastic
- Output current: 10A max
- Output wattage: 5-40W
- Output voltage: 3-4.2V
- Supports PD3.0 and QC3.0 charging protocols
- Available separately

There are 3 colours to choose from: Stardust Grey, Volcano Red and Charcoal Black.

Design & Build
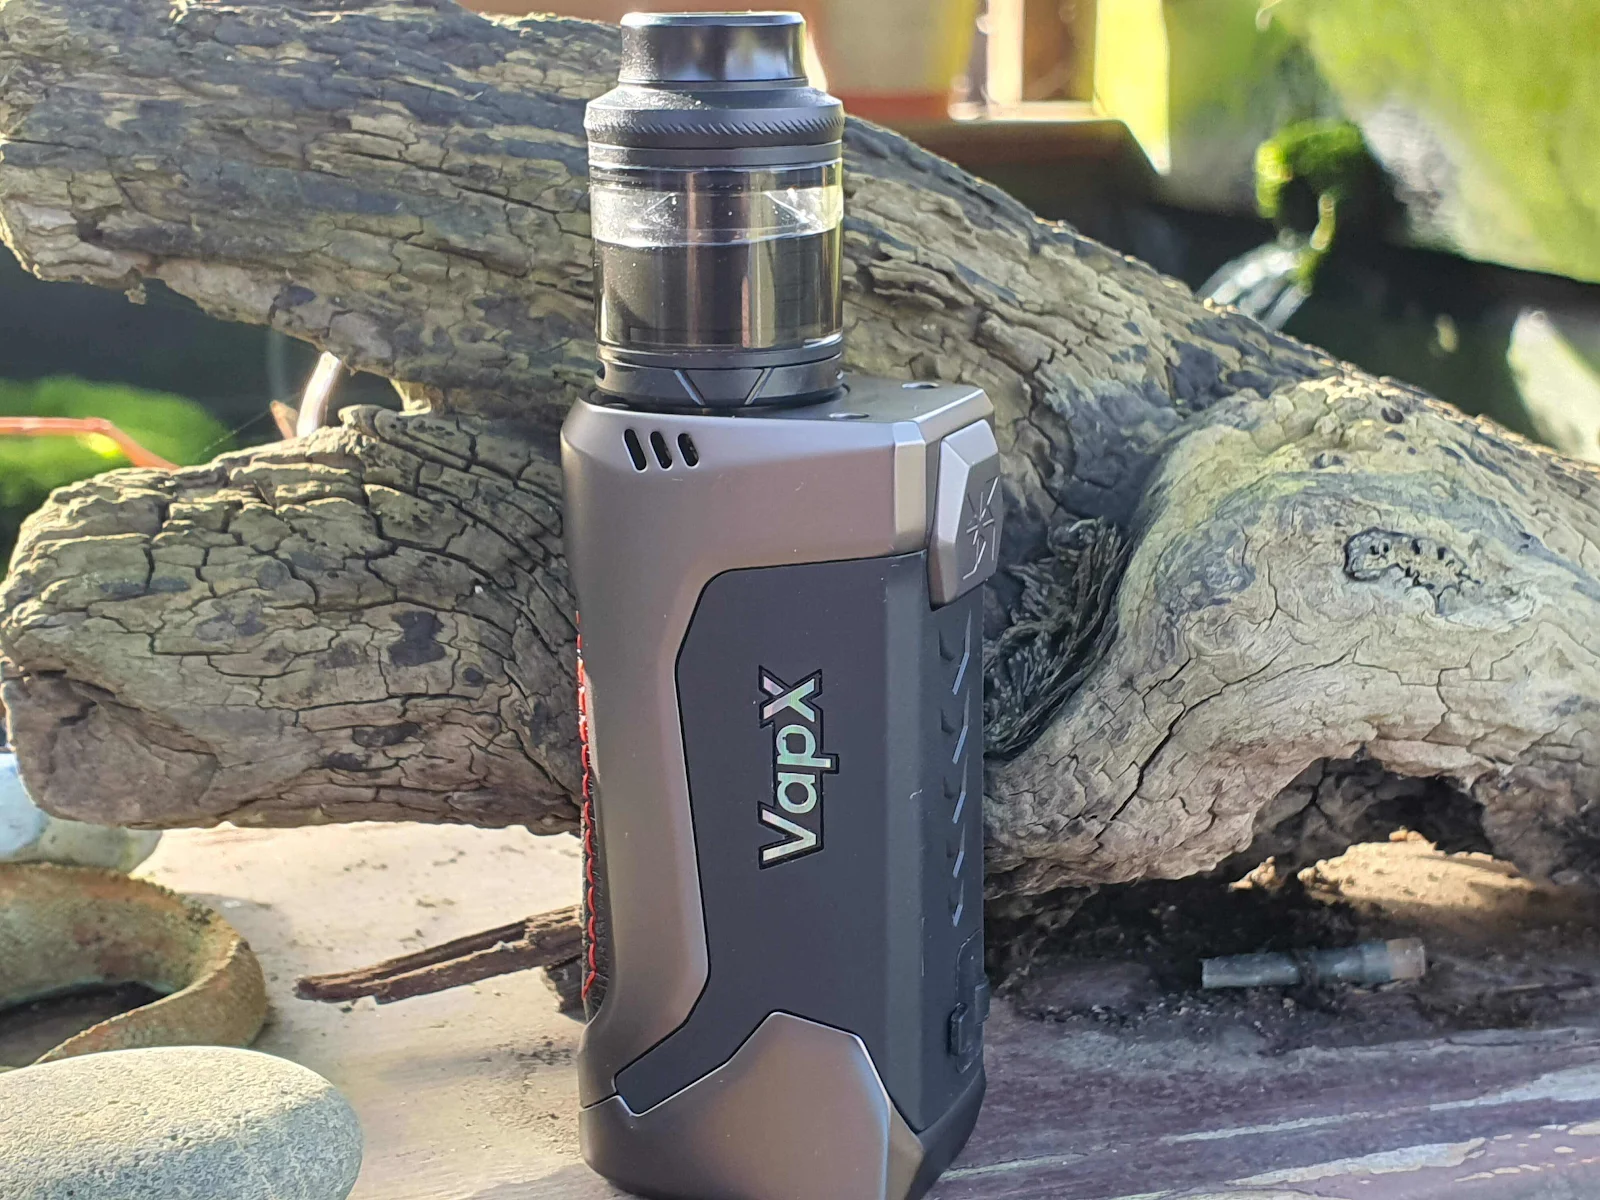
The Meteor has a similar look and feel to it as the Geekvape Aegis Range, with the rubberised feel, and the leather back padding.
The Meteor is definitely well made, and has a really solid feel to it, and looks like it could take a few knocks and drops. The Zinc Alloy chassis sits around the rubber shock proof body like some kind of exoskeleton. Only time will tell how the paintwork stands up.

The only weak point of the build, seems to be the screen, as it seems to be quite a soft plastic, which has already scratched, with only light use, and carrying it around in my pocket. It would have been nice if they had used a harder plastic, or some type of Gorilla Glass similar to what you find on your smart watch or phone.

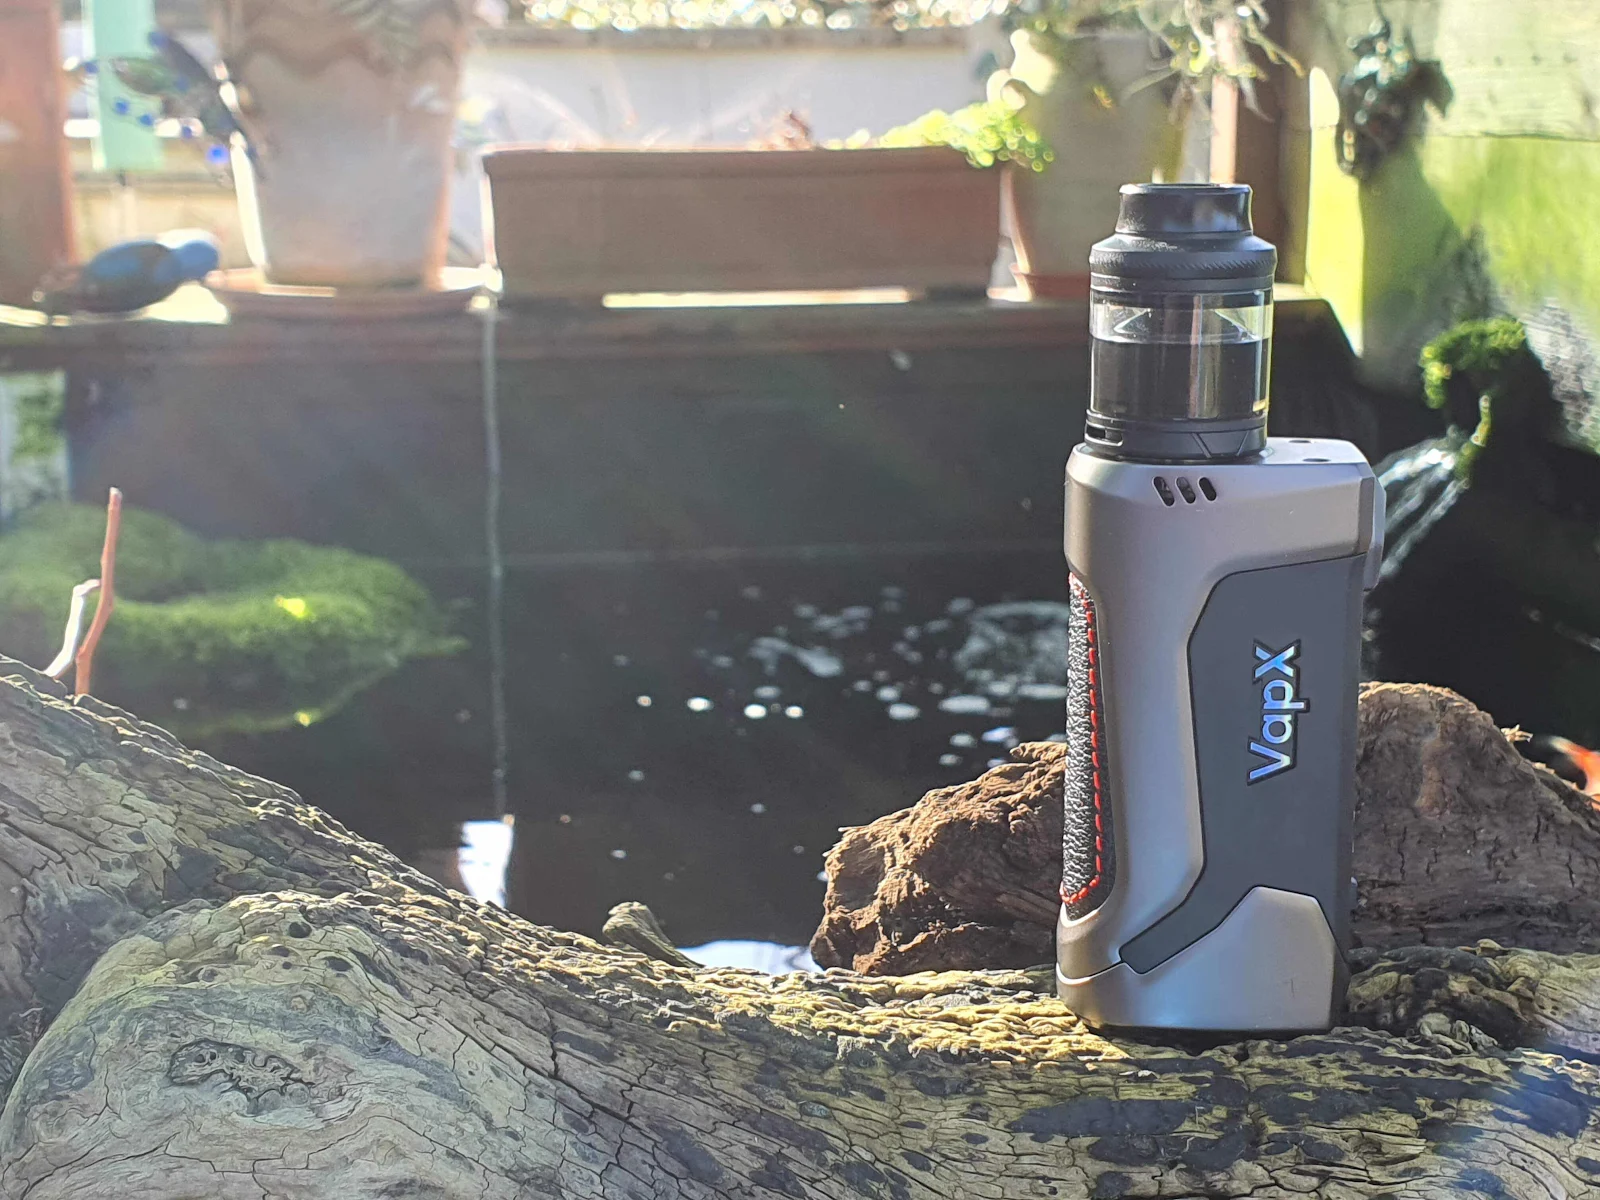
The leather padding that runs down the back of the device, looks nice and feels great in the hand. The contrasting sticking adds to overall look, and outlines the embossed METEOR branding that runs down the back.

The front of the device is uncluttered, and rubberised to give extra grip. The hinged switch is set at the top of the panel, being hinged at the top it only allows you to press on the lower part of the button, to get it to fire. When pressed it has a nice ‘Click’ to it.

The Charging port is placed at the Botton of the panel, covered with a thick rubber bung, which has a heat little connecting strap, to prevent you loosing it.

510 Connection.
The Meteor features a standard gold plated spring loaded center pin, which is set in a circular stainless steel surround, which is slightly raised up, which does produce a slightly gap when the atomiser is installed, would have preferred to have had I flushed fitted, although the stainless Steel surround does prevent a scratching of the painted surfaces.

Battery Connection.
The base of the device has four brass connectors recess back into the base of the device. The recess has a small triangle piece which sticks out on one side, which matches up with the charging pad, to ensure that it is installed correctly on the pad.

There is also a triangle indicator on the side of the device to indicate which way around to install it.

Display
The Meteor features a side mounted screen, which is well proportioned. Bright and well laid out. Displaying all the vaping info and stats that you will need.

- firing mode
- battery indicator.
- wattage set
- coil resistance
- voltage while firing,
- puff counter.
The display brightness 🔆 is fully adjustable.
Controls
The device is controlled by using a combination of the fire button and the two small function buttons, which are strangely unlabelled.

- Pressing the Fire button five times will turn the device On and Off.
- Pressing the fire button along with either the plus or minus will allow you to adjust the brightness of the display.
- Pressing Fire Button 3 times quickly allows you to enter adjustment mode, in which you can cycle between modes.
- Power -
- TC-Ni
- TC-SS
- TC-Ti
- TCR
- VPC
- ByPass
- While the mode is flashing, a quick press of the fire button, will scroll to the resistance, allowing you to lock the resistance,
- Next press will take you to the Puff Counter, Pressing the + will clear the count, pressing the + again will bring back the last count, in case you cleared it.
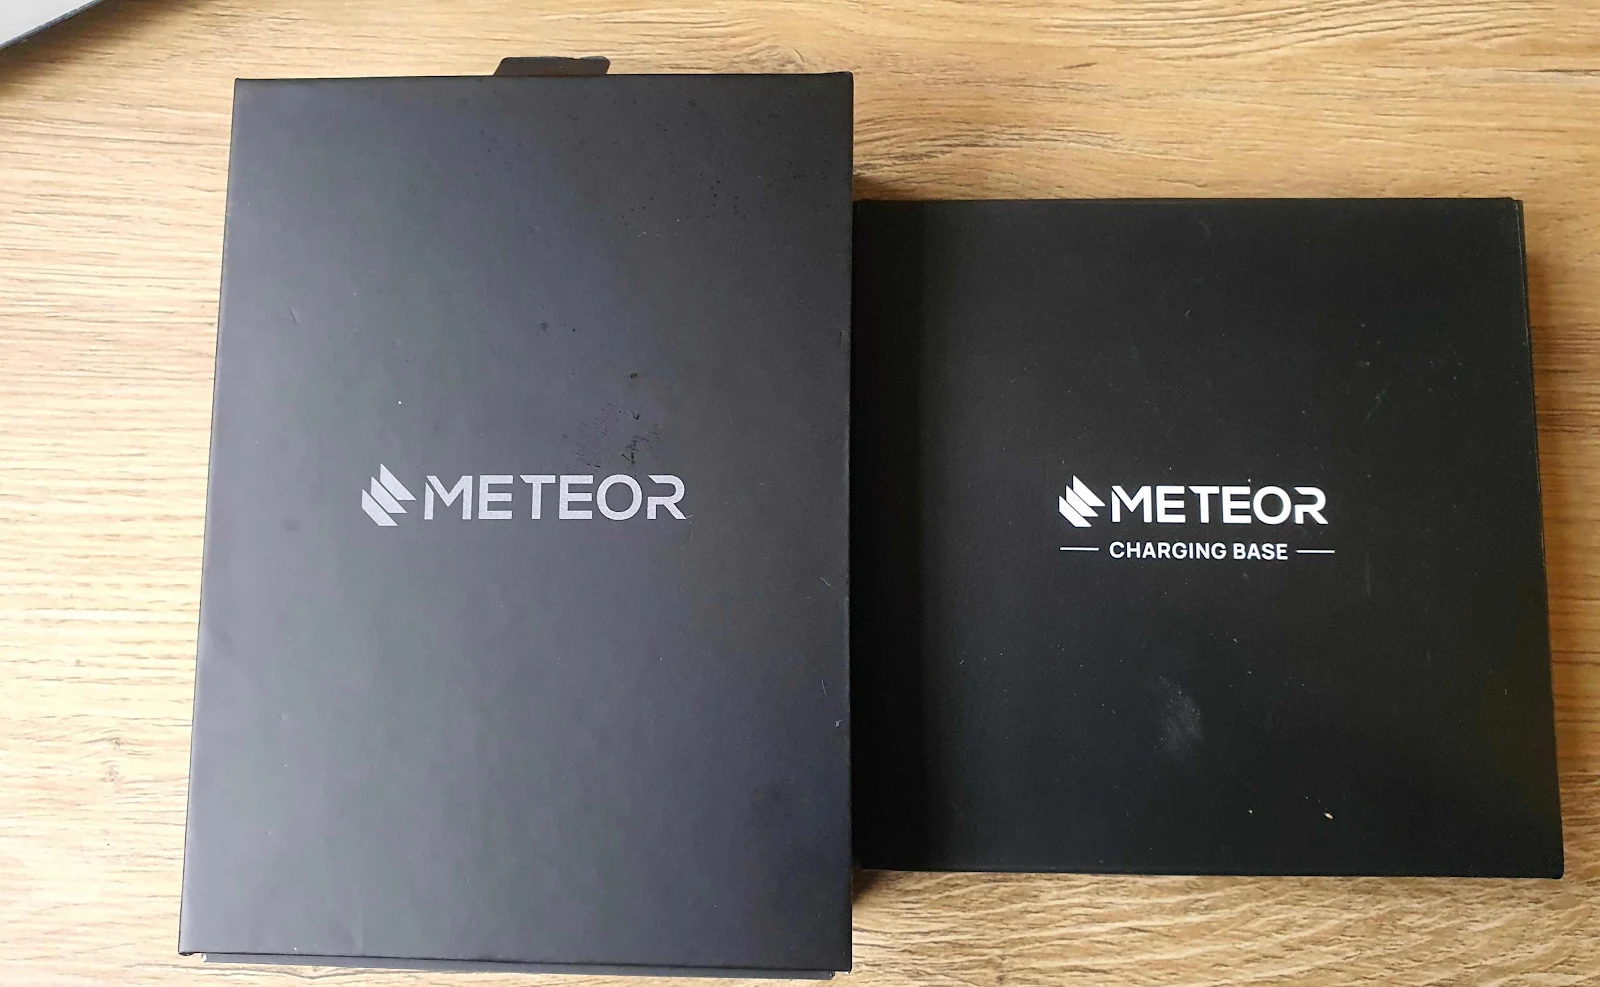
VapX Charging Pad
VapX very kindly sent out the matching Meteor charging pad, which is manufactured out of hard plastic, and features 4 spring loaded brass charging pins, which match the brass charging plates on the base of the Mod.

The shape of the surround, around the pins, means that the mod will only fit on the correct way around.

The charging base requires a type c charging cable to power it, as well as a 45w charging block.
Hopefully this charging base station, will fit other future mods that VapX will produce, as it is a great concept.
Battery & Charging.
The basic VapX Meteor kit comes with a standard USB Type C charging port as you would get with most mods, along with a standard Type C cable, the charging rate and time is not specified when charging with the cable.
However if you buy the Supercharging base, which is sold separately, personally, I would have liked them to include it in the kit, as the Fast -Charging is one of the main features.
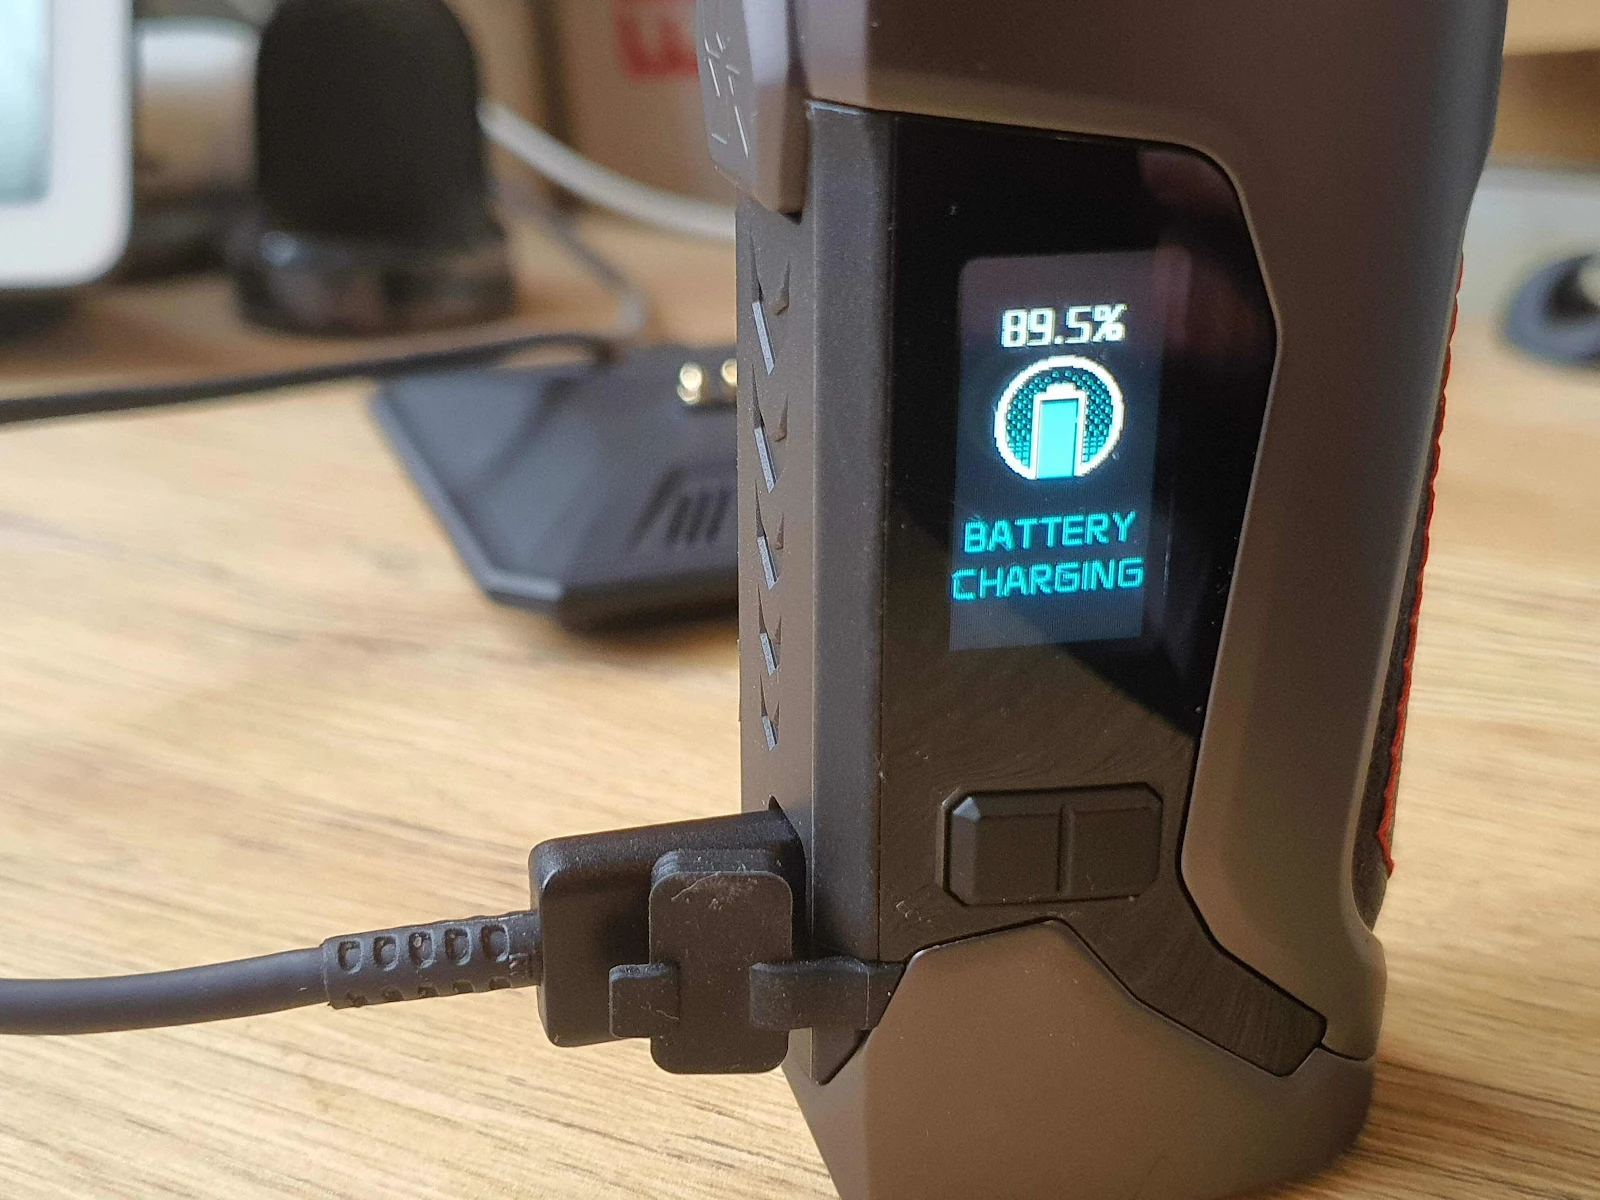
When the Meteor is placed on the magnetic charging base, it will allow you to fully charge the internal battery within 10 minutes at an impressive, 10A charge rate! This Fast Charging is achieved through the base supporting PD3.0 and QC3.0 charging protocols. Which as far as I am aware is a first for a Vaping product.

The charging time does depend on which wattage plug brick you have to use, the Super- Fast charging can only be achieved when using a 45w or above power brick. Depending on the wattage you are putting in, it will either display Charging, Fast Charging or Super Charging. The largest wattage charger I have is the one that came with my Note 10, and when connected it would only get up to Fast Charging, and took about 25 minutes to fully charge.
I do think that if they are going to produce a Super Fast charging base, then it should come with the 45w power brick, to allow you to charge it at the maximum wattage, as that isn’t clear on the website, and I think people will buy the base thinking that it will charge it in 10 minutes, which isn’t the case, unless you also get a 45w plug, as it doesn’t include it. And looking on Amazon they cost around £15 upwards.
QC3.0 & PD3.0 Charging Protocols
QC3.0 is one of the main systems that is usually only found on smartphones, and provides the fully tailored charge rate, depending on the batteries current voltage, which is then finely tuned and adjusted during the charging cycle to deliver the ultimate performance. This latest version of QC brings the ability to vary the rate of charge, replacing the older QC systems which could only deliver a fixed output rates.
PD3.0 stands for “Power Delivery” which works with the latest versions of Type C USB charging, allowing for either a high voltage + low current or High current + Low voltage quick charge system. Also the PD3.0 protocol chip allows for power transfer in both directions, which is the technology which allows power banks to be charged, as well as to charge. The ability to transfer data Data between devices allows for recognition of type of battery, and specifications. Which allows the device to tailor the charging rate accordingly to what it requires. It really is cutting edge tech, which VapX have brought to the world of Vaping. And I would imagine will find its way into many more devices, now that VapX have proved its worth. As who does want to be able to charge their device in only 10 minutes
I have tested this charging on a number of occasions, and the stated charging time of 10 minutes is spot on, I have run it flat, stuck it on the base and 10 mins later. Boom 💥 Fully charged Meteor.
Everyday Usage & Performance.
I have enjoyed using the Meteor, and found it to be a great little mod, and a pleasure to use, it gives out a good level of power, with Very little ramp up, although I did find that I had to run it at about 10w higher than I would normally run it at, to get the same level of performance. But once your choose wattage was selected it, to match your coil and atty, then performed really well.

Battery Performance,
I am not normally a big fan of internal batteries, due to fact that once the battery dies, you have to swap out your device while it charges, rather than put some fresh batteries in, but VapX have partly overcome this, by giving you the option of charging it back up in only 10 Minutes. With the other issue being that an internal battery only has a certain life span, and once the battery fails, you will have to get another mod. But taking all that into account, many newer vapors prefer to get a device with a built in battery, so they don’t have to fork out for batteries and a charger.
On a full charge, with the Augvape Druga RTA fitted, with a single fused Clapton installed, coming in at 0.36 Ohms resistance, and set to 46 watts I only managed to 147 Puffs before it needed recharging. Which is a Los a little disappointing, As I tend to vape most of my devices at about 40 to 50 watts, obviously Vaping at lower wattage, or with a different resistance coil, you will get longer vape time. Reading online, other users Vaping at around 25w are getting between 400 to 500 puffs per charge. At least when it does go flat, it’s not going to take long to charge. But personally I would have liked a slightly bigger capacity battery.

Final thoughts.
VapX are continuing to bring innovation to market, at affordable prices. Delivering a great Vaping experience. Even if the useage time out of the battery is limited at higher wattages. But if you vape at lower wattages, it may well fit you need, especially will the option of rapid charging.
Pro’s 👍
- IP68 Rated.
- Ability to fully charge in 10 minutes.
- Easy to use menu system
- Looks great and feels great in the hand
- 2000mAh battery.
Con’s 👎
- Doesn’t come with the charging pad.
- Doesn’t come with the power brick required.
- Screen easily scratches
- Slight gap on 510 connection.
- Limited number of puffs at mid to higher end wattage.

