
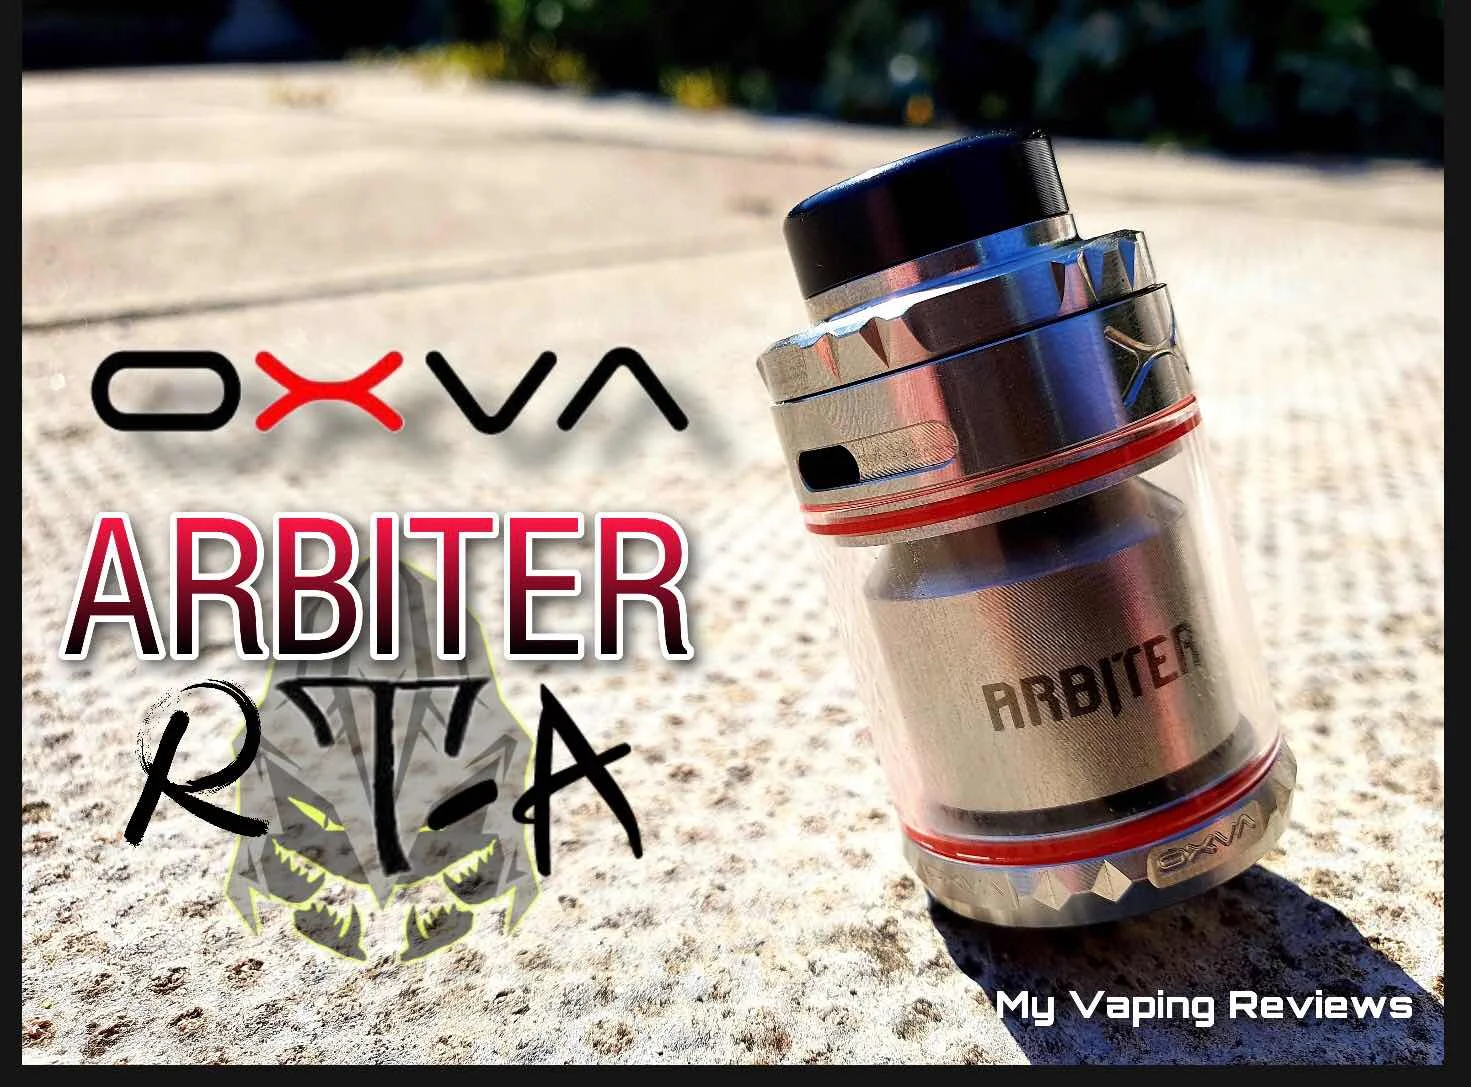
The O❌VA Arbiter RTA & Build Tutorial
The team at O❌VA where kind enough to send over the Arbiter RTA for me to test and review. This item was sent over free of charge for the purpose of this review.

O❌VA are fairly new to the Vaping world, but during their short time, have taken the Vaping world by storm, producing, In my opinion some of the best products around. Such as the O❌VA Velocity Pod Mod which is still my favourite devices in 2021, and the best pod system around.
So you could understand my excitement and anticipation, when I heard they were launching an RTA, as O❌VA products are know for their build quality and next level flavour.
I was sent the Arbiter RTA about a month ago, so have been able to get to know it and stick a few builds in it, before writing this review. So let’s get stuck in.

Description
The OXVA Arbiter RTA features top to bottom airflow and airflow chamber for better flavor and 100% leakproof. And OXVA Arbiter adopts angled post hole design to build single/ dual coils easily and cut coil legs without measure. Arbiter is compatible with 810 and 510 drip tips.

Inside The Box
- Arbiter RTA with 6ml bubble glass
- 4ml straight glass
- 2x fused Clapton coil
- 2x shoelace cotton
- Accessory bag
- User manual

Main Features:
- Angled post hole design, cut coil legs without measure
- 2ml large capacity, top filling design
- Easy single coil/ dual coils building
Specifications:
- Size: 28mm(bottom 26.5mm) (31mm with bubble glass)*54mm
- Capacity: 2ml Straight Glass
- Drip Tip: 810 & 510 Drip Tip
- Airflow : Top
- Build Deck : Single and Dual
- Thread: 510
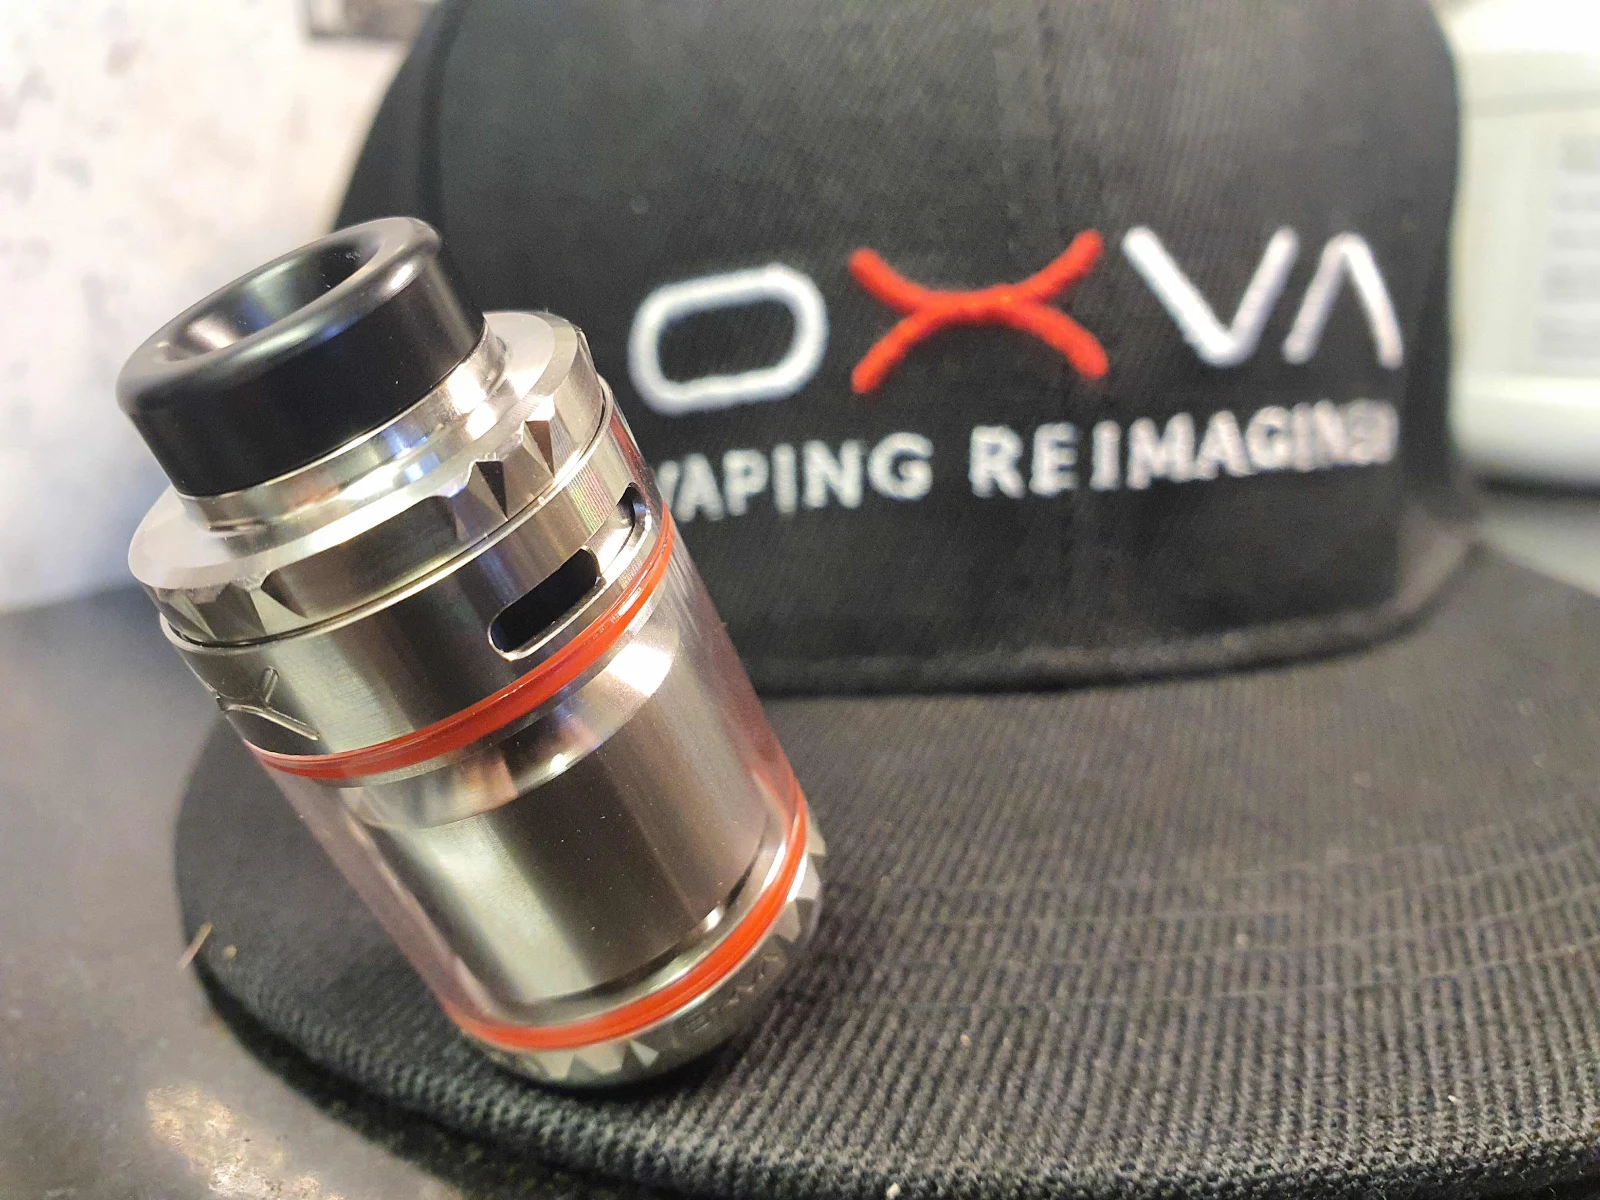
The Oxva Arbiter RTA is available in 5 different colours, Gunmetal, Red, Silver, Rainbow and Black.
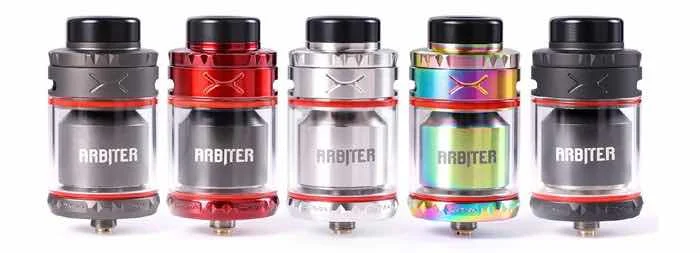
Each one comes with red o-rings, reading online I have noticed that quite a few reviews have liked the red o-rings, personally, I don’t mind them, and red is sort of the branding colour for OXVA.
Drip Tip.
The top section of the tank feature a wide bore 810 style drip tip, that has quite a low profile, but does feel good on the lips

Fill Cap.
With quarter turn of the top cap, fully removes the top section and exposes the two well sized kidney shape fill ports. I have had no issues filling the tank will all my juice bottles apart from the 250ml bottles, which struggle to fill anything really.
I like the fact that they have put a recess around the fill ports, which means that if you over fill your tank, it will fill up the recess rather than flowing down the side of your tank
You also get a little tool in the bag which Seems to be designed to allow you to remove the top section more easily.

It has two prongs that fit into the fill holes, and give you a bit more grip when you’re trying to disassemble it totally for cleaning.
I never found this was necessary, as the tank has plenty of grip that makes it easy to disassemble.
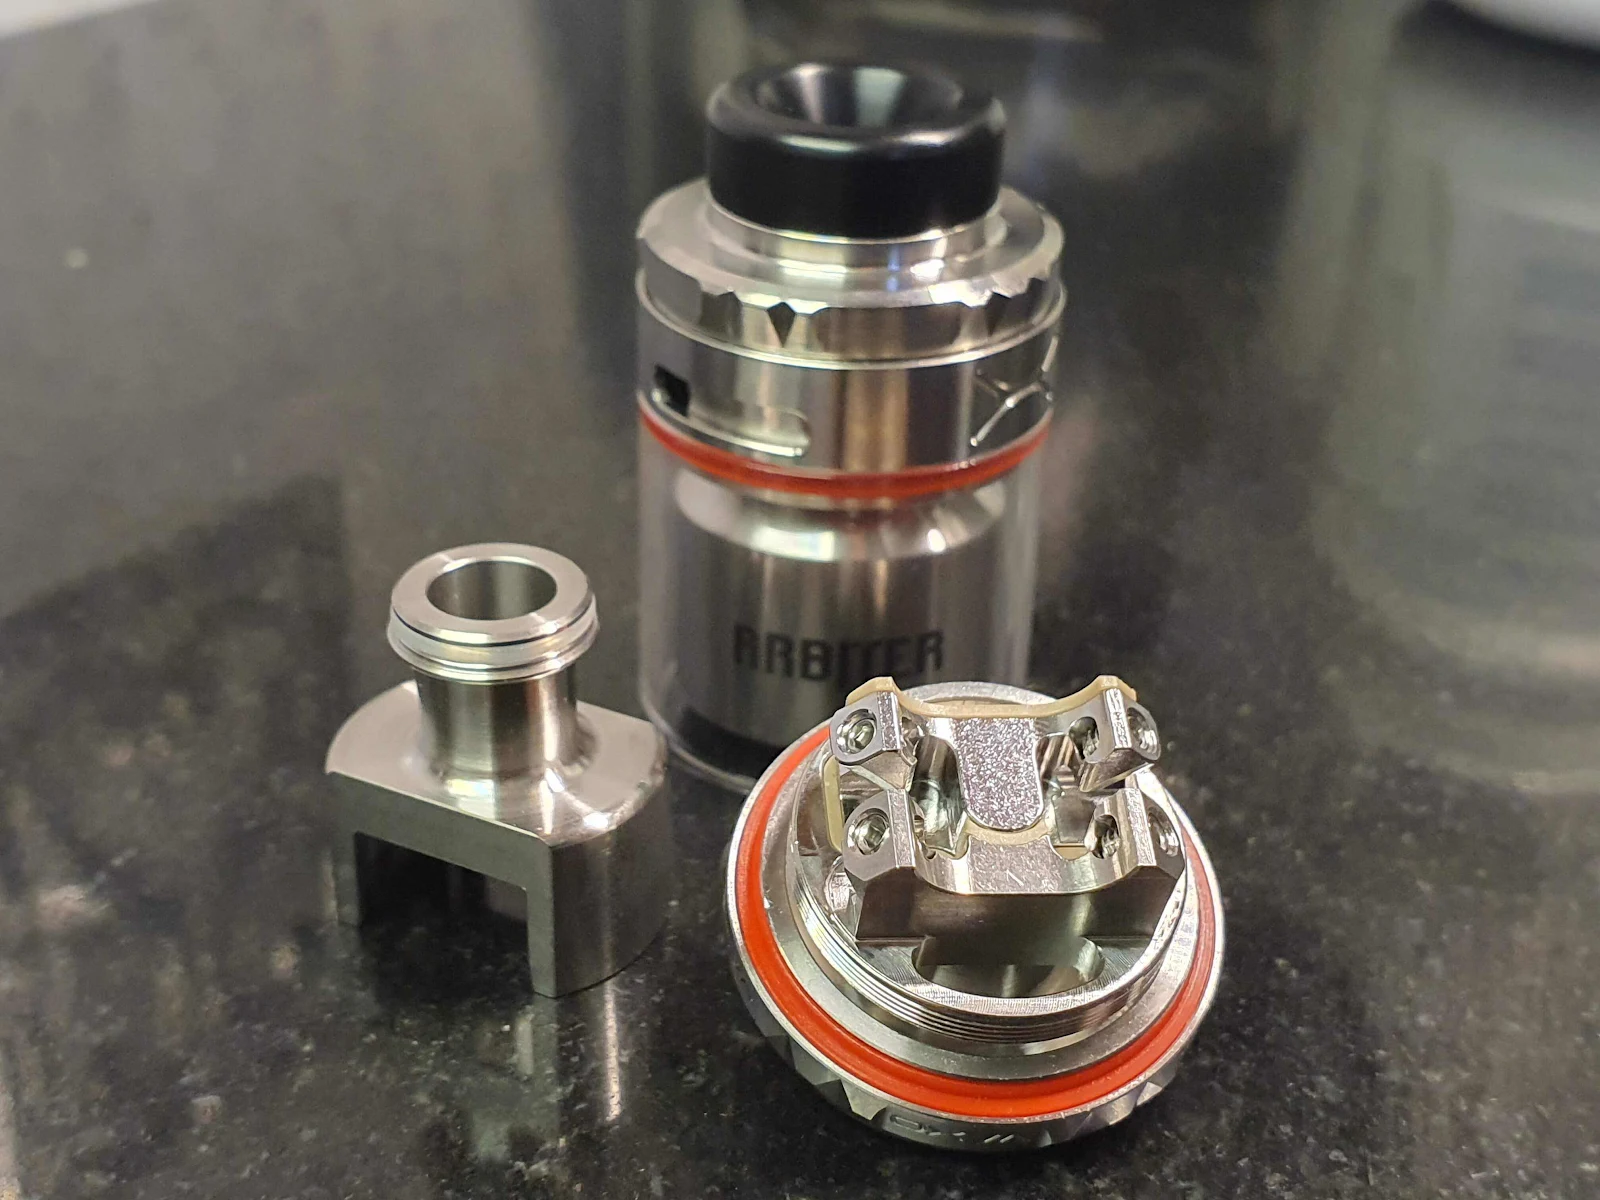
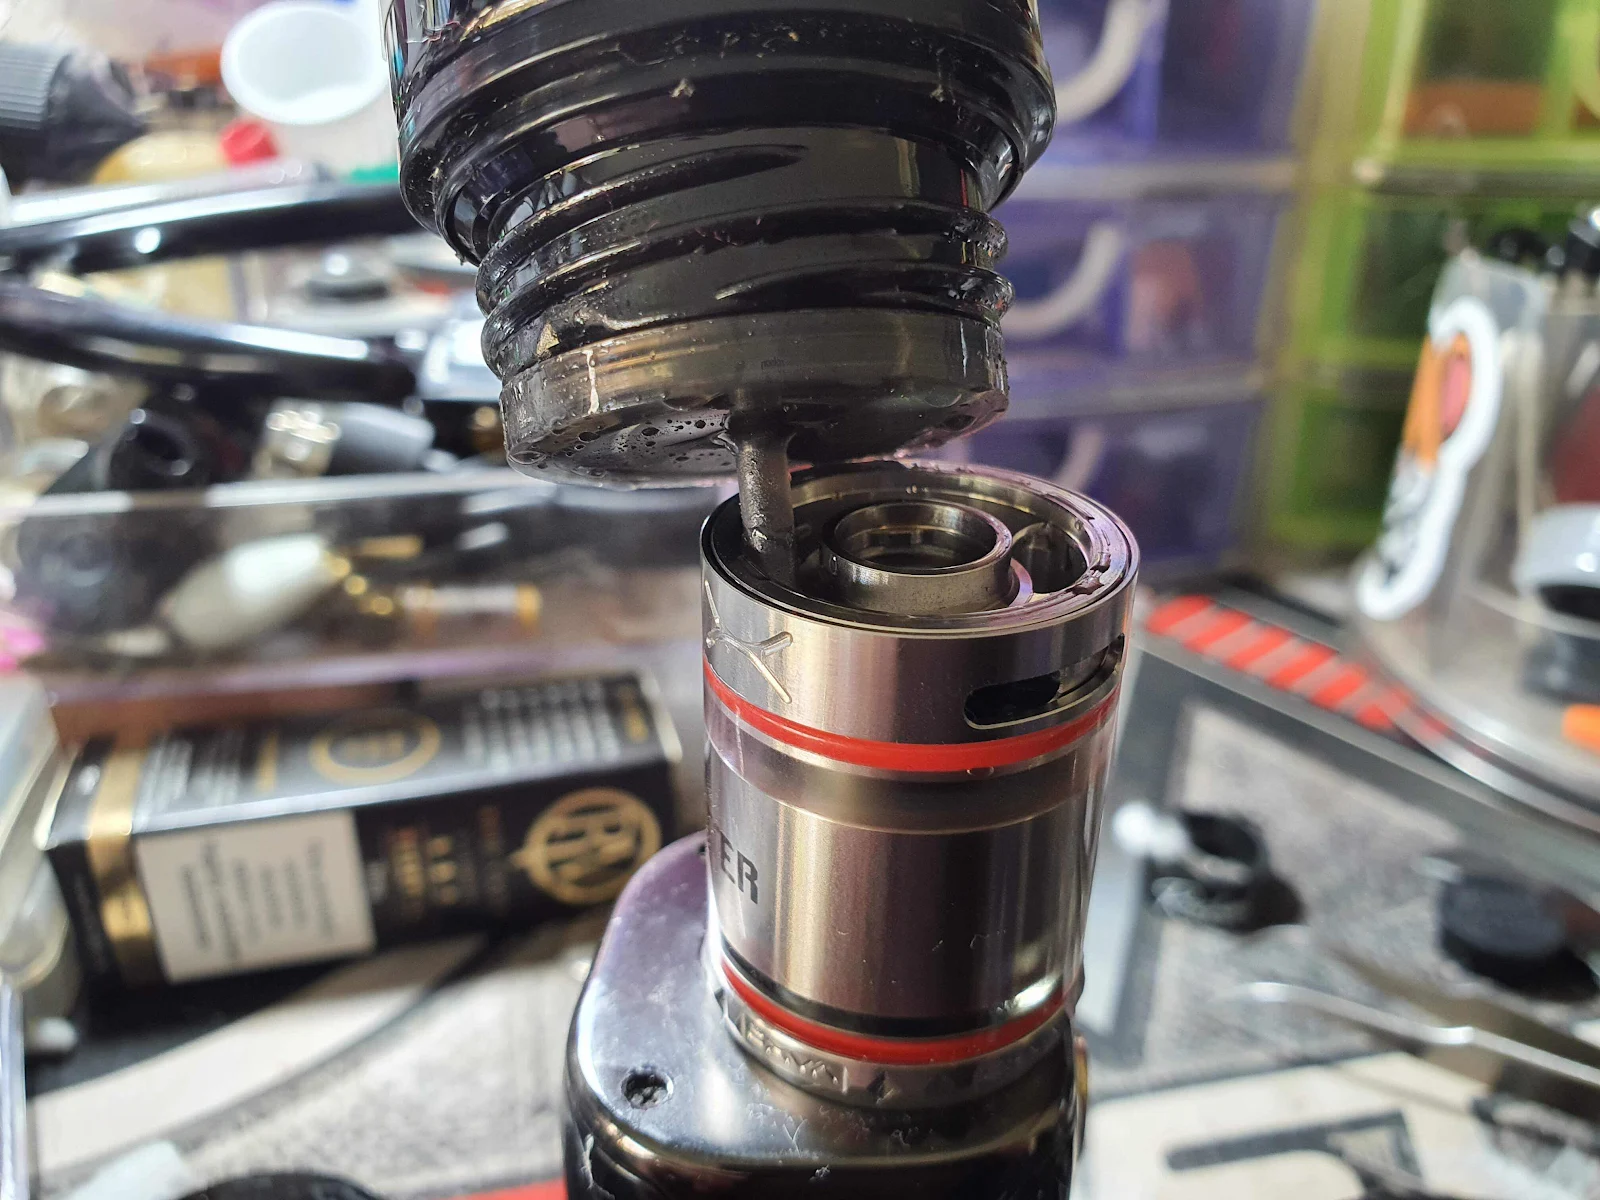
Once you have unscrewed the top section, then you can completely break down the tank into its components parts, and clean it, and switch out the tank glass.

The kit comes with two glass tanks. A larger 6ml bubble glass, and the straight 4ml glass. Unfortunately mine arrived with a cracked bubble glass, so I had to switch mine out straight out, due to a fine hair line crack running around the center.
Oxva Arbiter RTA Airflow Control
One of the main features of this tank, is the fact that it has top airflow, which means OXVA state leak free Vaping. Top airflow is harder to design than you would think, as you have to successfully, channel the air front the top, down the sides, and down under the coils, and the skill comes from cutting down the turbulence in the air, whilst not designing a tank that whistles. And to be fair OXVA have done a great job, smooth airflow, and no noise. And glad to say 100% leak free Vaping experience.

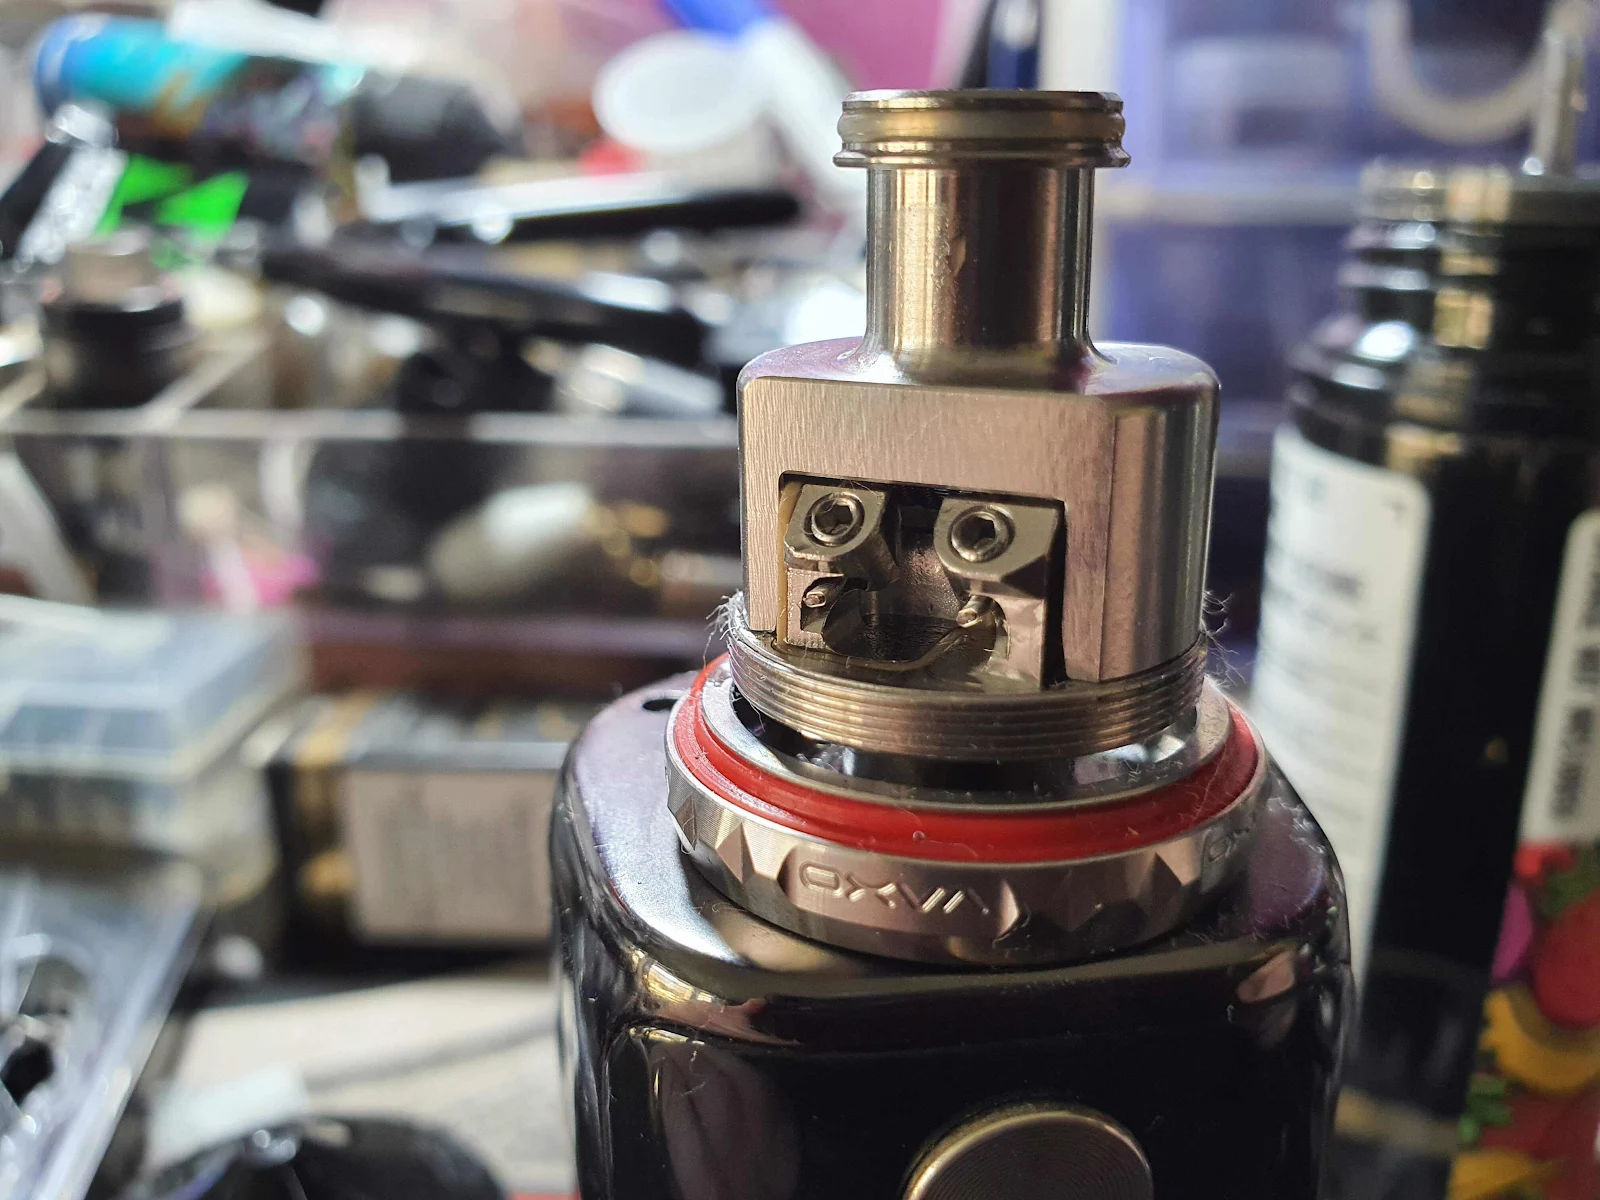
The Arbiter design includes a removable inner chimney section, which channels the air, from the top cap, down past the coil deck, allowing it to flow up under the coils. This inner chamber is sealed at the top with orings, and sits down snugly over the deck, the chamber also holds down the cotton, once in place. I like the design, and it allows you to completely take the device apart, to allow you to clean in all the nooks and crannies.
OXVA Arbiter Build Deck
The Build deck is not a brand new design, and I have come across this style before, but it has been well executed, and given a OXVA twist.

The deck has been designed to allow you plenty of space to build on, and allows you to install, either single of dual coil builds.

Personally having tried both, I definitely prefer the experience with a dual build on, it just seems move balanced, and wicks better.

The base of the Arbiter features a gold plated 510 connection, with normal levels of branding. This branding carries on up the sides, with some nicely laid out, OXVA wording running around the sides, as well as some knarling, to allow you to get a great grip when needed
The OXVA Arbiter Build.
As stated you can choose to build with either a single, or dual coil lay out, with both being super easy to do, and will allow newer vapors to build their confidence n this well laid out deck.
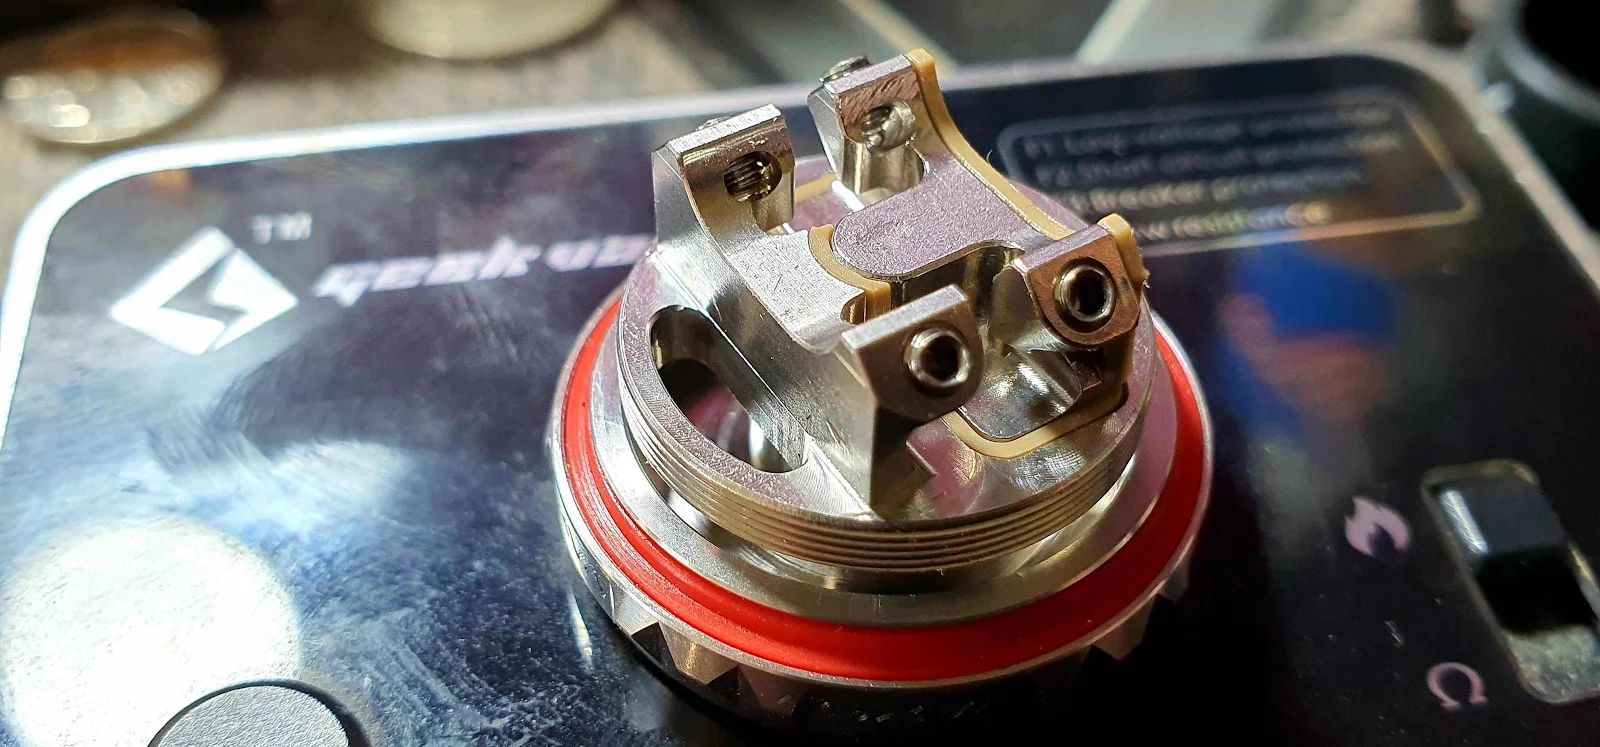
You start off by loosening off the grub screws, using the Alan Key provided, once they have been undone, then you can simply drop the coils in through the wide post holes, due to the design, there is no need to recut the legs, as they can be cut to length whilst in place.


Before trimming you need to position the coils in place, using a screwdriver, or coiling rod, it’s worth spending some time getting this right, and as long as you have done the grub screws up tight, then up can pull and lift the coils into place, making sure that they are evenily spaced and not touching each other, or the posts, or deck.

Once you are happy with the positioning, you can then trim off the excess coil legs, you just need to ensure you cut them are tightly as you can. And remember to fish out any of the coil trimmings, to prevent them from shorting out the deck.
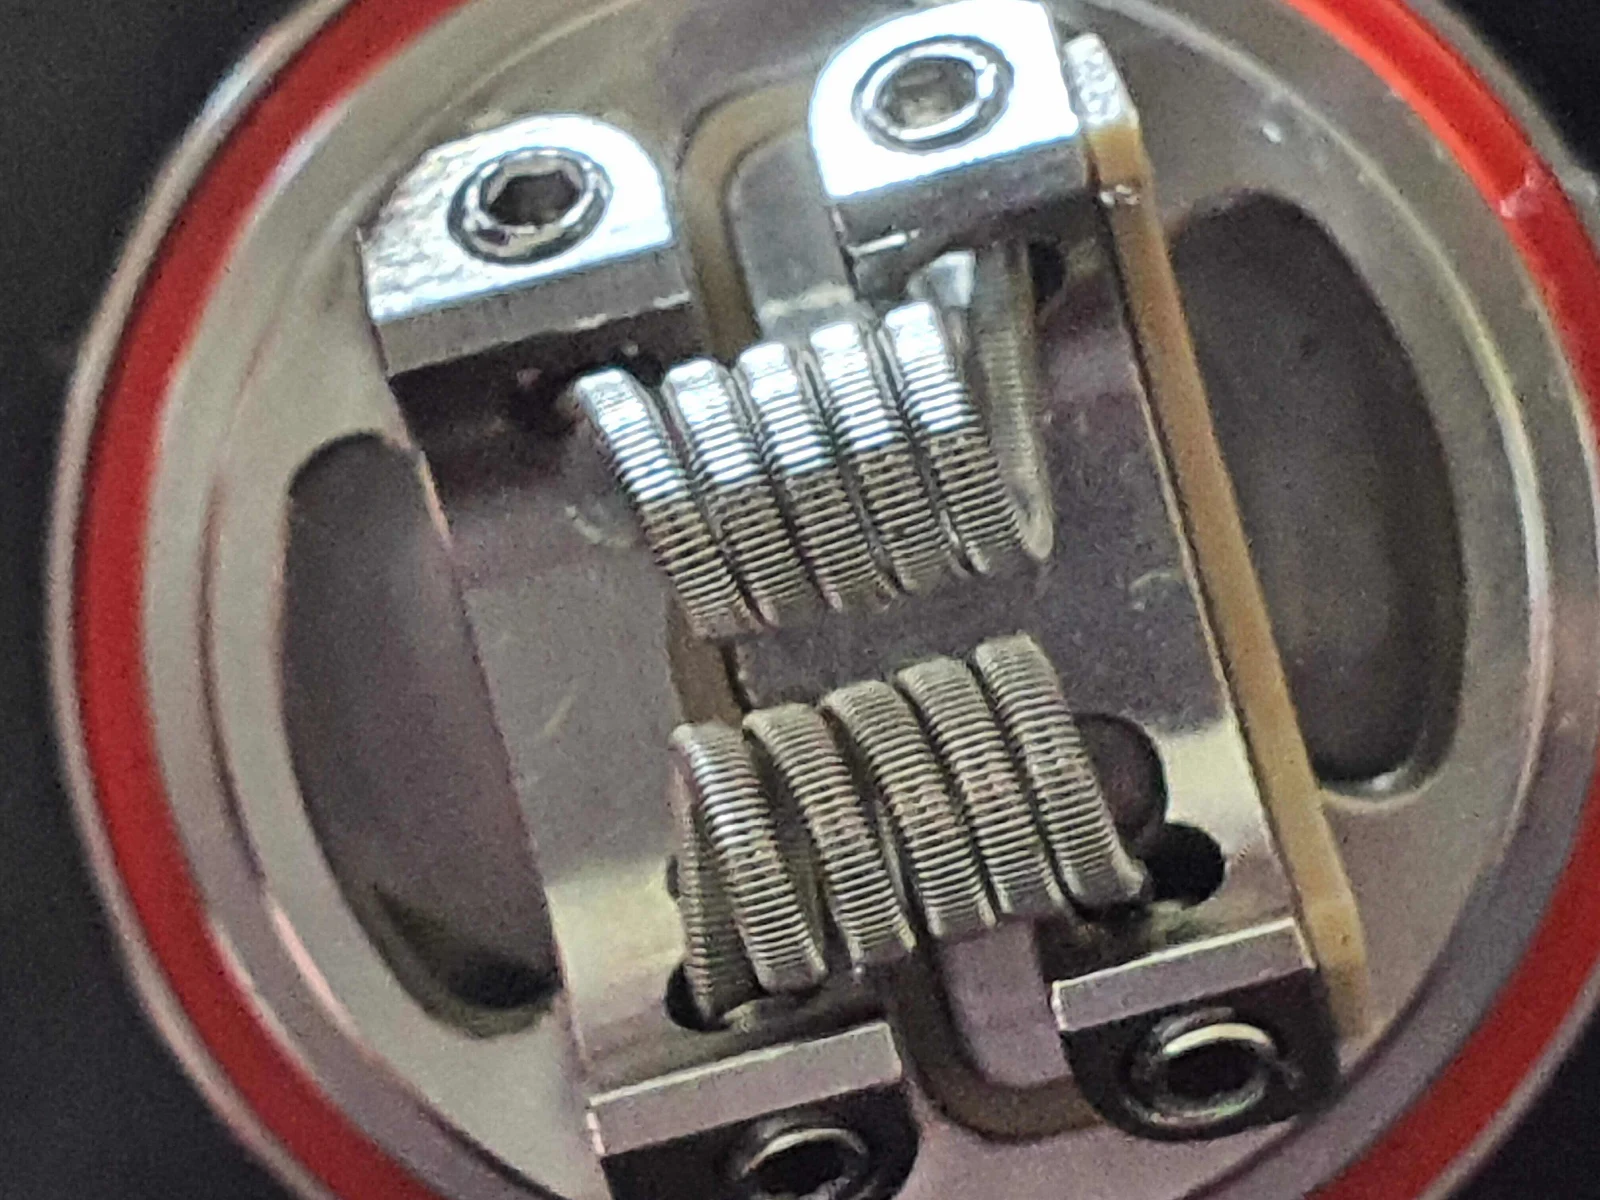

Once trimmed, the you need to dry burn, and pulse the coils, at around 10-15w, giving you to chance to get rid of any hot spots, by gently strumming the coils with a screw driver. And pinching the coils. Once happy, they should both glow evenly from the inside out. The dry burning, will also get rid of any oils or coatings that may be left on the coils when manufacturing.

I would recommend letting the coils cool naturally, I’ve seen people dunking hot coils in water, but have always thought that it would weaken or distress the coil. But each to their own.

Once the coils have cooled down, so you can touch them, otherwise when you thread the cotton, you will burn it. The kit comes with a couple of pieces of shoelace natural cotton, which can be easily threaded through the coils, and then trimmed to length.

Once approximately trimmed to length, you then need to comb out the cotton, to sort of thin it out, which will allow it to wick better, and not block up with juice. It is then a matter of trimming the cotton to the right length, so it sits at the right level, so that you can just about see the cotton poking through underneath, I find the juicing the cotton, allows you to set it neatly in place, then you can soak and prime the coils.

I prefer to fit the inner chamber over the deck, then install the tank over the top and screw it in place, that way you know everything is lined up correctly. But if you wish, you can press fit it into the tank, and then install the deck
Once all tight and together, you can then fill the tank up, through the fill ports.
Vaping Experience.
I have been using the OXVA Arbiter for about a month now, and have played around with different coils and wick, and have been super impressed with its performance, my preferred configuration was definitely the dual coil build, with two fused claptons. Which came in at a comfortable 0.15ohms.
When running on a single coil, I found the flavour a little bit empty, and it just didn’t seem to wick as well, as with the dual coil set up. Just seemed to give a better overall experience.
OXVA Arbiter Sweet Spot.
I found the sweet spot, at about 55 watts, with the airflow set at about 30% open. This set up delivered a superb level of flavour, with a satisfying coil crackle. The airflow was super smooth, with no issues of turbulence, or annoying whistling.
Positives 👍
- Great Flavour.
- Smooth Airflow
- Impressive Vapor Production.
- Great Build Quality
- Leak proof design.
Negatives 👎
- Little bit to big.
- Not many mods that it looks right on.
- A little bit to tall, would have preferred a mini version.

Final Thoughts 💭
As you know I am a massive fan of the OXVA products, and the Arbiter RTA was no disappointment, With amazing flavour production, which is now an expectation with an OXVA product. Hopefully they will bring out a smaller version, as for me it is just a little bit to big, to be an everyday, out and about tank.
If you want to check out more of the OXVA products, then check out the link below.

